- Inspiration by room
[vc_row][vc_column][vc_column_text][/vc_column_text][/vc_column][/vc_row][vc_row][vc_column width=”1/6″][vc_column_text]
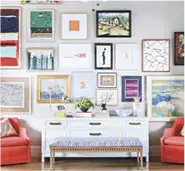
Living Room[/vc_column_text][/vc_column][vc_column width=”1/6″][vc_column_text]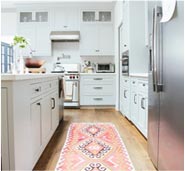
Kitchen[/vc_column_text][/vc_column][vc_column width=”1/6″][vc_column_text]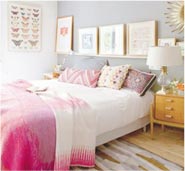
Bedroom[/vc_column_text][/vc_column][vc_column width=”1/6″][vc_column_text]
Bathroom[/vc_column_text][/vc_column][vc_column width=”1/6″][vc_column_text]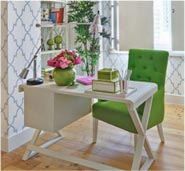
Home Office[/vc_column_text][/vc_column][vc_column width=”1/6″][vc_column_text]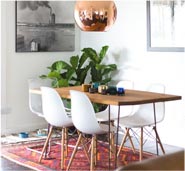
Dining Room[/vc_column_text][/vc_column][/vc_row]
- House Tours
- Small Spaces
- Tutorials and DIY


