
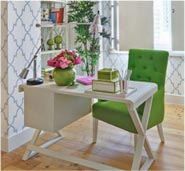


The home office is so important to me since I work from home. I think with more and more people working from home these days we’ll be seeing even more great home office inspiration and solutions in mags and blogs.
Happy Friday!
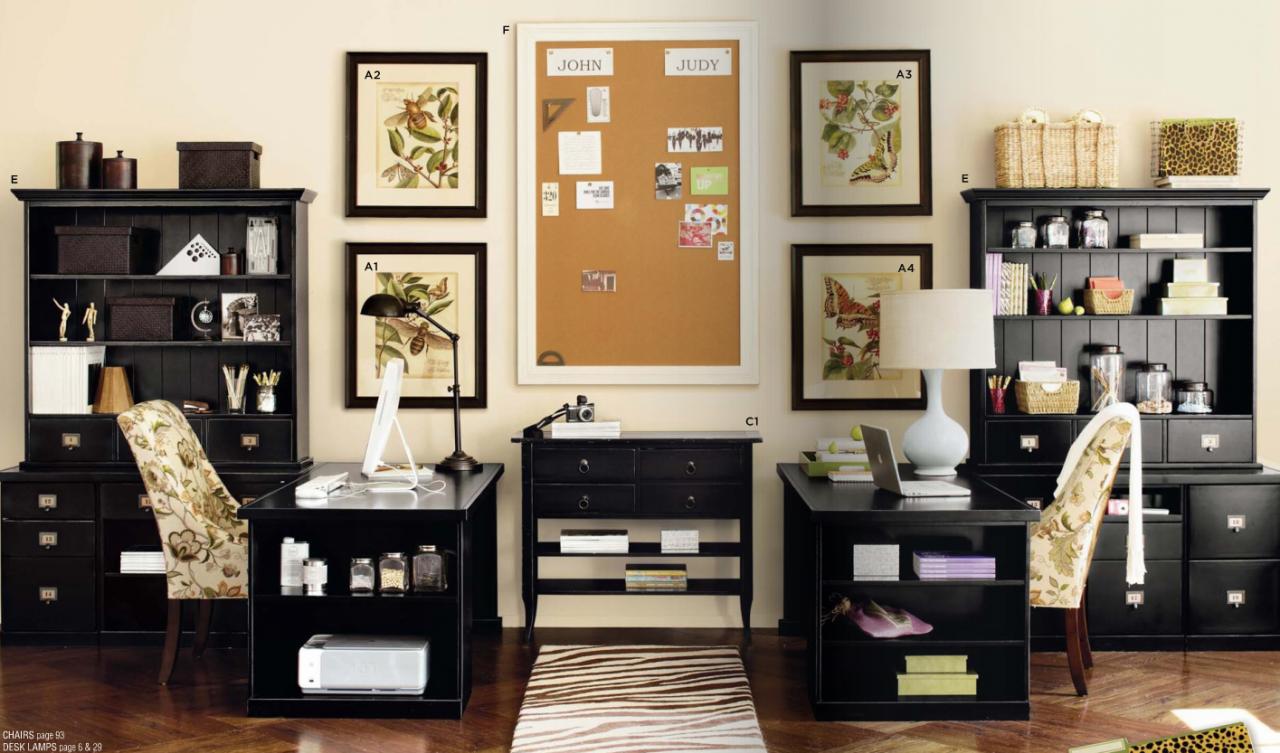
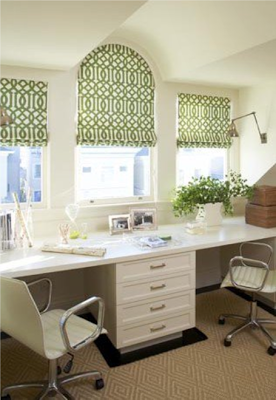
a fab duo office
via Ballard Home

so pretty! The white, the cube shelving – the window seat!!
via BHG
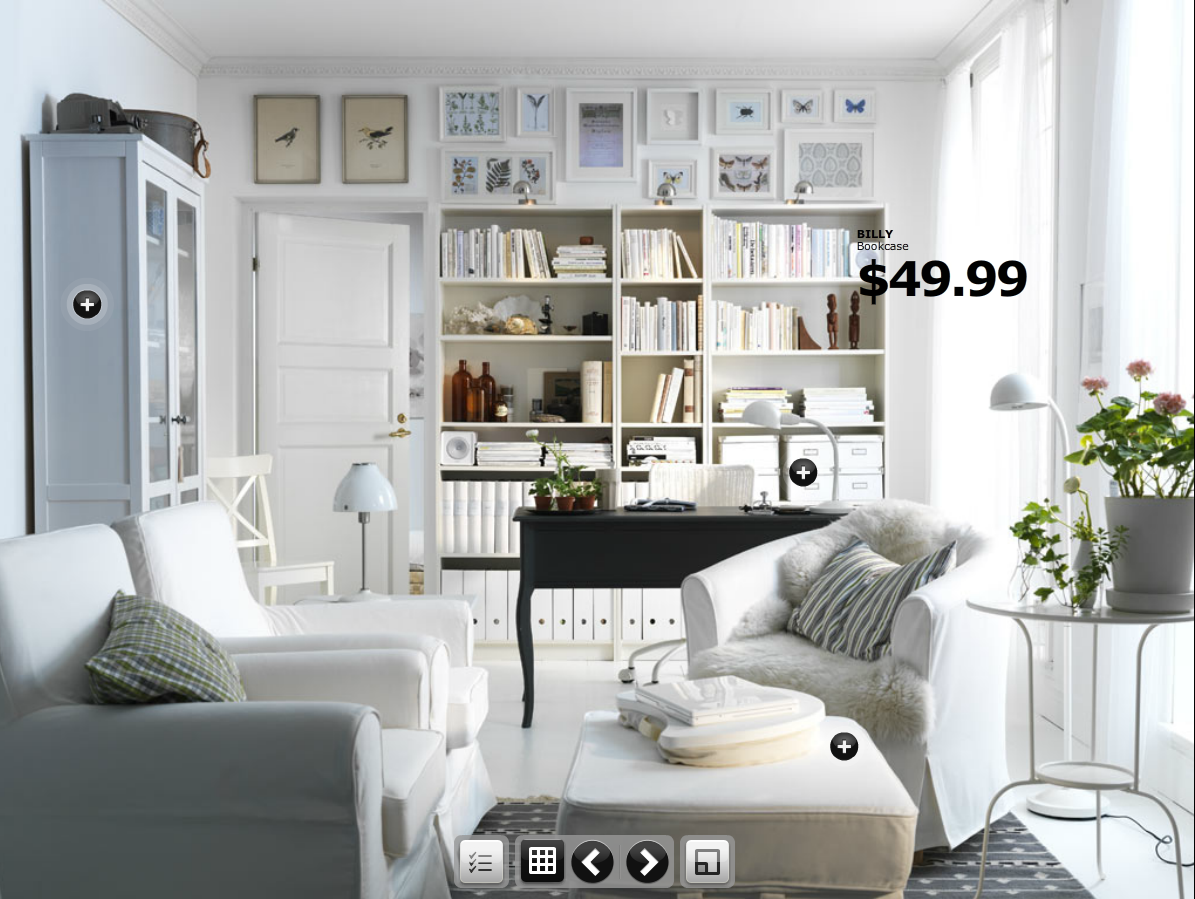
Tons of storage for inspiration! My shelves are always overflowing, but sometimes I feel like the more storage space I have, the more likely I am to hoard more stuff…
via Ikea
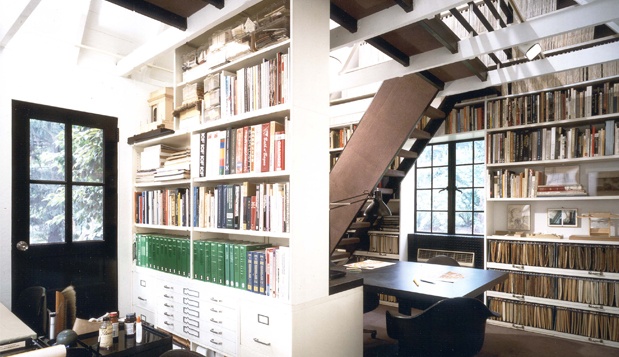
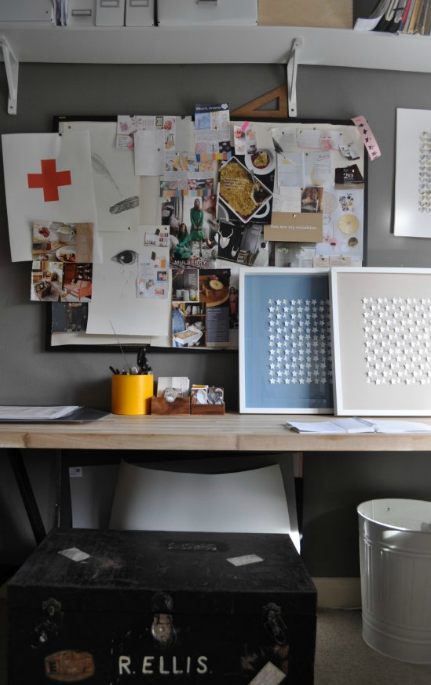
Looks like an archivists dream right?
via Inc.com

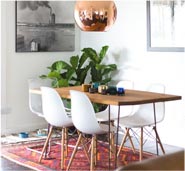
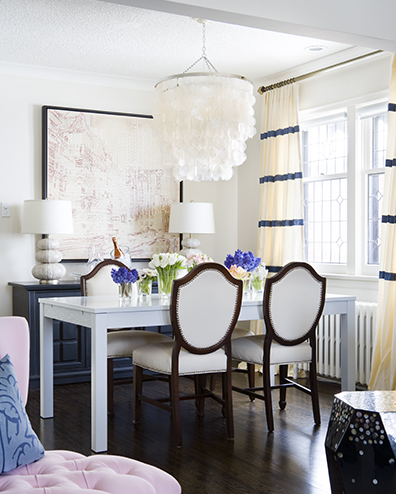
A down-to-earth but still chic space.
via House of Fifty
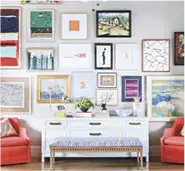
via Ivy and Piper
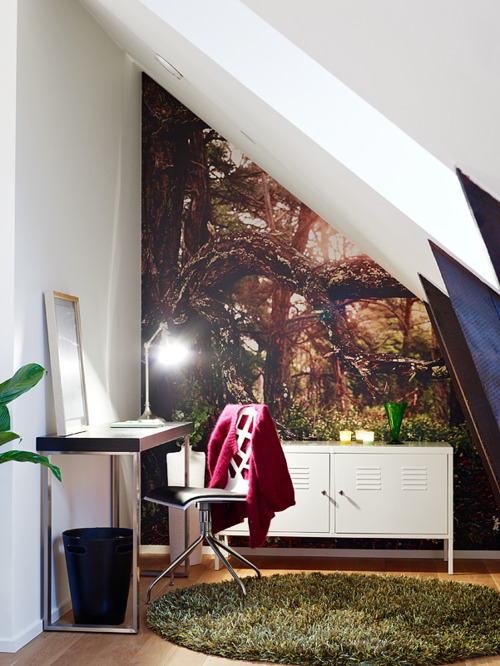
Only problem with this one is that the gorgeous wall mural might have me daydreaming of tree houses all day
via Sweet Home Style
Which one do you like best?


