Blog Page 273

Tuesday Treat: A bright and airy NYC apartment tour

0

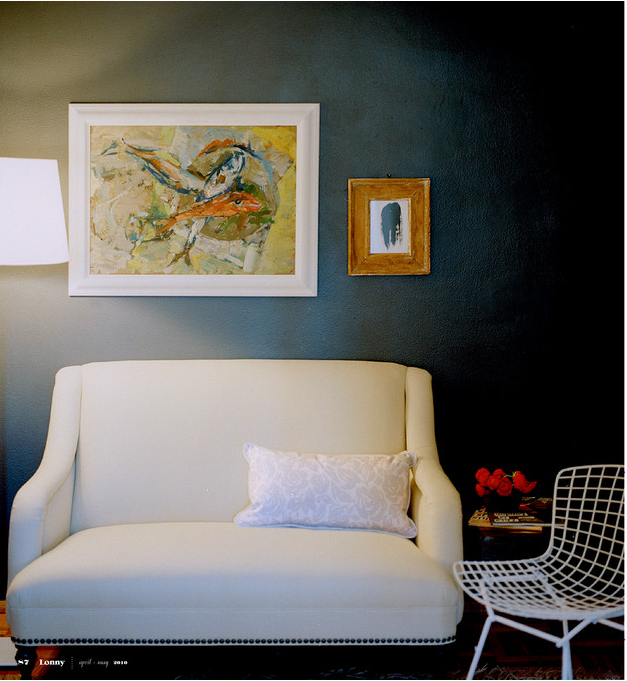
This apartment belongs to the uber-talented founder of Rubie Green, Michelle Adams.

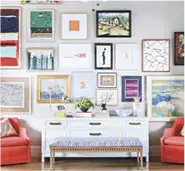
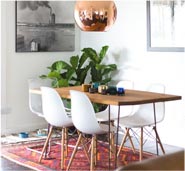
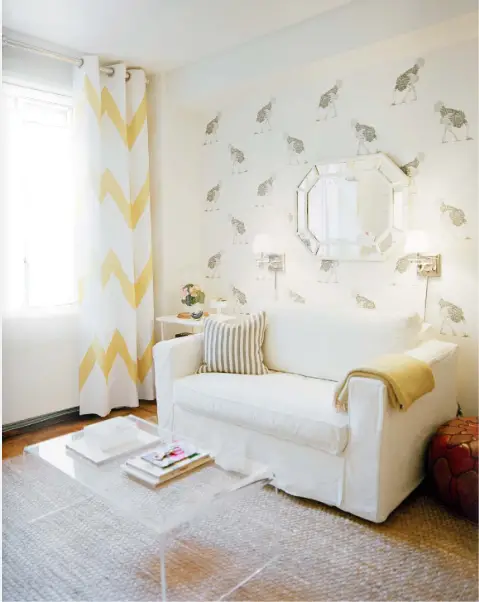
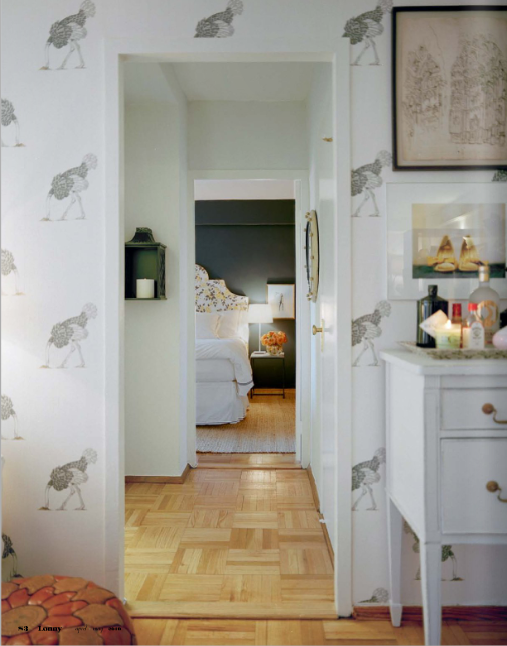
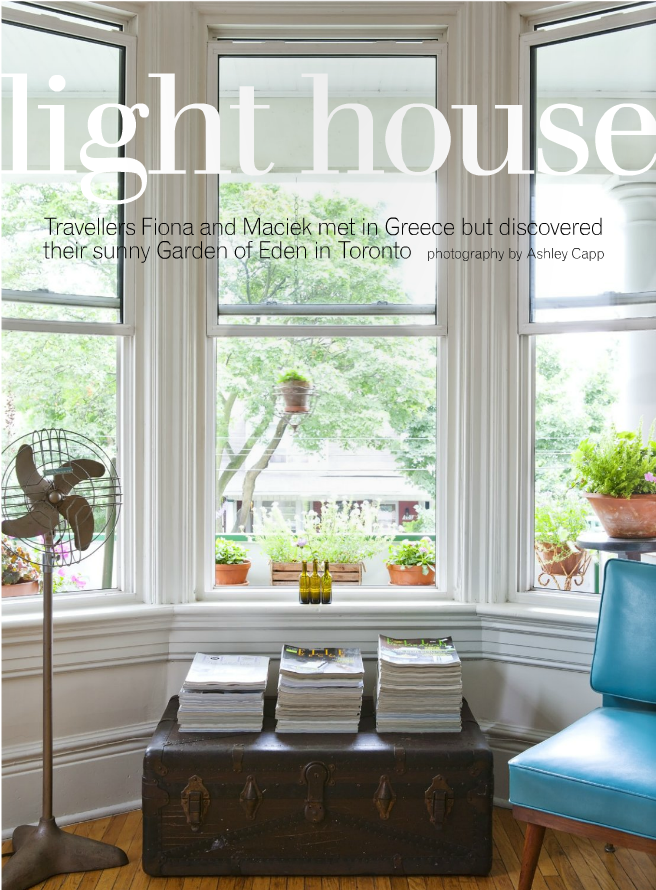
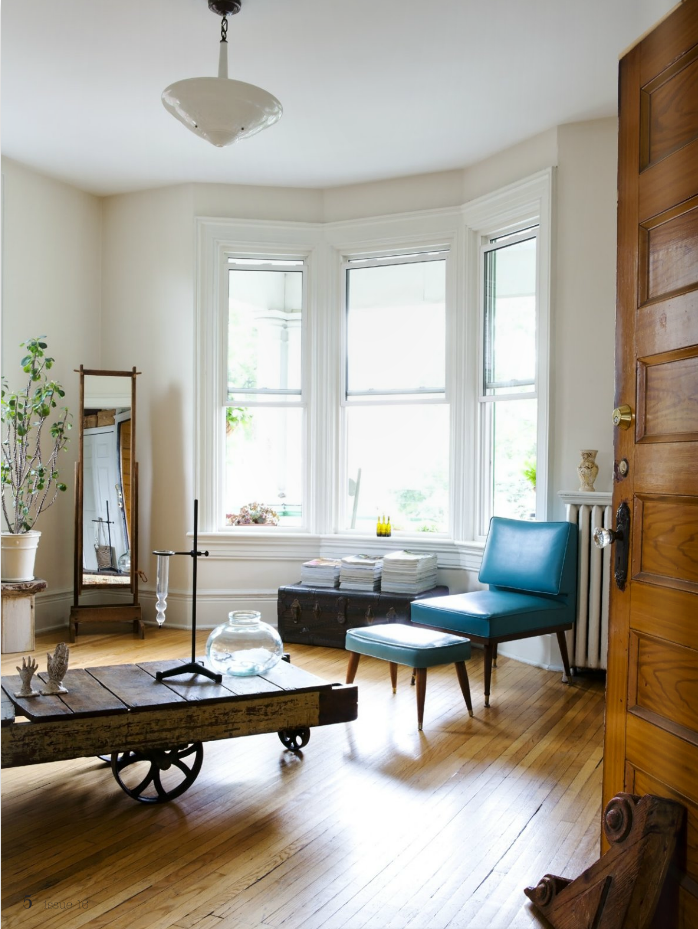
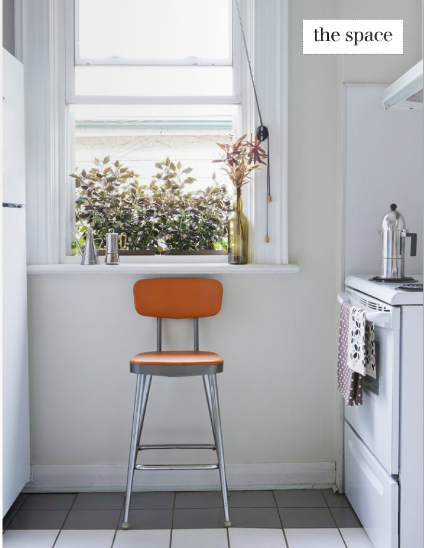
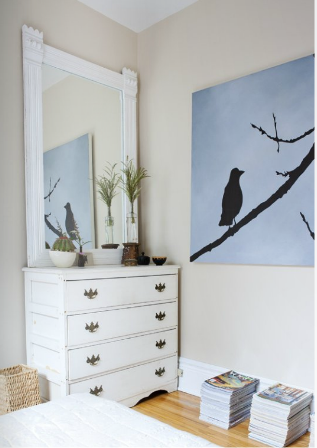
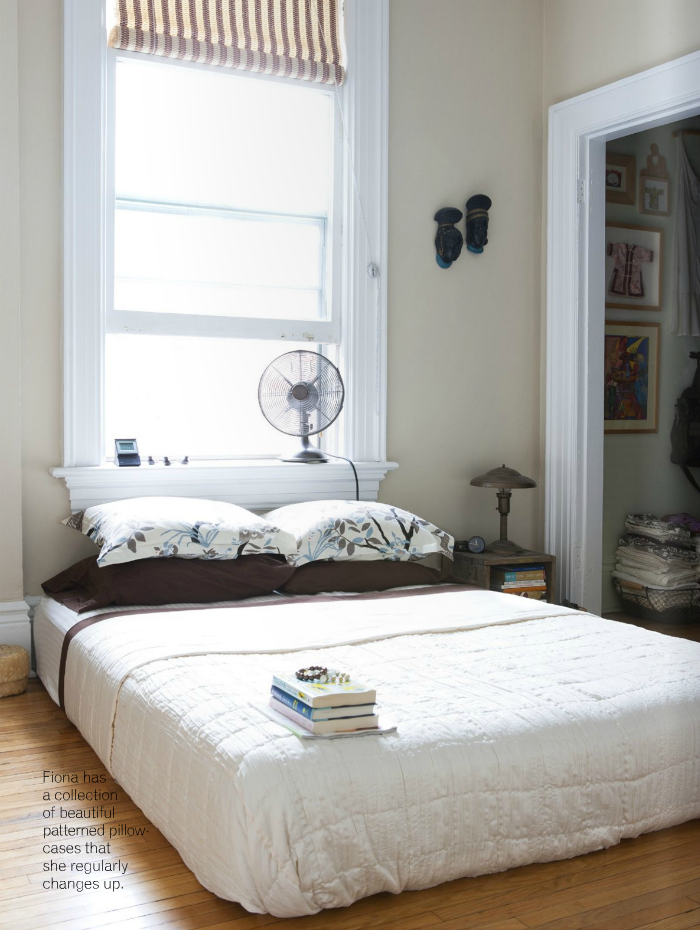
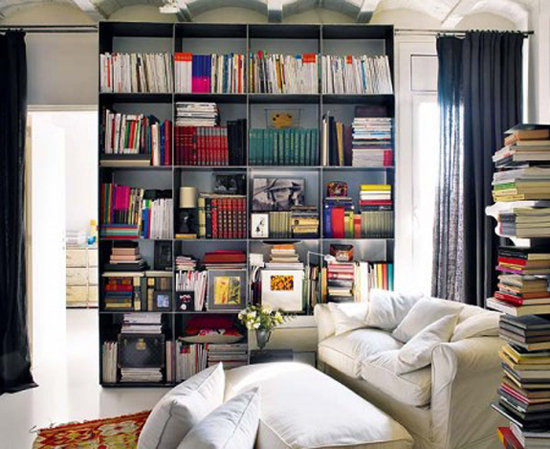
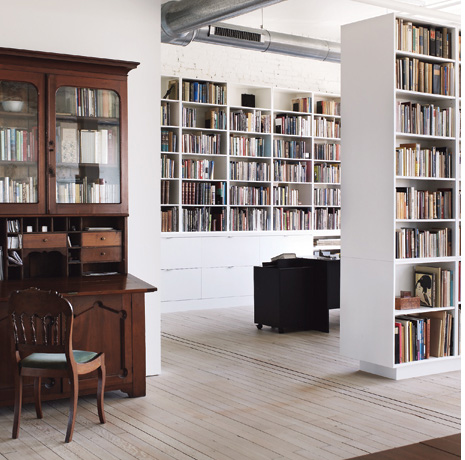
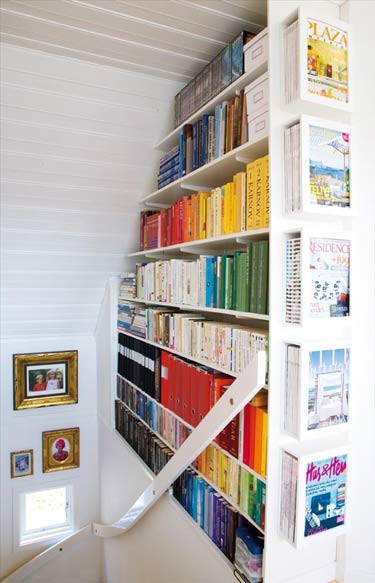
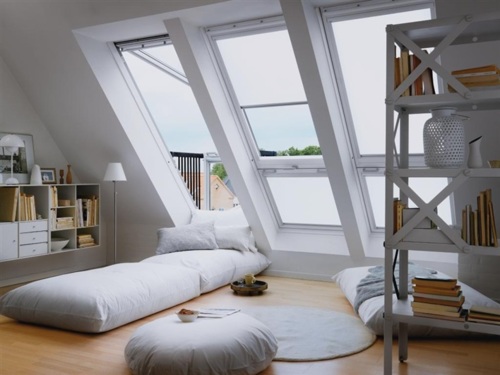
This image makes me fall in love with white all over again – but boyfriend likes the darker woods.

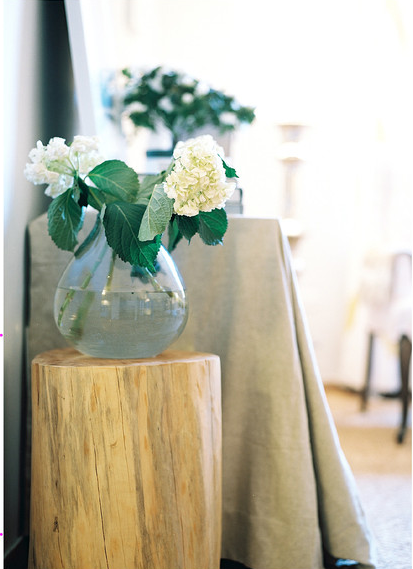
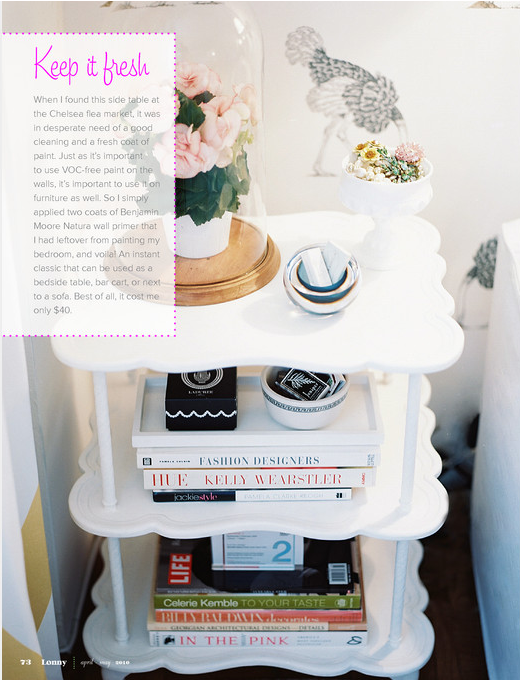
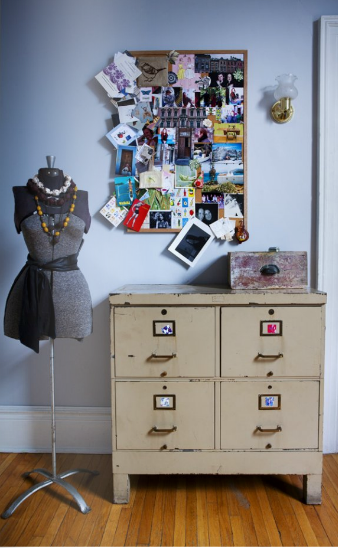
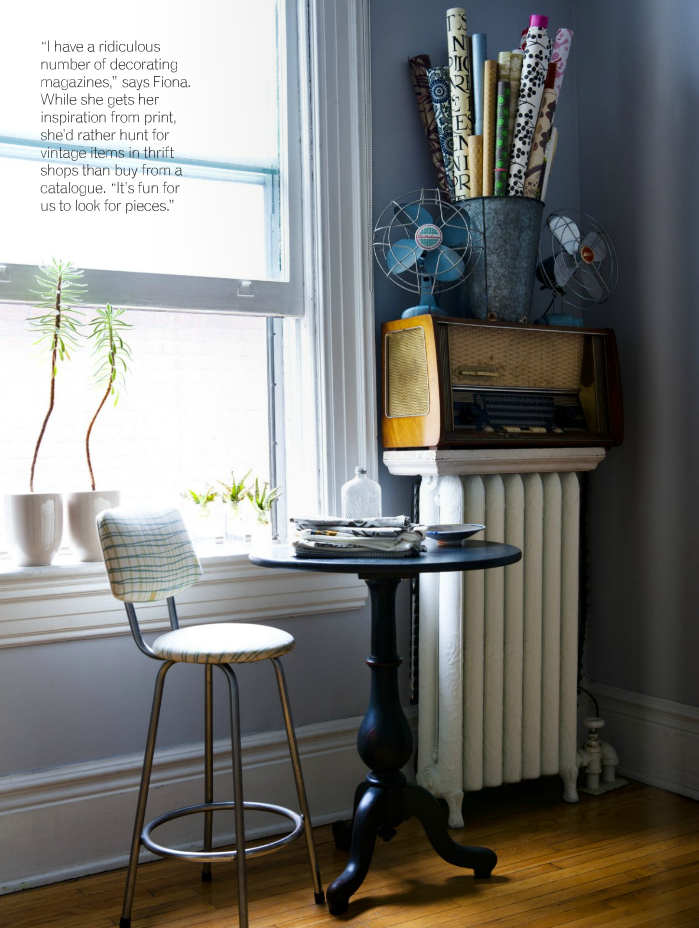
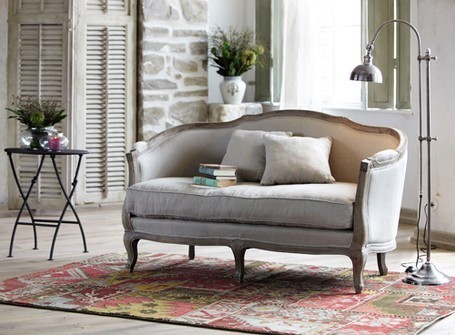
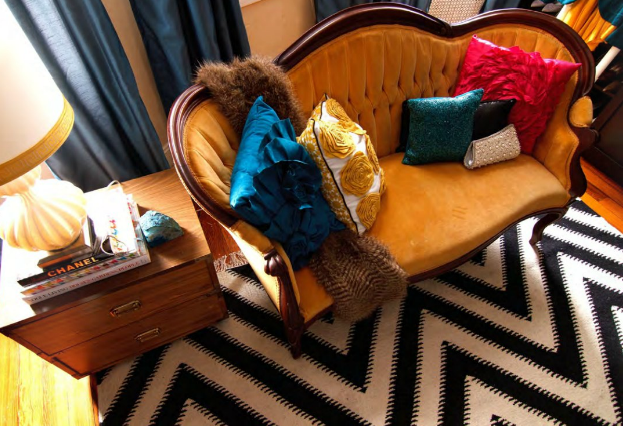
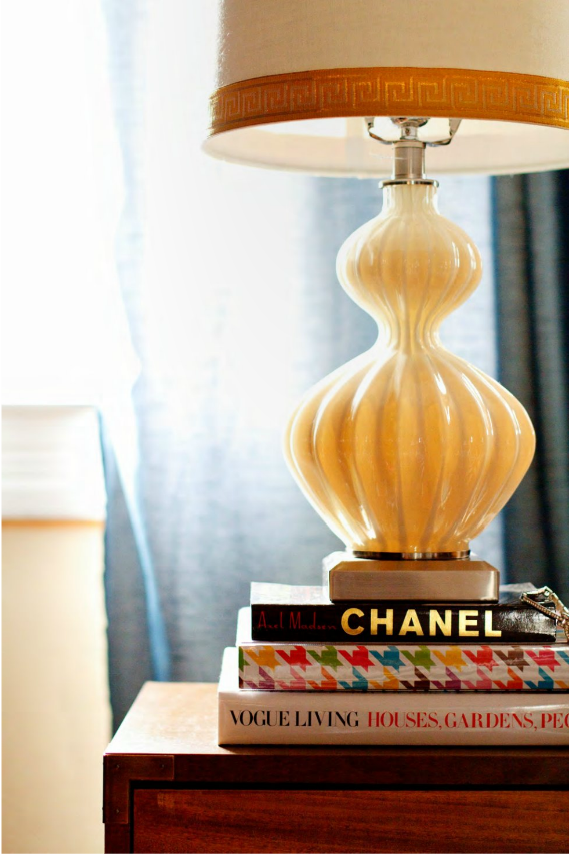
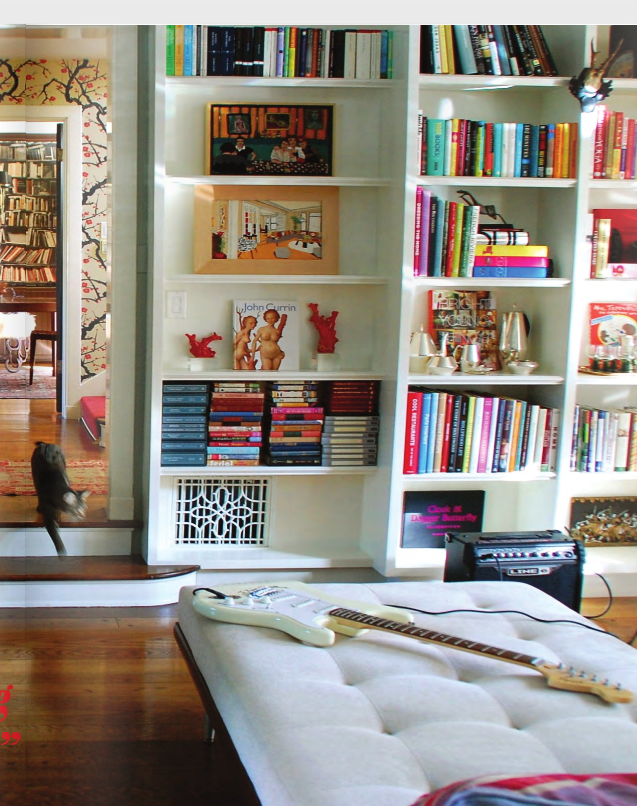
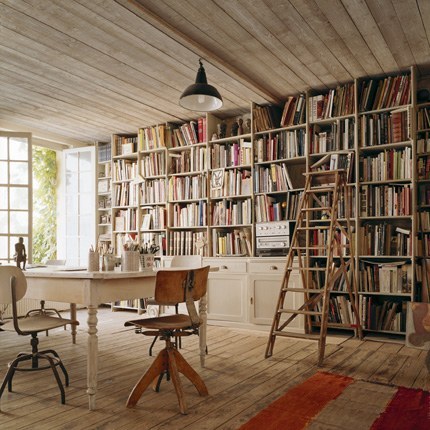
Michelle is all about sustainable, green design.  This cypress trunk side table is free of toxic finishes.

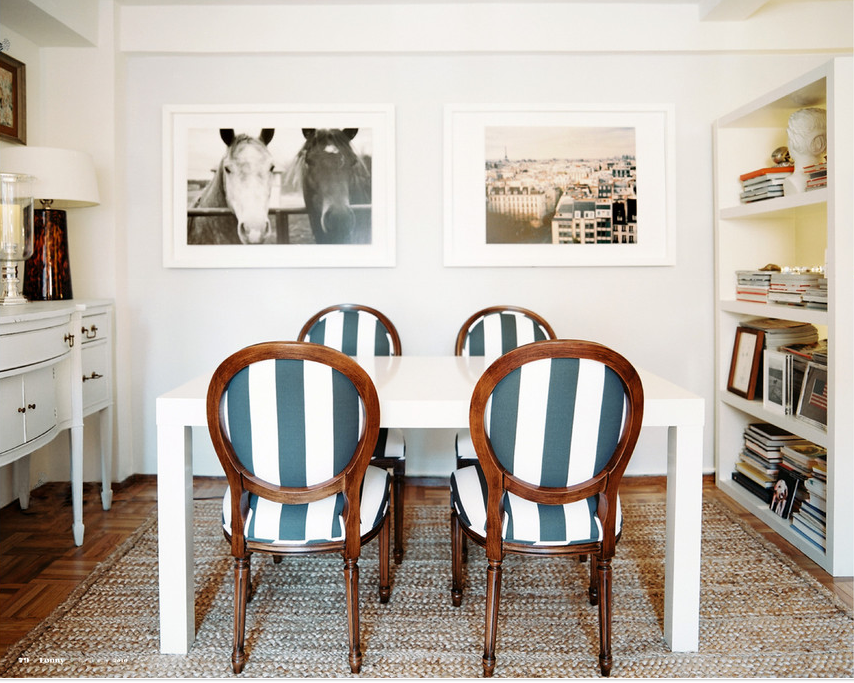
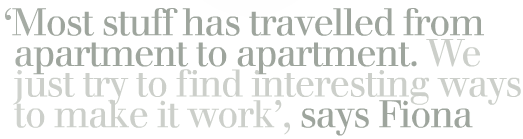
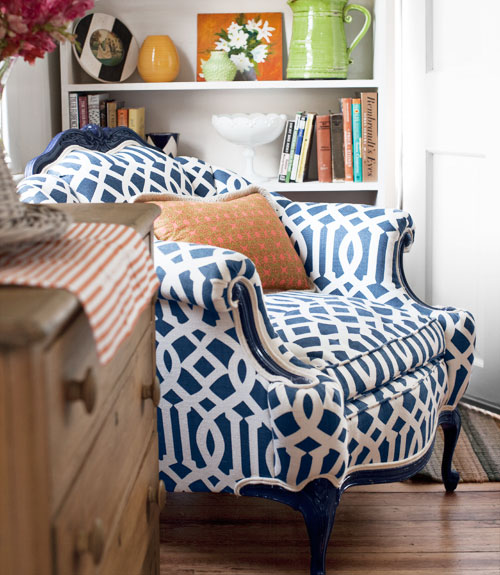
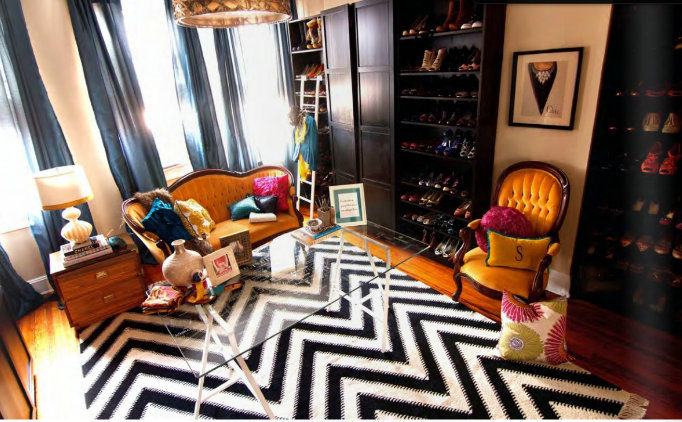
The striped modern upholstery balances out the traditional frames of the dining chairs

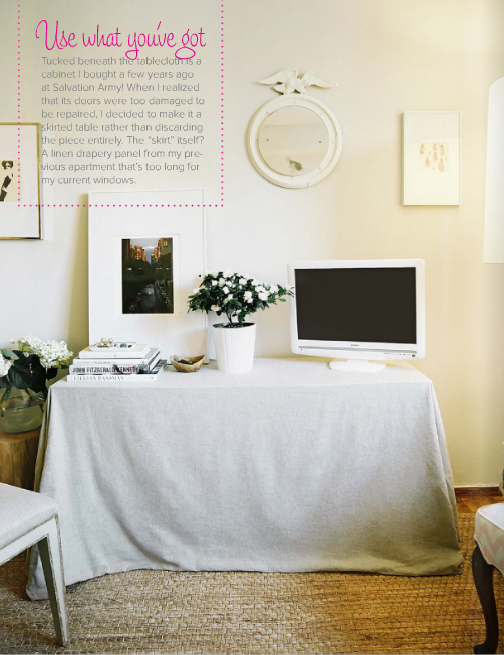
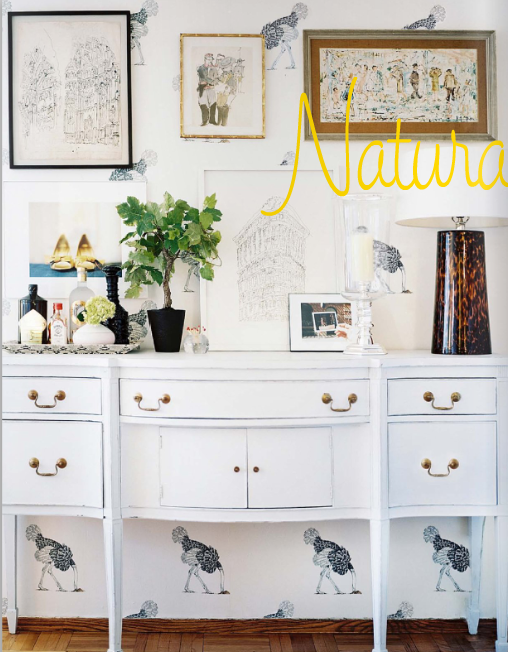
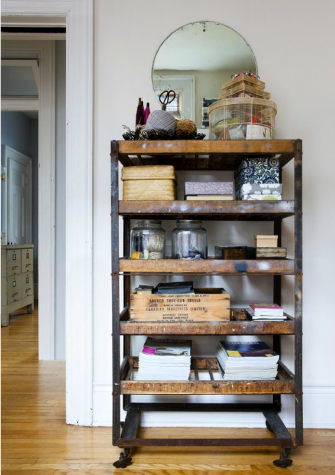
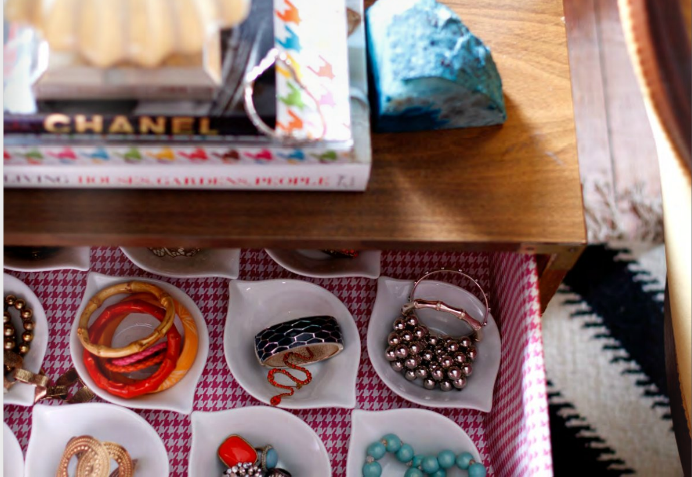
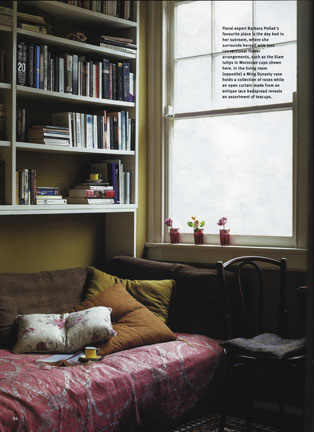
I love the idea of using what you already have.  Under the table cloth (which is actually a drape that Michelle already had but didn’t fit any of her current windows), is a sideboard that she found at a thrift store.  She wasn’t able to get it repaired as she planned, but instead of tossing it and buying something else, she worked with what she had and made it work.  I think it looks great.

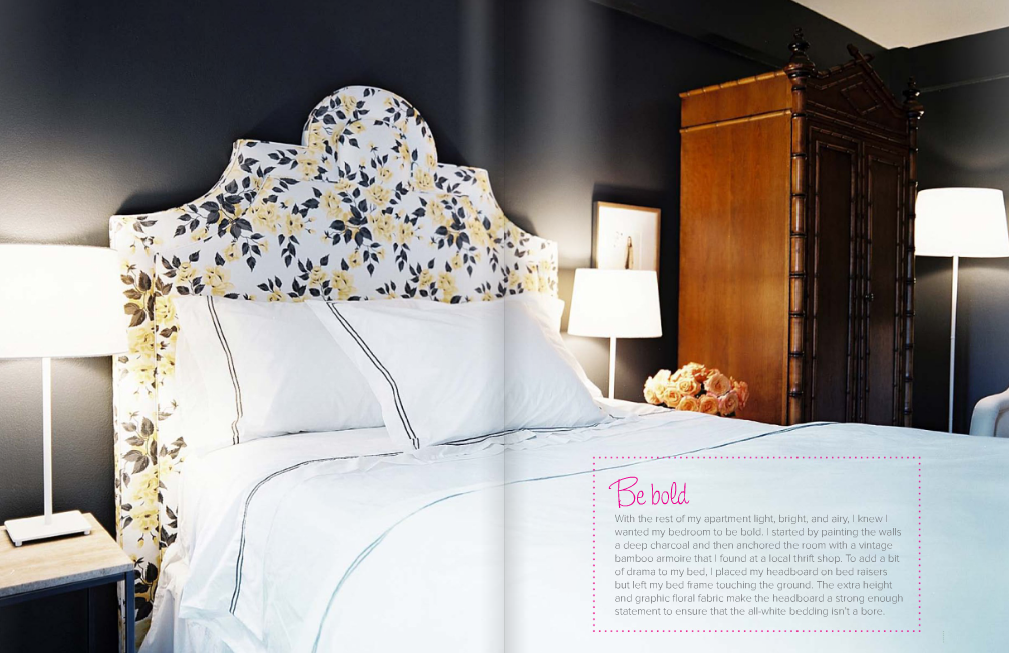
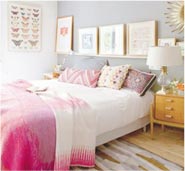
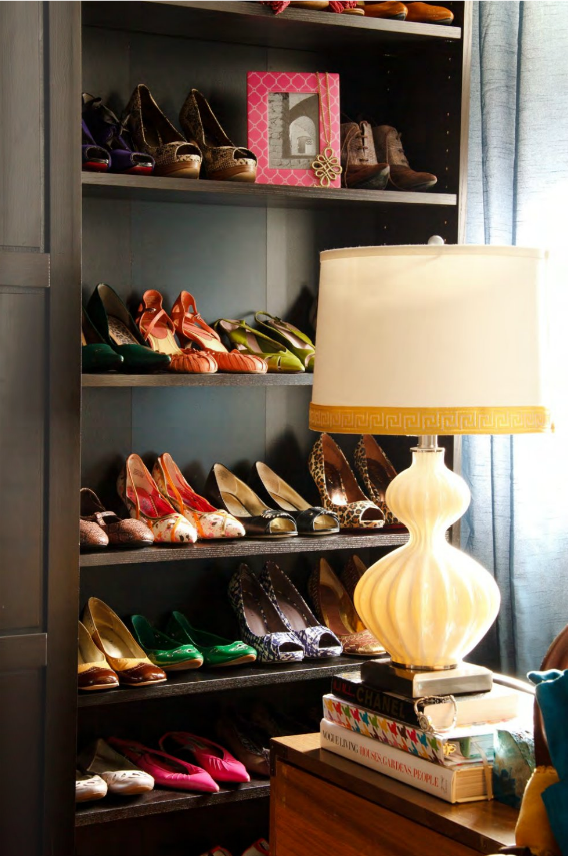
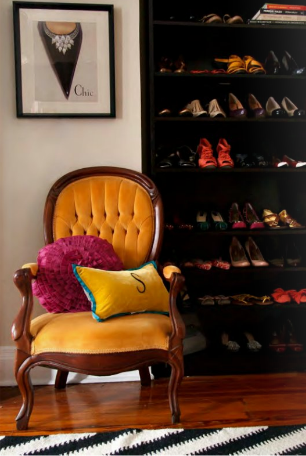
The textiles you see around her home are from her store which carries green fabrics, Rubie Green.

What do you think?

via Lonny Mag (April/May 2010 issue)

Happy weekend and some entryway love

0

Holidays are right around the corner – which means guests. Here’s a little inspiration if your entryway is in need of some sprucing up.

via Sweet Home Style

via House Beautiful

Ivy & Piper

Ivy & Piper

via Lonny mag

via Martha Stewart

Cute HOUSE Overload – the charming medieval homes of Germany’s Romantic Road

0

I thought by now I’d be much further into Chris and my Summer 2010 backpacking trip through Europe – but the Romantic Road tour was on July 22 – so we still have more of Germany, Austria, Hungary, Czech Republic, Holland, Belgium, and France to go… whew.

The “Romantic Road” is a name coined by travel agents, but it is actually a road used by traders in medieval times. It runs through the south of Germany – through the Bavaria and Baden-Württemberg regions. It’s call to fame are the quintessential German towns – complete with half-timbered and pastel houses, steeply pitched rooftops, cobblestone streets, and the occasional remains of city walls. You can read about each individual town along the route here.

We took a bus tour, which, I hate to say, was a mistake. We spent about 8 hours on the bus, and saw four towns – the first two for only 20 minutes, and the last two for only 15! We were really disappointed because the short amount of time was just enough to tease us into feeling like we were really missing out. I HIGHLY recommend renting a car to do this – or thoroughly researching the bus company route, or planning to stay in certain towns overnight and pick up the next day’s bus.

The four towns we stopped in were Augsburg, Nördlingen, Dinkelsbühl, and Rothenburg ob der Tauber

A map of the Romantic Road
Map via LosApos.com
I’ve done my best to match up each photo with the correct town – but as you can see, some of them look pretty similar.  If you see a mislabeled photo please let me know and I’ll correct it!
We don’t have pictures of Augsburg, because the highlight is the Fuggerei, which sadly, we didn’t have time to see. 

The below are from Nördlingen

Isn’t this the cutest little pistachio-colored house?


Check out the tiny birdhouse at the top of this home

Dinkelsbuhl – this was our favorite of the towns.  It wasn’t overly touristy, and all the colored buildings were unlike anything I’d seen


The below is Rothenburg od der Tauber, probably the most popular town along the route.


Pretty amazing stuff, right!?

As always – thanks to my boyfriend Chris for these gorgeous photos.

Here’s that list again of all my posts from our travels that I’ve posted –

Spain

•Introduction to my European backpacking trip and a list of places we visited
Galicia – Baiona and Isle de Cies
Galicia – the coast, some charming vineyards, and Pontevedra
Santiago de Compostela and gorgeous hidden beaches
Gorgeous mountain lakes of Picos de Europa
Stunning mountains – Picos de Europa
Bilbao and San Sebastian
Beautiful Barcelona
The amazing Sagrada Familia Cathedral in Barcelona
Art Nouveau dream house by Gaudi in Barcelona

Italy

Not to miss – the gorgeous rocky coast of Italy’s Cinque Terre
More from my summer traveling Europe – amazing Rome
From my summer in Europe – amazing Pompeii
Turquoise ocean and vineyards on cliffs – the amazingly stunning Amalfi coast
My Summer in Europe: Pictures from lovely Florence, Italy
Enchanting Siena
Venice
Lake Como, Italy

Switzerland
Jungfrau region, Switzerland, Part 1
Jungfrau region, Switzerland, Part 2

Germany
One of my favorite cities from my European backpacking trips – Ulm, Germany
Lake Constance

How To: A Kitchen Pegboard Wall Organizer

0

As I promised a couple of weeks ago, here is a fairly-easy DIY (and very inexpensive) that can save you at least one cabinet’s worth of space. For tiny kitchens, like mine – our pan and utensil organizer is a lifesaver. It can also look good and blend into your existing kitchen aesthetic with a couple of coats of paint.

The pegboard – finished!
(I apologize for the weird look of the photos – our camera is on the fritz)

We simply didn’t have enough cabinet space to hold all of our pots and pans, and our kitchen only had one very small drawer in it. We purchased a baker’s cart, (our’s is from Ikea), which definitely helped the situation, but we still needed more storage options if we wanted easy access and organization of our most commonly used kitchen wares. I thought pegboard would be the perfect solution (Julia Child made the idea famous), and figured above the baker’s rack would be the perfect spot.

First, I wanted to see how other people had implemented a pegboard into their kitchen so I could get some tips and words of wisdom.

The below proved to be valuable resources:
• Apartment Therapy “How To: Make a Pegboard Wall Organizer
• DIY Network “How to Install a Pegboard” (gives thorough directions on how to measure, frame, and install the board).

The Price break-down:
• Pegboard: $17.48 (We also had it cut to size – most home improvement stores provide this service
• Framing wood: Scraps leftover from a previous project
• 32 piece assorted pegboard hooks: $3.87
• Tool rack: $2.97 (See where I used it for holding measuring cups)
• Anchors: $1.98
• Screws: $1.18
• Paint: (Leftover high gloss and flat paint (I mixed them to create a finish more durable than flat, but less shiny than gloss) from when I painted the kitchen.

Also note, we did this without a drill, but it is definitely easier to use a drill than drive the screws by hand.

We started out with 2 pieces of wood to “frame” the pegboard, and a piece of white pegboard cut to the desired size. The purpose of putting the “frame” behind the pegboard is to create enough space between the wall and the pegboard to insert the various hooks. I painted the wood and the pegboard with leftover paint from when I painted the kitchen. I wanted the pegboard to blend in with the wall.

From this side angle you can see how the frame creates enough space between the wall and the pegboard.

Chris has much more patience with measuring and prep work, and is better with math, so he did the measuring to attach the frame to the pegboard. We chose to attach the frame to the pegboard, than mount it to the wall, but it might be easier to mount the frame to the wall, and then mount the pegboard to the frame.

Chris also carefully measured where to put in anchor screws so the screws in the frame would line up.

Then tighten the screws into the anchors!

Now comes the fun part – getting to arrange pots, pans, and other utensils on the pegboard!

A variety of hooks

My package of hook assortments also came with hook locks – the black piece you see over the hook, which I didn’t know about, but they are great at keeping the hook from falling out when you take a pan down.

I was lucky that the bottom of our baker’s cart’s shelves were slatted, and our pot and pan lids fit perfectly in them!

The magnetic knife strip I actually found on the curb in someone’s giveaway pile.  I simply purchased screws long enough to go through the knife strip, pegboard, height of the frame, and then into the wall – and now have easy access to my knives.

What do you think?  Would you ever consider a pegboard organizer in your kitchen?  Do you currently have one?

A sweet, vintage tresure-filled Toronto home

0

A Monday pep-up for you! I love the modest, personality-filled character of this home.

Great light in this room!

Plants add so much life to a space.  We currently have 4 in our small living room.

I can’t decide if this dining room would benefit from a flat-weave area rug.

via Covet Garden

Furniture wishlist

0

So I don’t have space for most of these beauties, but maybe one day I’ll be able to add a few to my collection..

A color statement dresser.  I kid you not my dresser as a kid was extremely similar.  Like most of the furniture in my bedroom I assumed my grandfather had made it.  Being that the dresser was shared among four small children though, the dresser was pretty banged up and covered in stickers…
via Ivy and Piper

The french chic upholstered piece.  Works in so many spaces
via Pinterest

This porcupine quill-framed mirror.  Need I say more?!?
via Real Simple


via The Nest Mag

The Scandinavian sideboard or console.  The mother of all clean design.
via BHG

The bold print chair.  I don’t care for the frame being painted blue.  But I’m loving all the bold upholstery I’ve been seeing.
via Country Living

The velvet chaise lounge.  What girl secretly (or openly) doesn’t want one
via Crate and Barrel

The winner of the Royal Design Studion Stencil is….

0

#6 – commenter “Mreffey”  Mreffey, please conact me at ashley [at] decorologyblog [dot] com and we will hook you up with your stencil!

A master bedroom turned into an amazing closet/dressing room

0

God bless this woman. She convinced her husband to turn their master bedroom into a walk in closet, and the downstairs guest room became their master bedroom.

I’m jealous.

The desk is from ikea – the lamp a thrift find

She stores her jewelry in chef’s pinch dishes

The only thing I would have is maybe a vanity in place of the desk

Read all about this mother of all walk-ins at House of Fifty.

A winter’s day refuge: the home library

0

As the days get colder and gloomier, we naturally spend more time inside. Sometimes a rainy or snowy day is just the excuse you need to cozy up and spend the day with a new or well-loved book.

via House of Fifty

That’s one comfy looking loveseat. I’m sure I could read there all afternoon.

via Little Green Notebook

Talk about book storage!

via Loft Life Mag

If I ever have the space, creating a little reading nook like this will be a top priority!

via Maree Homer

via Marie Claire Maison


Check out how they’ve even extended the bookcase on the sides. Definitely making the best use of space here.

via Poppytalk Handmade on Pinterest

via Apartment Therapy

I’ve been reading a lot lately that if you have “ugly” books, to cover them in plain white paper to create a nicer looking shelf. I don’t know how I feel about this. Something about it to me seems too forced, but I’ve never seen it in person. Has anyone tried this?

via Ballard

dreamy

via Sweet Home Style

Squeeze the most out of an otherwise unusable wall space by running low shelf units along the bottom.

via Sweet Home Style

Do you have a dedicated home library, are your books spread out throughout the house, or have you carved out a space for books in another room?

Tropical resort bliss

0

I want a tropical, beach vacation in the worst sort of way. No computer, no TV – just sun, the ocean , sand, and rest, rest, rest. I think this place – Ayada Maldives – would do just fine

via Ayada Maldives