


Starting a bathroom renovation can be a exciting, but it has it’s fair share of challenges. Here is a complete bathroom renovation guide with step-by-step instruction to help your project go as smoothly as possible:
First Phase Steps
- First, Define Your Goals and Budget:
- Determine why you want to renovate. Are you looking to update the style, increase functionality, or fix specific issues?
- Set a realistic budget based on your goals. Consider materials, labor costs, and any unexpected expenses.
- Research and Inspiration:
- Browse home improvement magazines, websites, and social media for bathroom design ideas.
- Create a mood board or a file with pictures of bathrooms you like to help guide your design decisions.
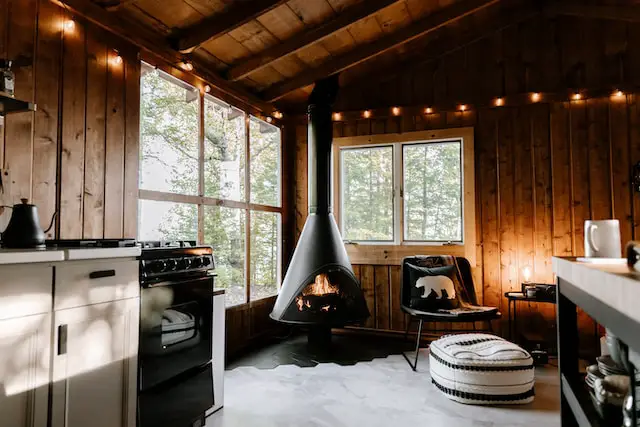
- Consider looking into common mistakes, like reading posts like the 6 Mistakes to Avoid When Remodeling Your Bathroom
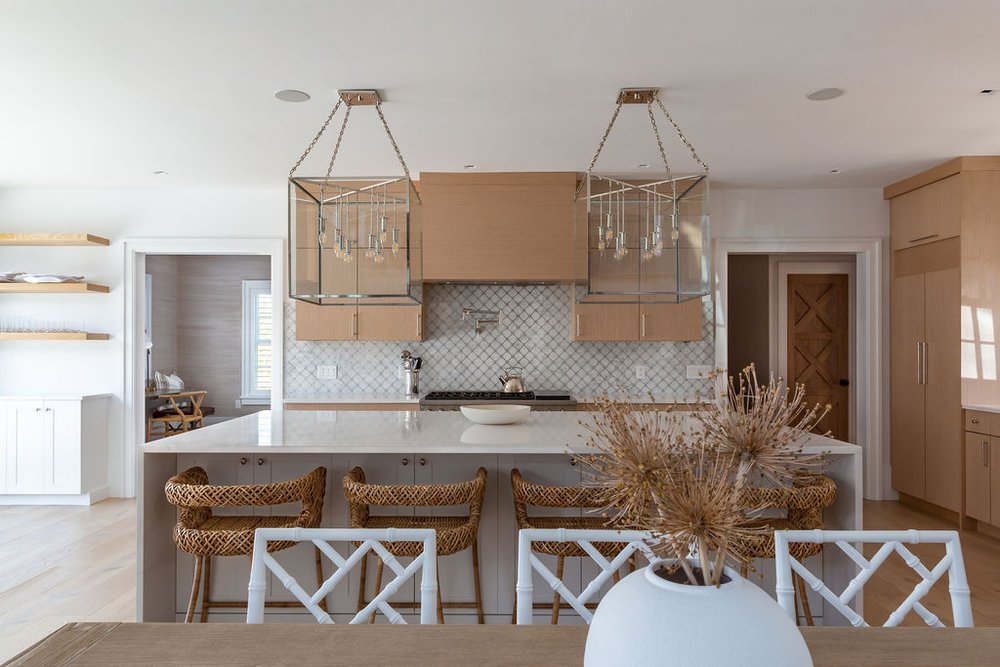
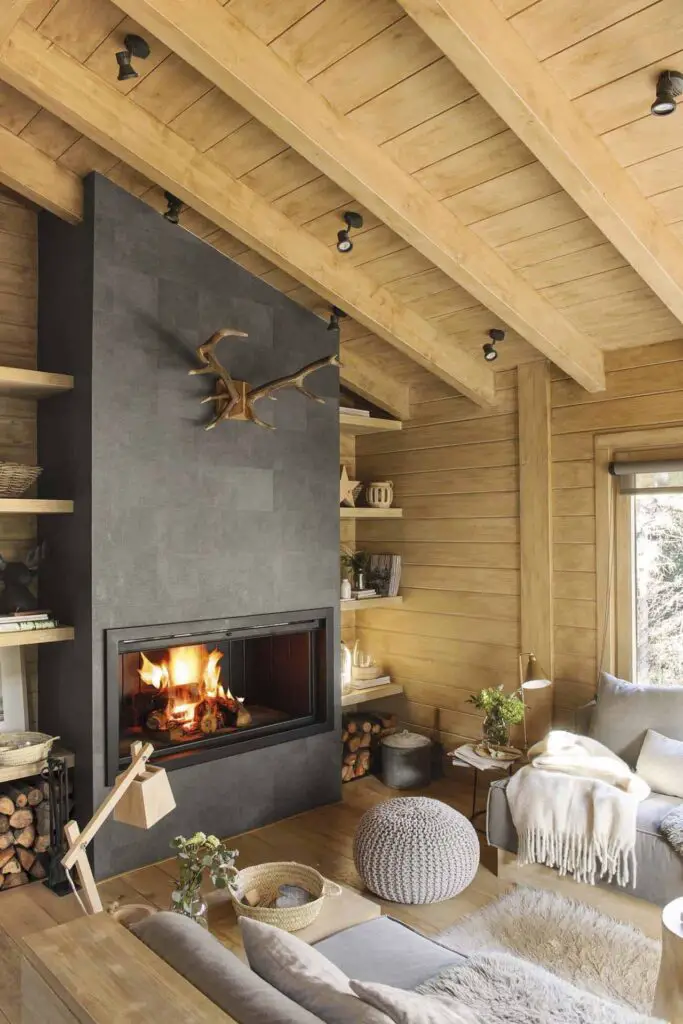
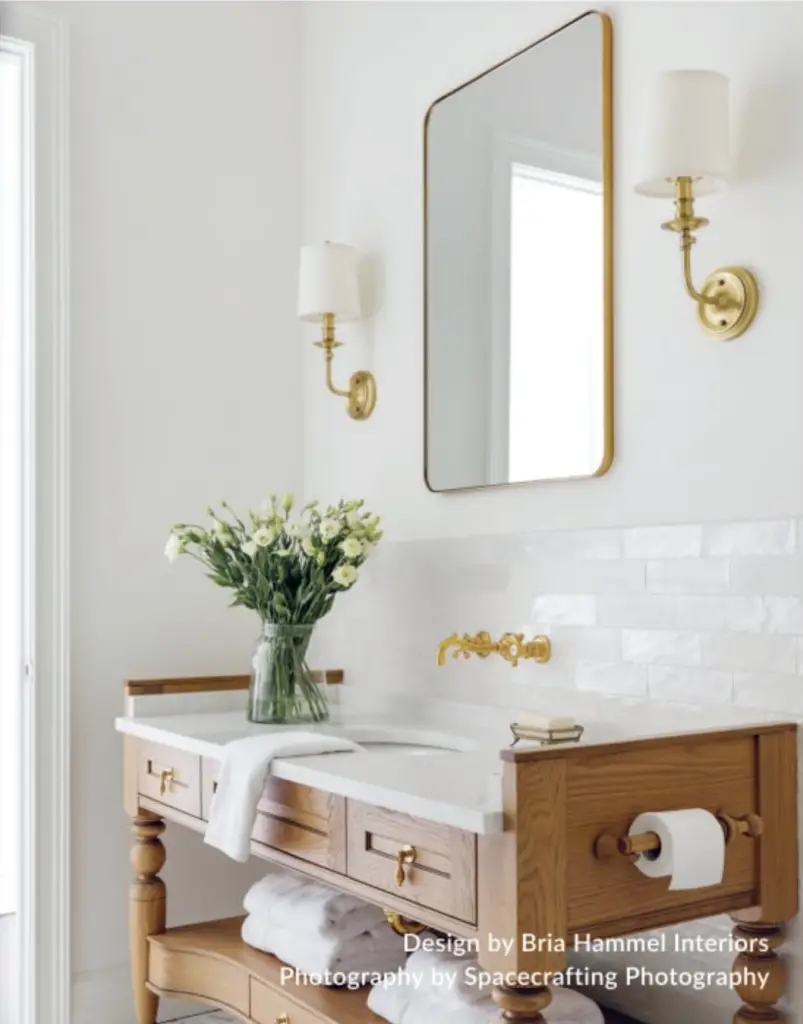
Used with permission from Kara Miller Interiors
- Next, begin Assessment and Planning:
- Inspect your current bathroom’s layout and identify any structural issues or plumbing concerns.
- Measure the space accurately and determine if you want to keep the existing layout or make changes.
- Hire Professionals:
- Decide whether you need professional help. For complex renovations, it’s advisable to hire a contractor, plumber, and electrician.
- Obtain quotes from multiple professionals and check their references.
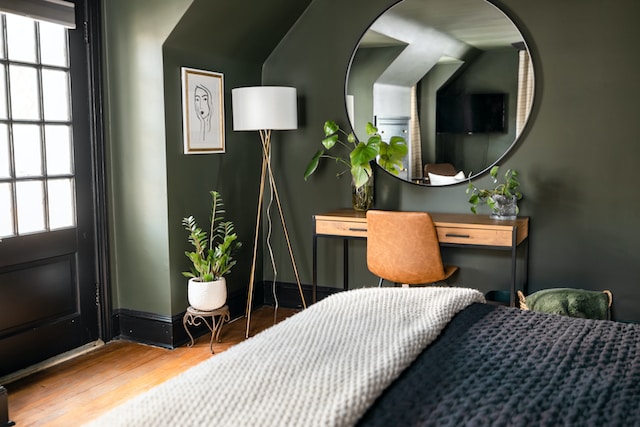
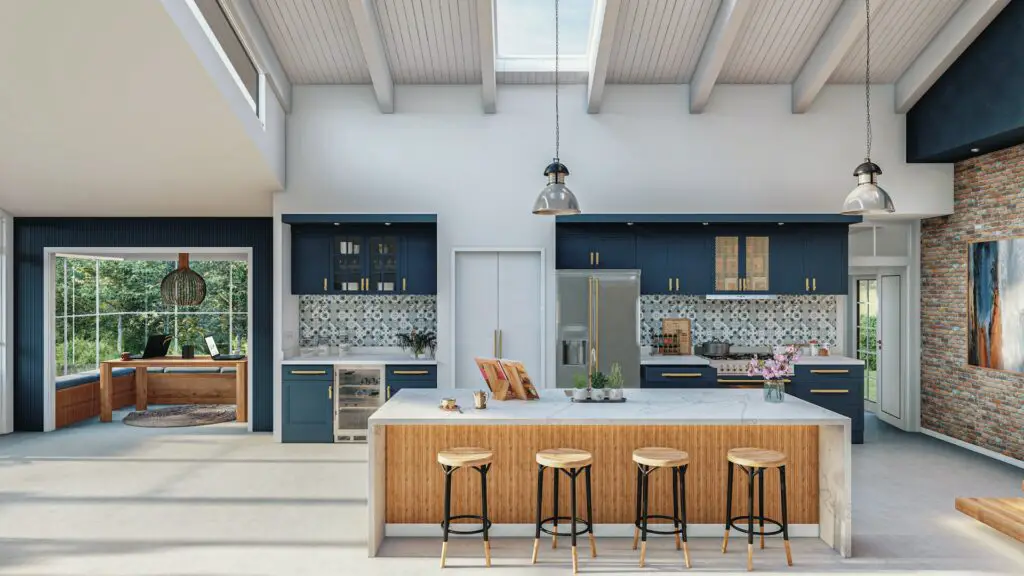
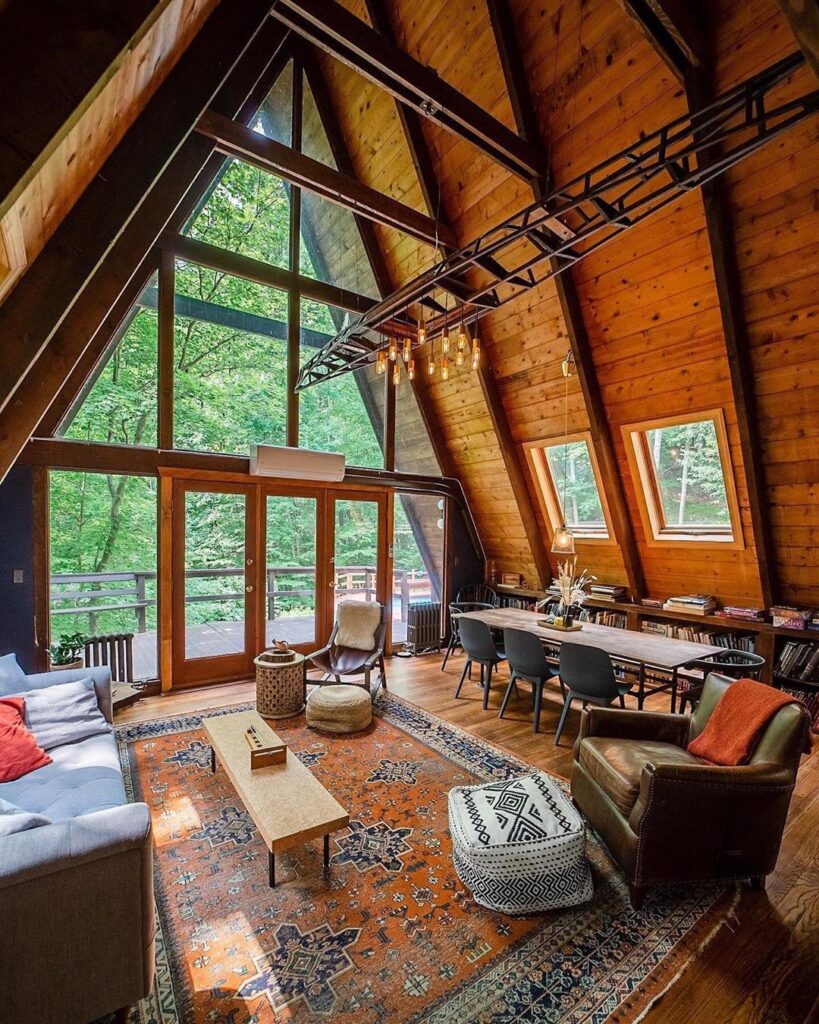
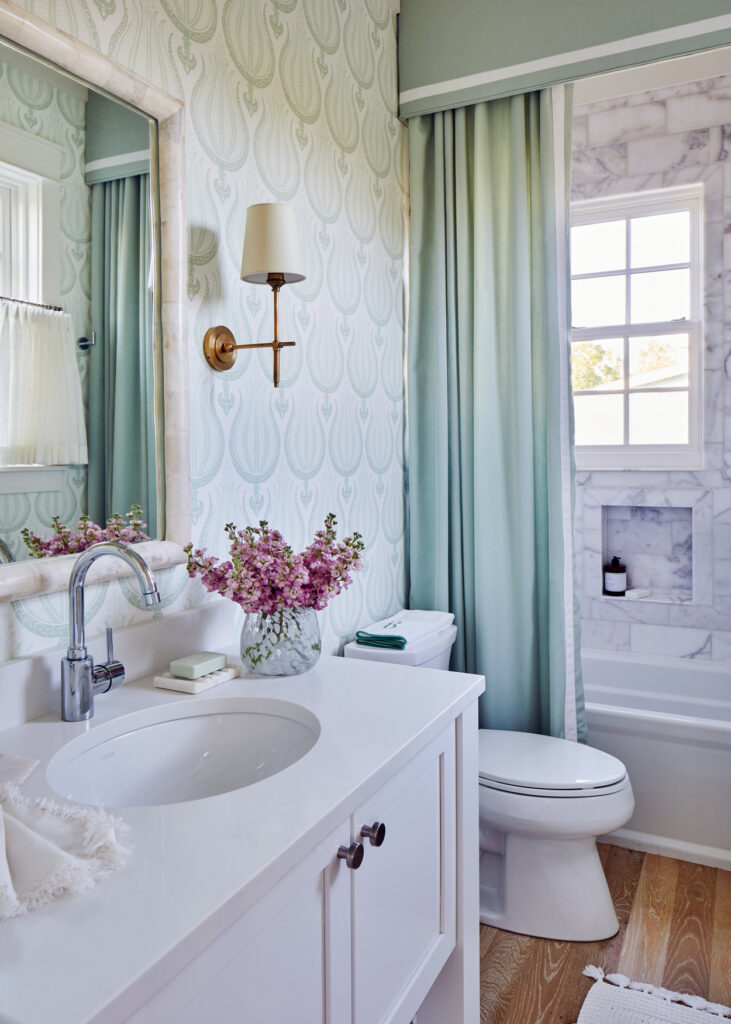
Used with permission from Kara Miller Interiors
- Design and Layout:
- Create a detailed design plan, including the placement of fixtures, cabinets, and other elements.
- Consider the flow of the space and how different elements will work together.
- Select Materials and Fixtures:
- Choose materials for flooring, walls, countertops, and fixtures. Consider durability, maintenance, and your design preferences.
- Shop for plumbing fixtures, lighting, and hardware. Make sure they complement the overall design.
Middle Phase Steps
- Obtain Necessary Permits:
- Check with your local building department to determine if permits are required for your renovation.
- Obtain the necessary permits before starting any work.
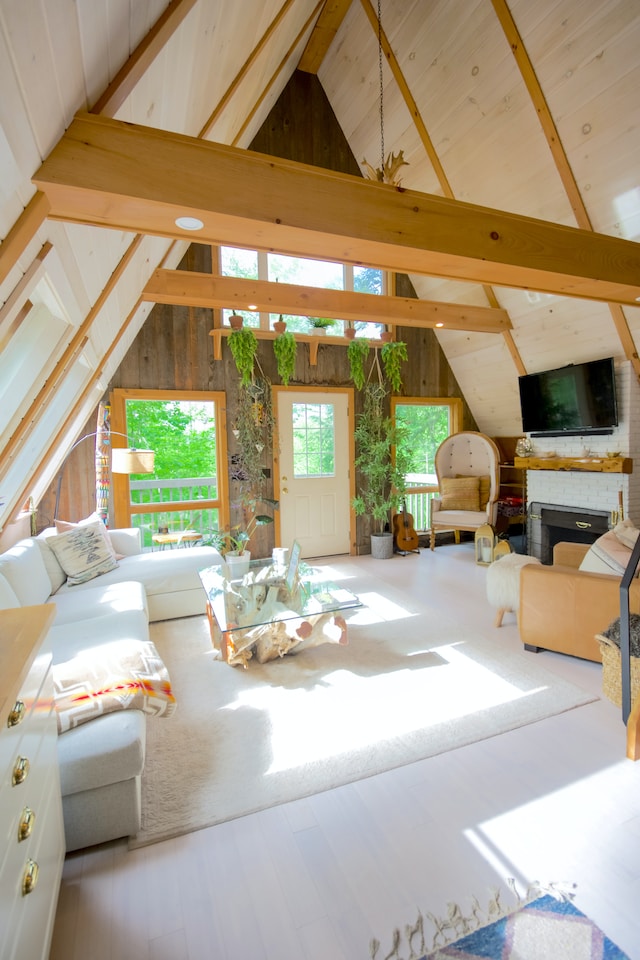
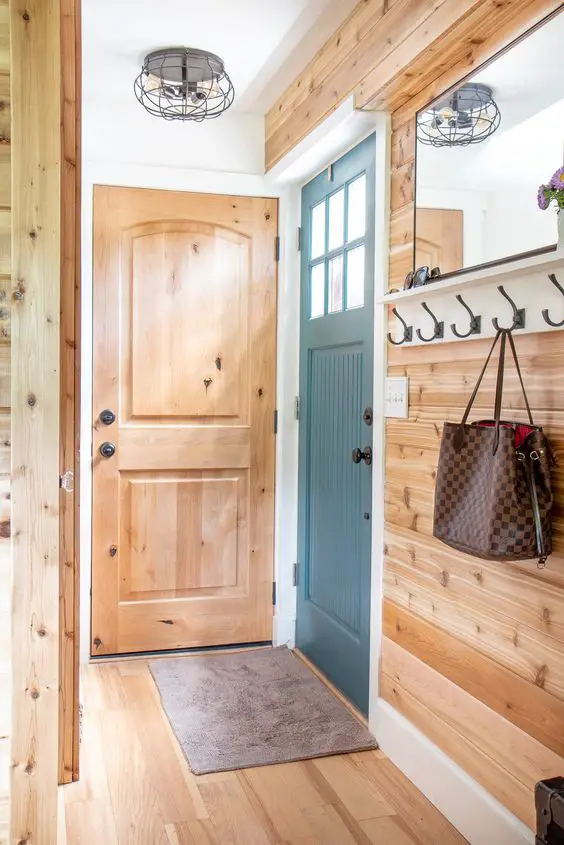
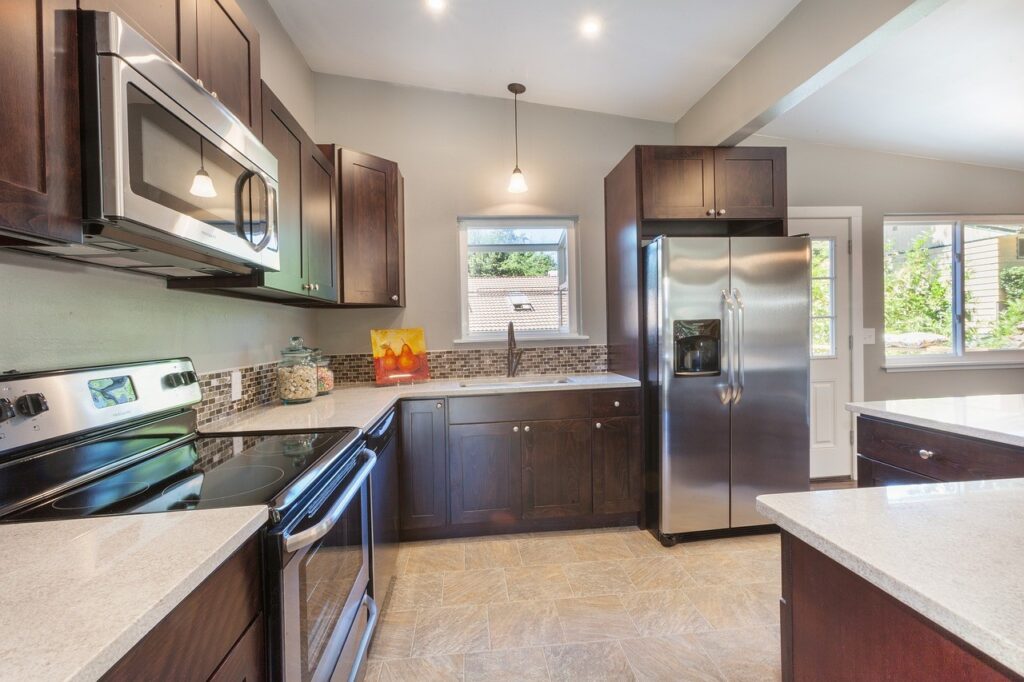
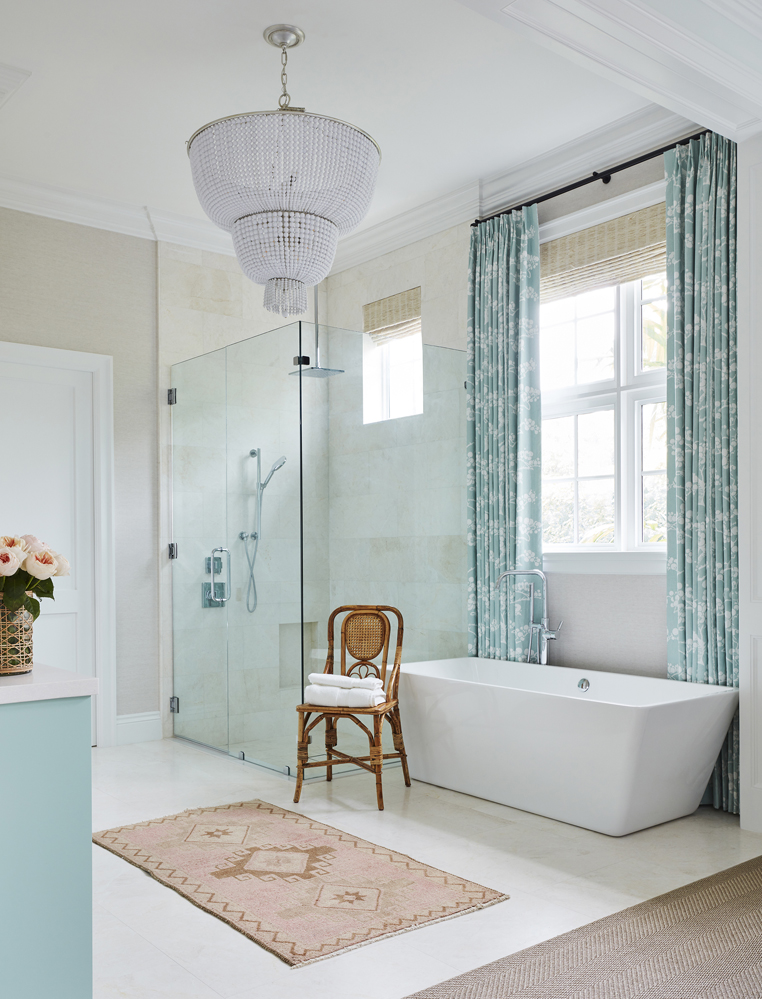
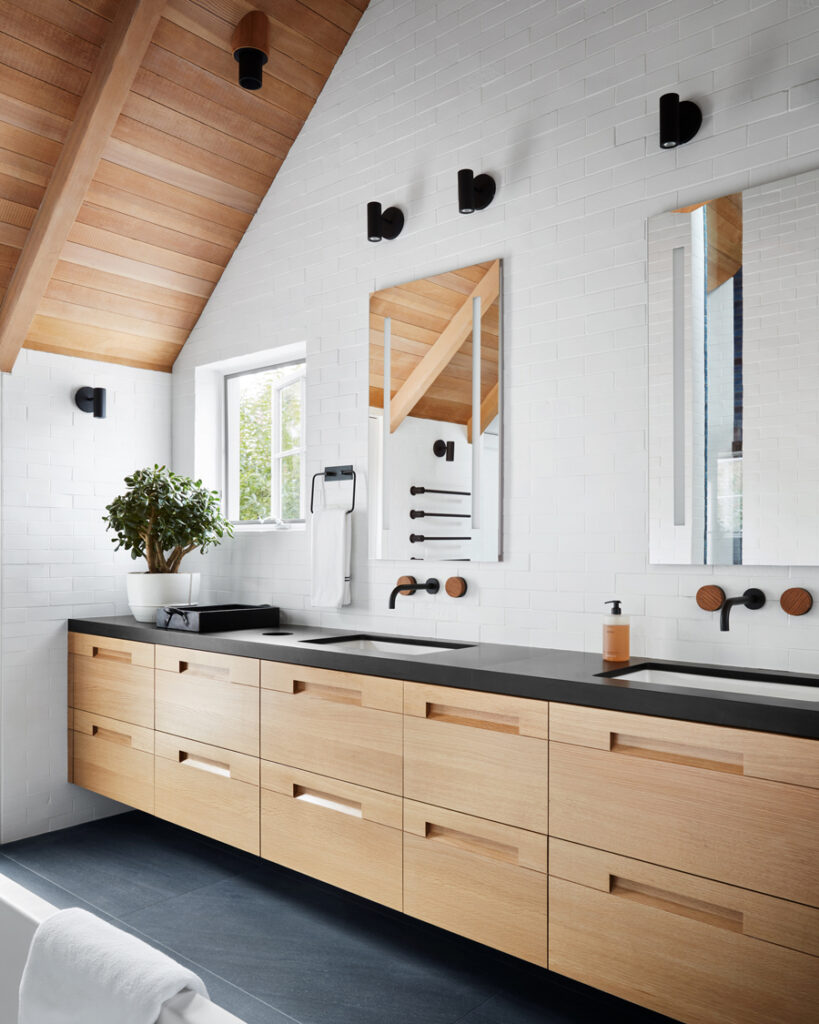
Used with permission from Massucco Warner
- Demolition:
- Carefully remove existing fixtures, tiles, and other elements. Take precautions to protect areas of the house not being renovated.
- Dispose of debris responsibly or arrange for a waste removal service.
- Installation:
- Begin with any necessary plumbing and electrical work. This may involve moving or adding outlets, rerouting plumbing, or installing new fixtures.
- Install new flooring, walls, and any other structural components.
Final Steps
- Finishing Touches:
- Install cabinetry, countertops, and other fixtures.
- Paint or wallpaper the walls.
- Install mirrors, lighting, and other decorative elements.
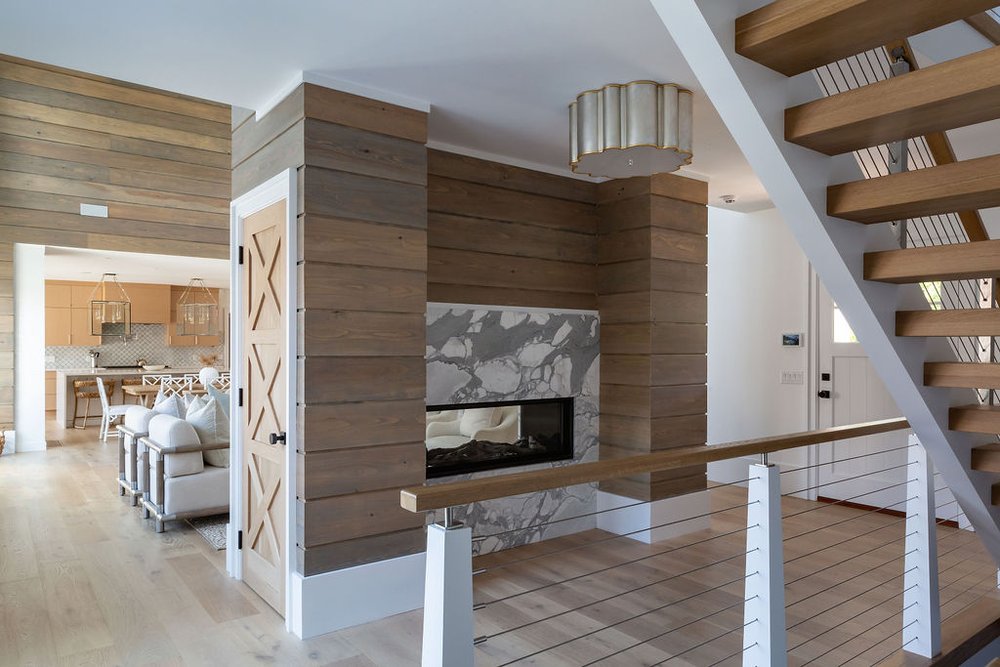
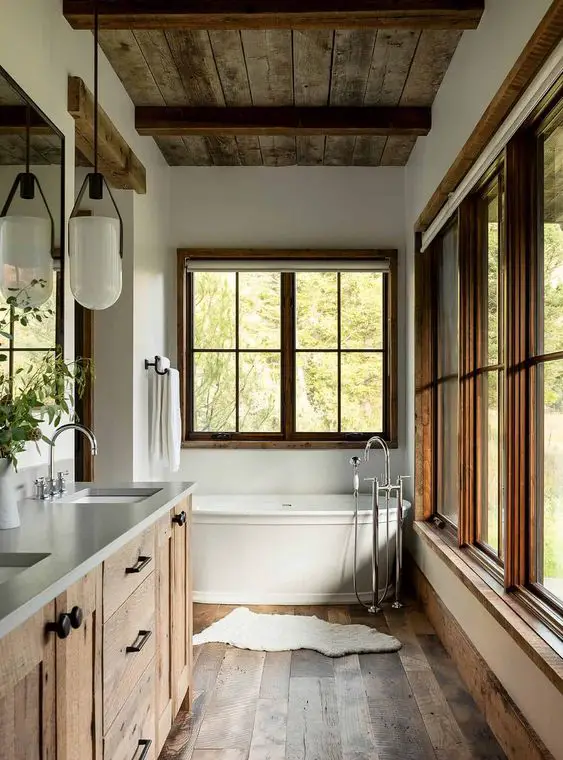
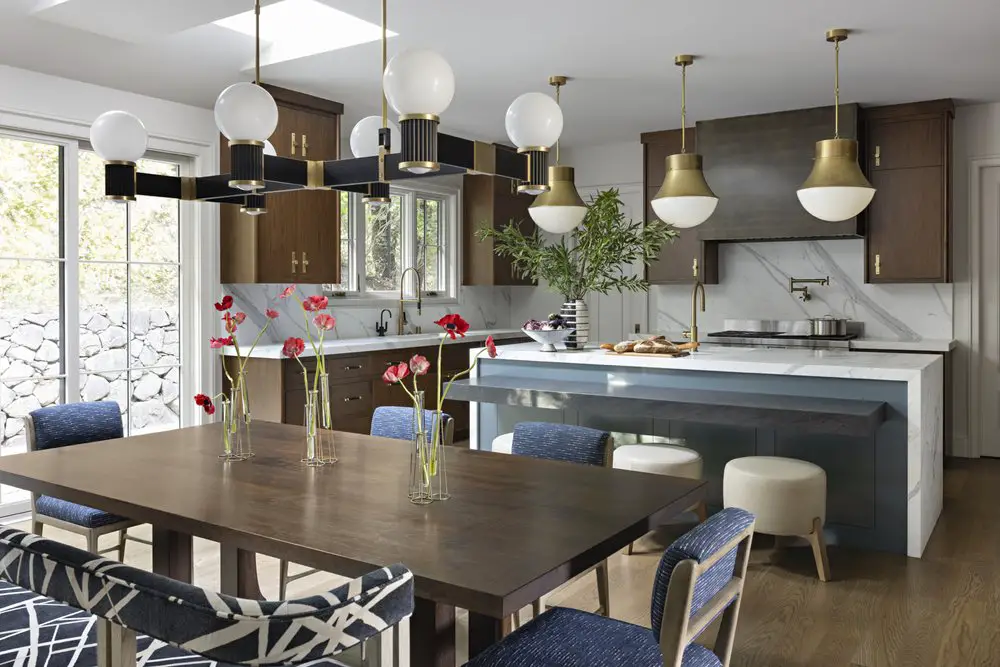
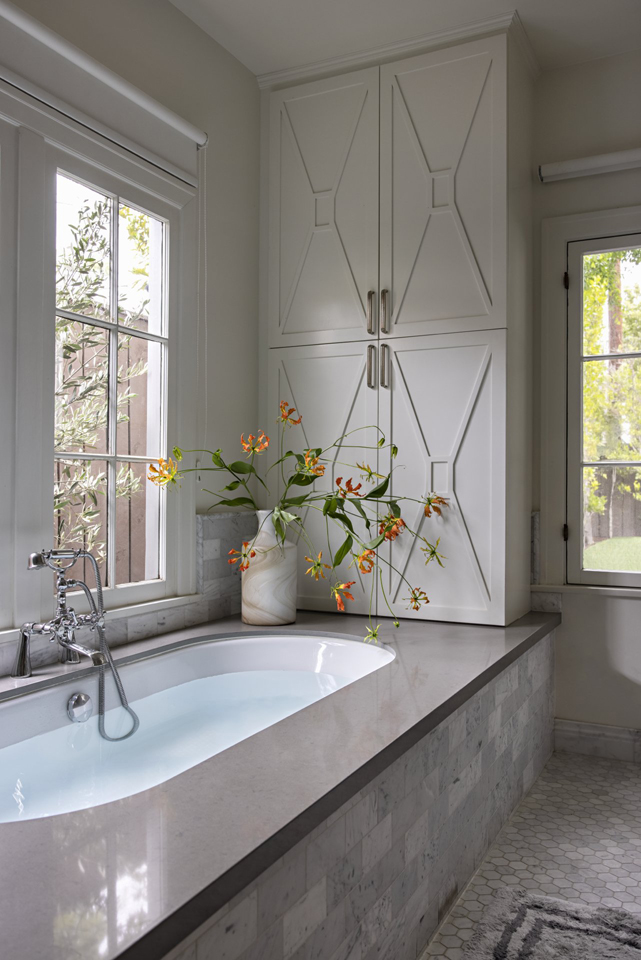
Used with permission from Timothy Godbold
- Clean Up:
- Thoroughly clean the renovated space, removing any construction debris or dust.
- Ensure that all fixtures are functioning properly.
- Lastly, Final Inspection:
- Check the completed renovation against your initial goals and design plan.
- If applicable, schedule a final inspection with your local building department to ensure compliance with codes.
Remember, communication is key throughout the process. Keep open lines with your contractors and be prepared for unexpected challenges. Renovations can be disruptive, so plan accordingly, and be patient with the process.