


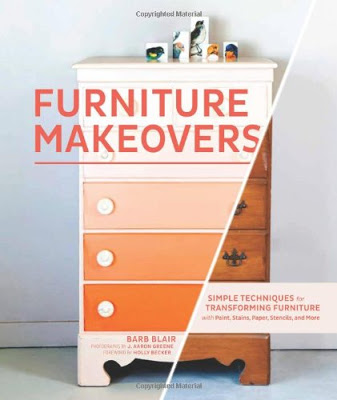
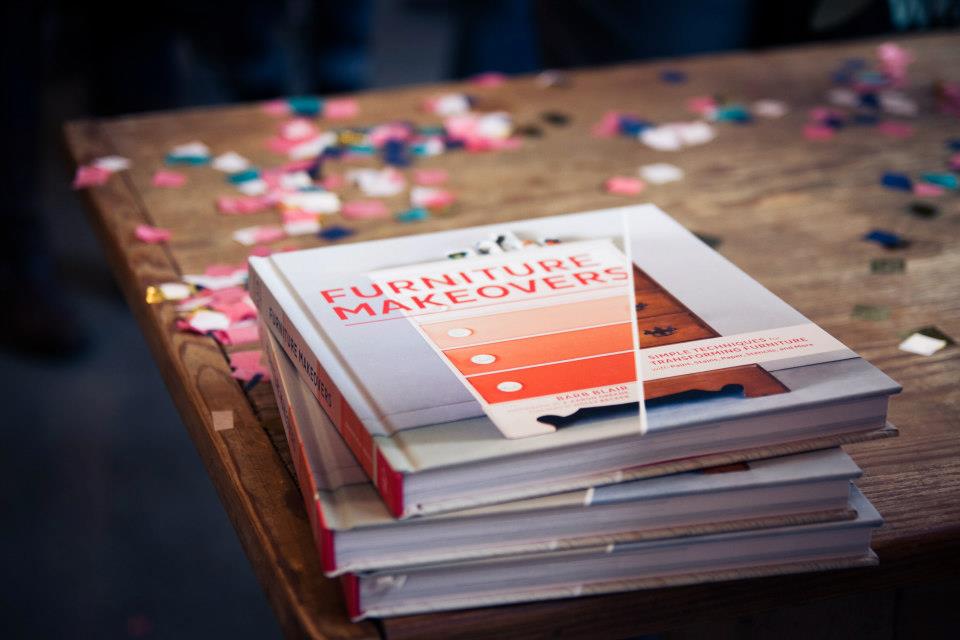
I love DIY books – especially when they’re filled with advice and projects that I would actually do AND will save me big bucks. That’s why I was so excited to receive “Furniture Makeovers” by Barb Blair.
Here’s a description:
Furniture Makeovers: Simple Techniques for Transforming Furniture with Paint, Stains, Paper, Stencils, and More shows how to transform tired furniture into stunning showpieces. You’ll never look at a hand-me-down dresser the same way again! The book offers 26 easy-to-follow techniques that can be applied to all different types of pieces, from bookshelves to desks: painting, applying gold leaf, wallpapering, distressing, dip dyeing, and more. In addition to the core techniques, author and Knack Studios founder Barb Blair shares 30 beautiful before-and-after makeovers from her studio and outlines how to achieve each look. With helpful step-by-step photographs, a visual glossary explaining all the tools and materials needed, and a lovely contemporary aesthetic, Furniture Makeovers is a treasure trove of ideas and instruction for the home decorator.
What I loved about this book is how accessible it was. Blair never expects you to have access to a welder, industrial belt sander, or 50″ table saw. She shows you how to complete each project in an easy to understand fashion with materials anyone can get their hands on and use – with pretty pictures to boot!
Since I would never steer you wrong, I decided to try out a project on my own using only Furniture Makeovers as a teacher. See my results below.
Since I was a newbie, I wanted to start on something relatively small and uncomplicated, so I chose this nightstand boyfriend has had since his bachelor days. In fact, it has lived in a few bachelor pads over the years, so it was in need of a thorough cleaning to say the least!
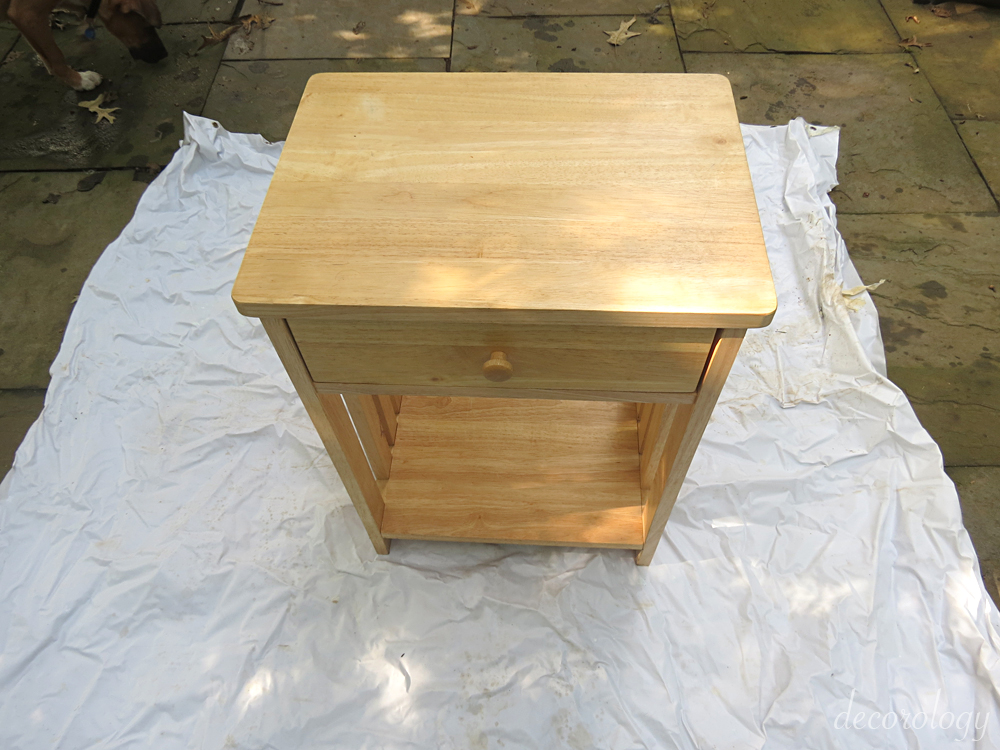
My subject. Nothing fancy, but solid wood construction.

After!
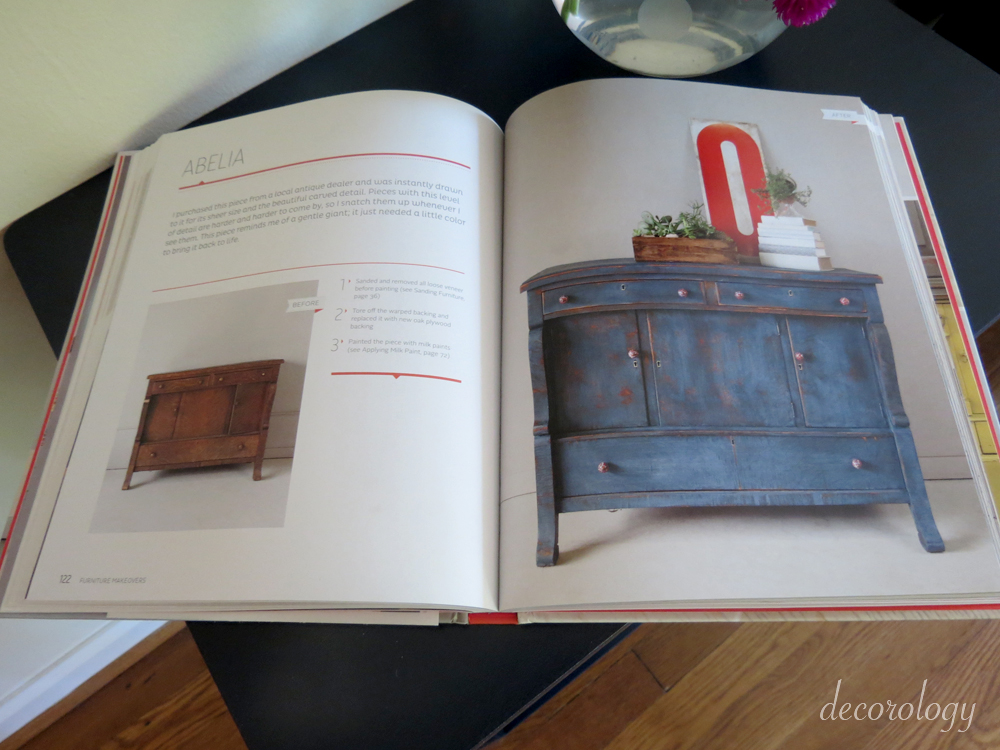
I wanted to create a finish similar to Blair’s “Emmaline” piece, a gorgeous chest of drawers that she painted and then stained to create an authentic worn look. I didn’t want my project to come out looking too distressed or shabby, just like a piece that’s been around for a few decades.
Here’s is the project that inspired me.
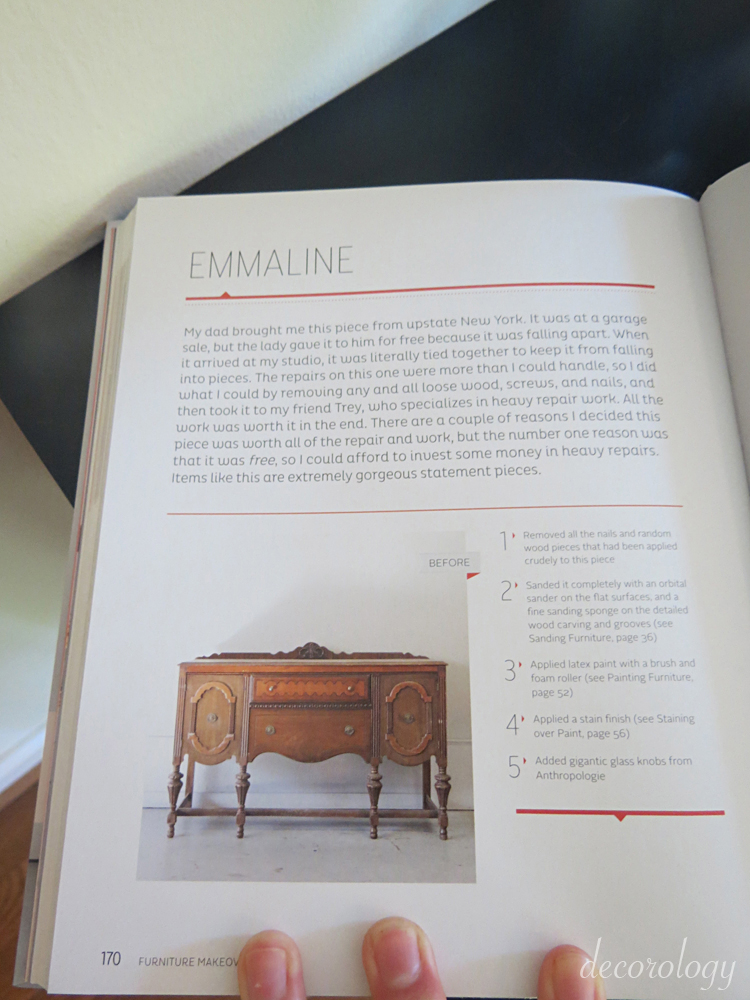
“Emmaline” before – a lady with great bones!
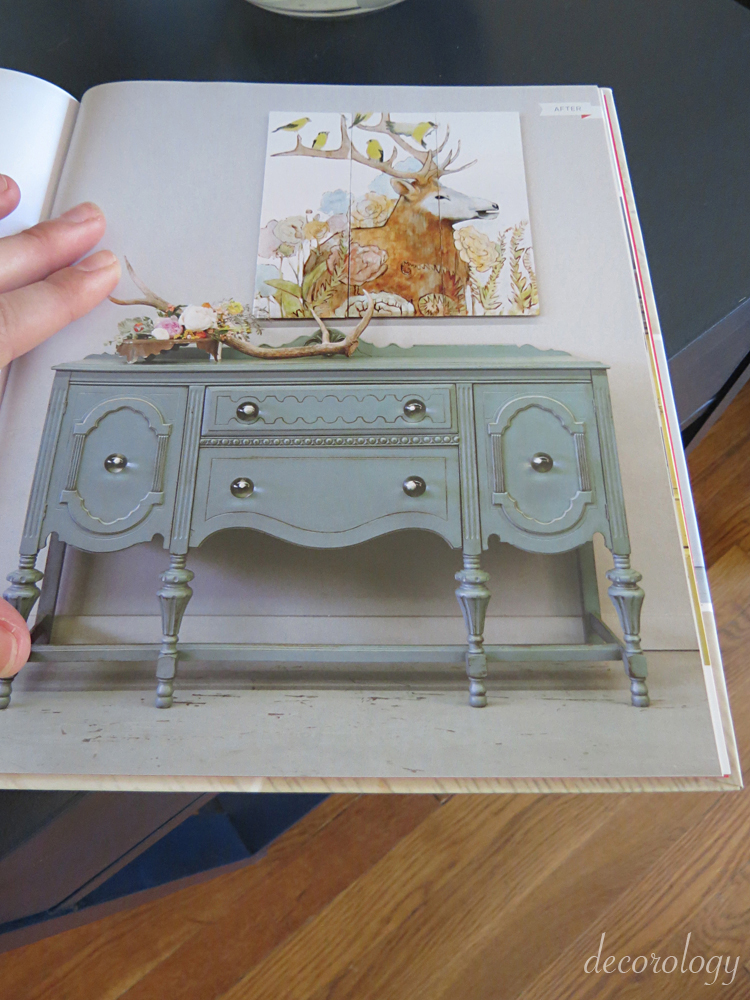
“Emmaline” after -now with the surface beauty to match!
Here’s how I transformed our bachelor pad nightstand into a sophisticated looker..
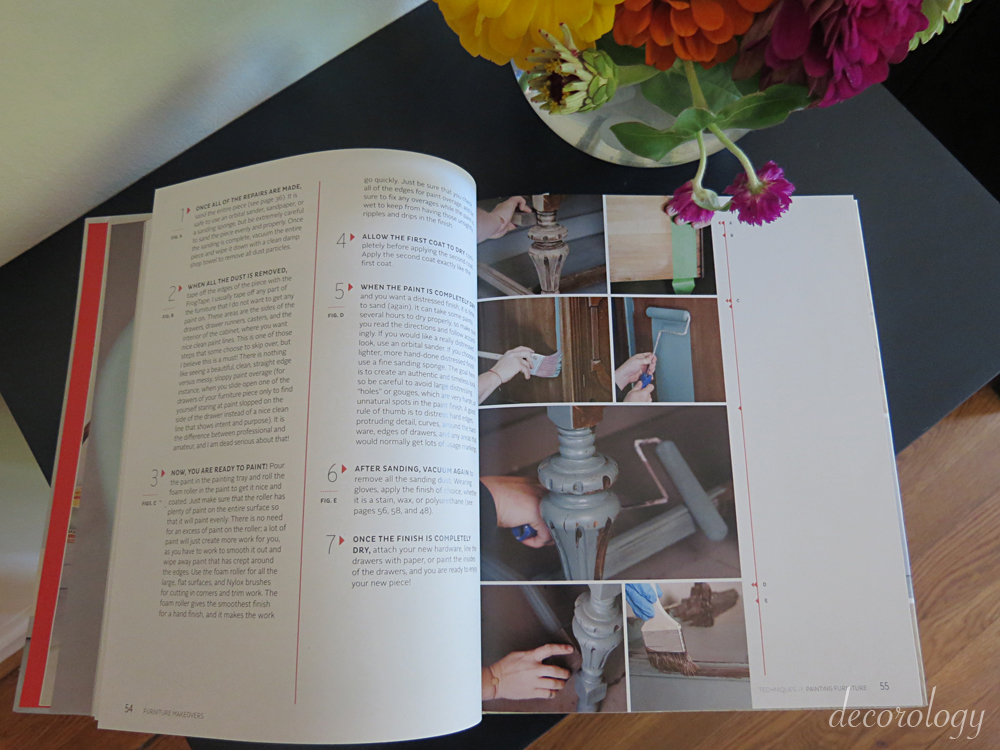
I carefully reviewed Blair’s instructions on painting a piece of furniture – from prep to completion…
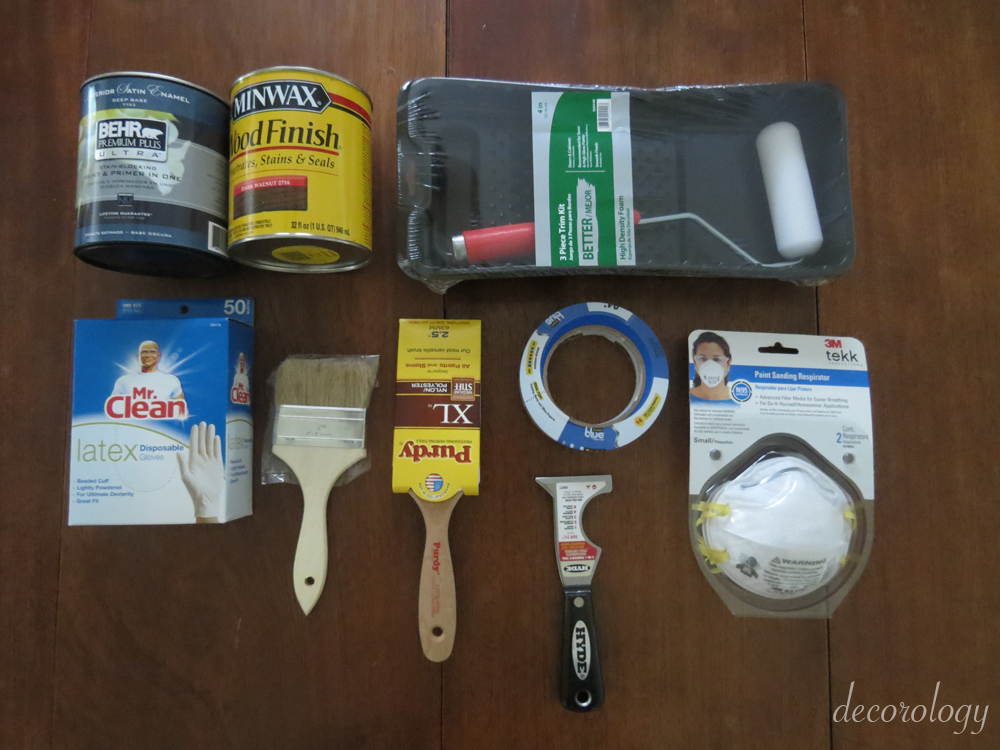
Gathered my essential supplies. All supplies are thoroughly covered in the beginning of the book, and then each project lists the supplies needed.
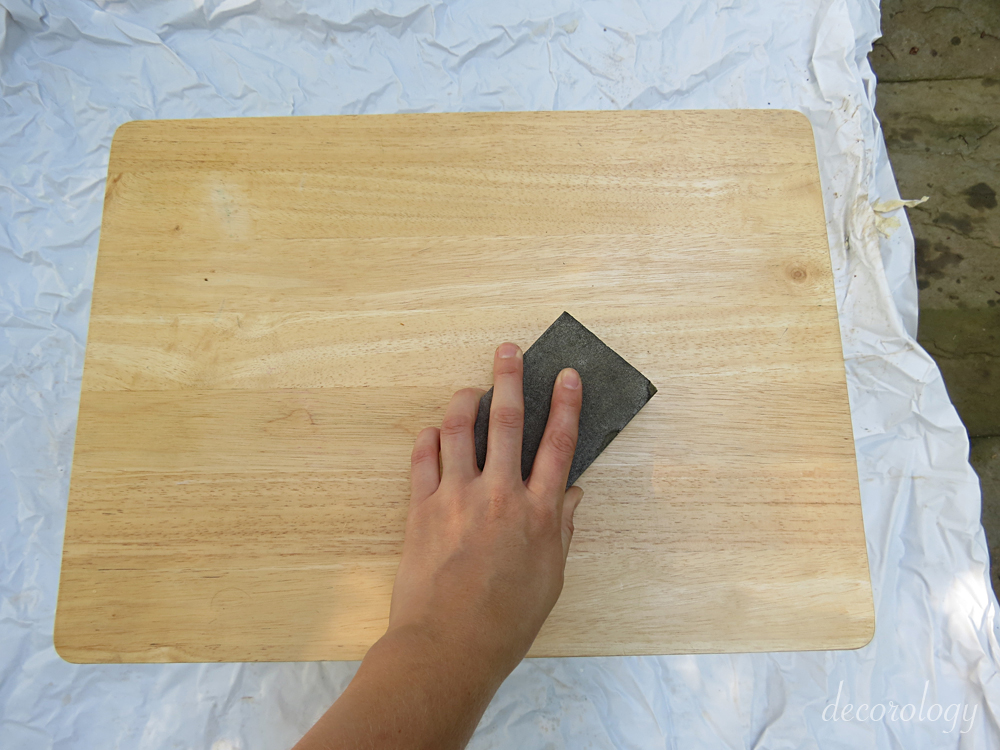
Did the necessary sanding and cleaning (I like to use old vinyl shower curtains as my drop cloths).
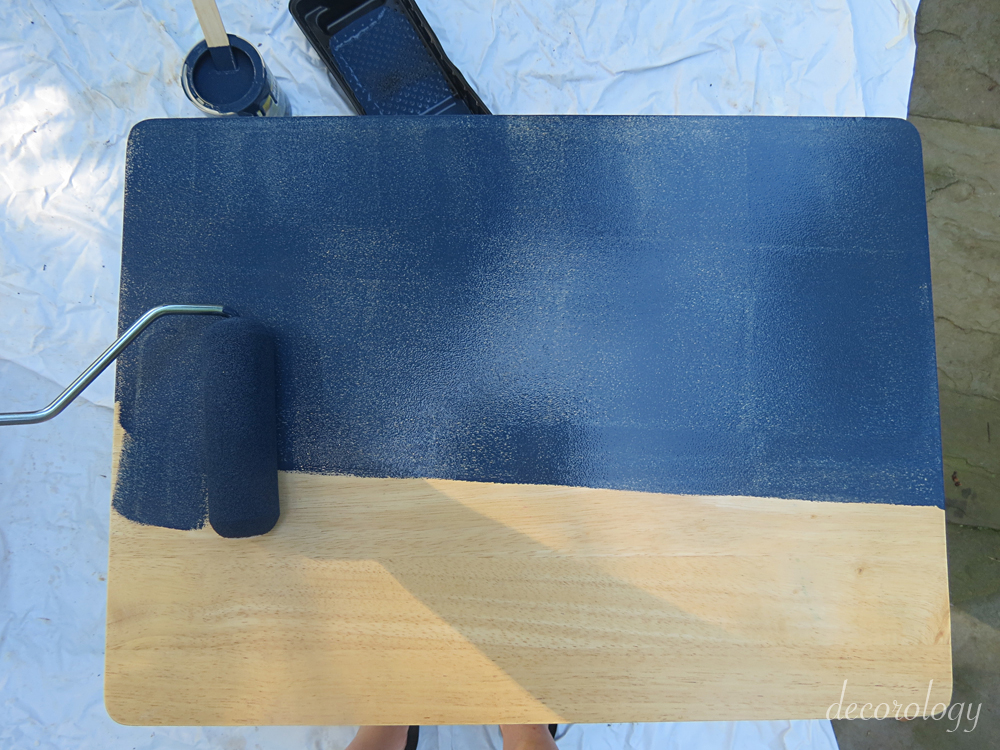
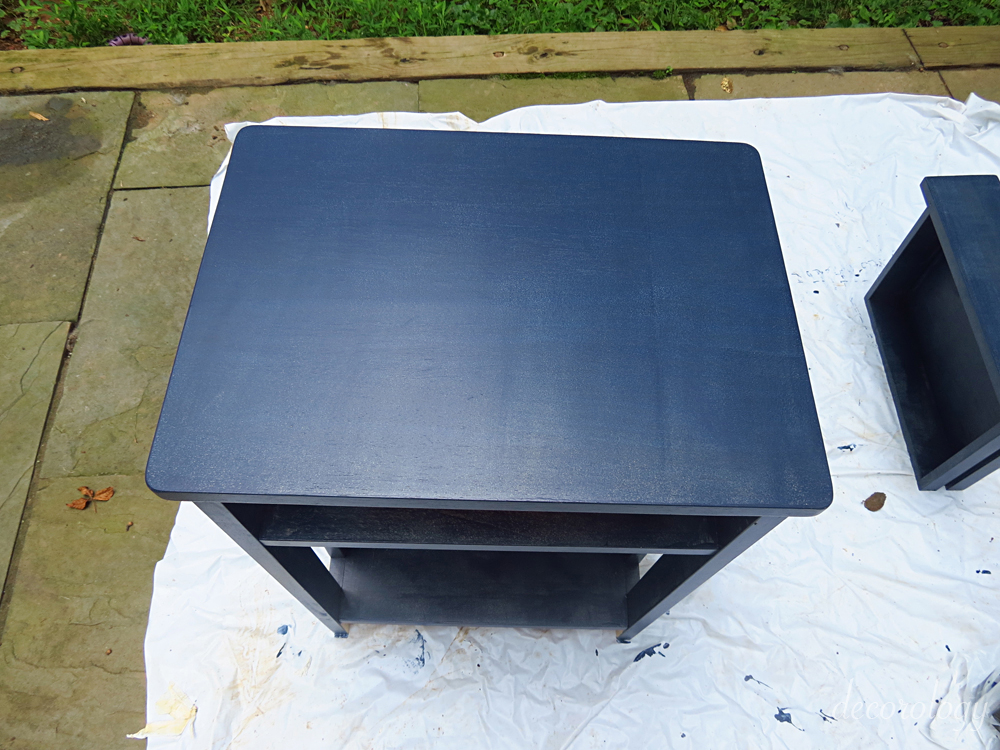
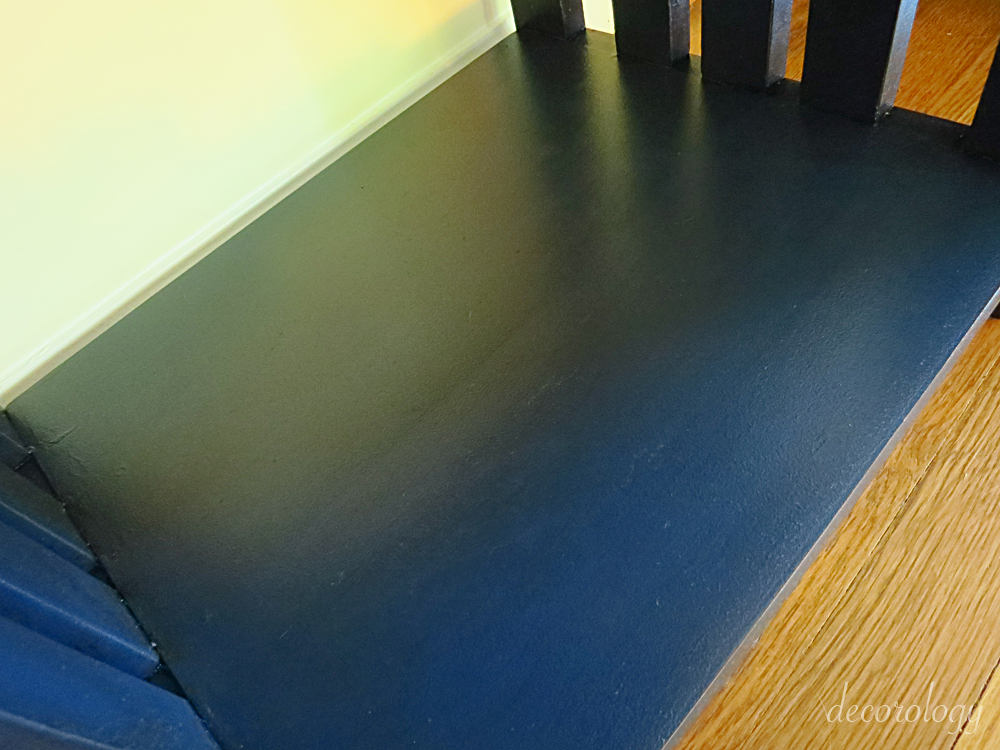
Then I started painting. I’m in love with navy recently, so I went with a navy color. When painting, remember that loading your brush or roller properly is imperative to getting a smooth, even finish. Make sure you use a paint tray to get the paint evenly applied to your roller before putting it on your project!
Cut in smaller nooks and corners with a paint brush. Blair shares her favorite brands and materials in the beginning of the book.
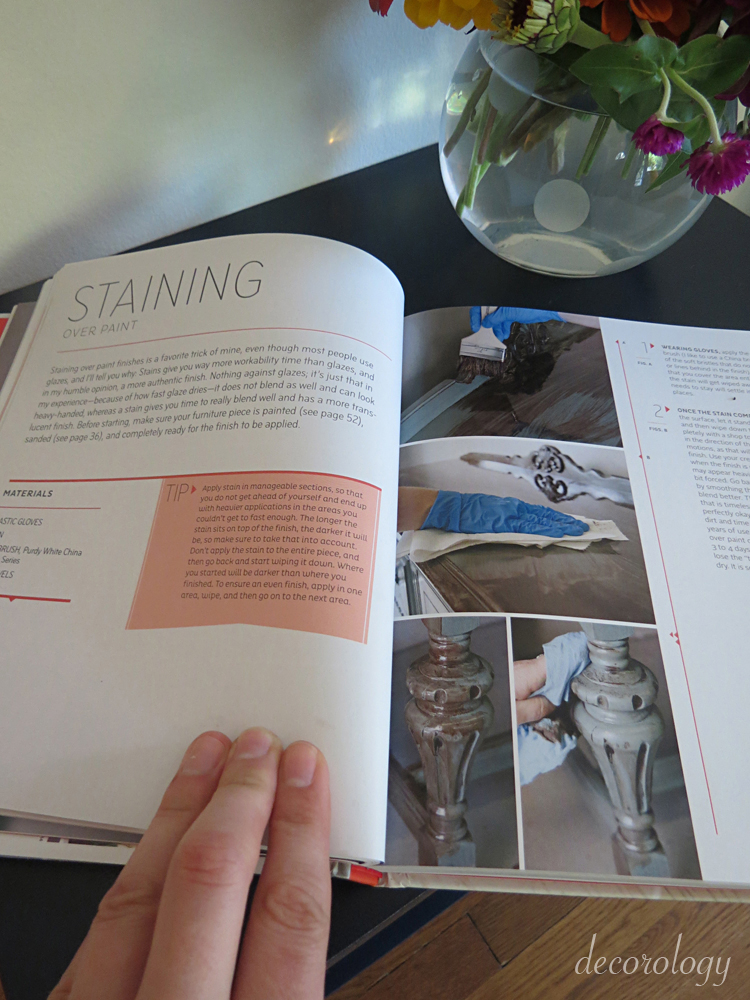
Now I reviewed the instructions on staining over a painted piece.

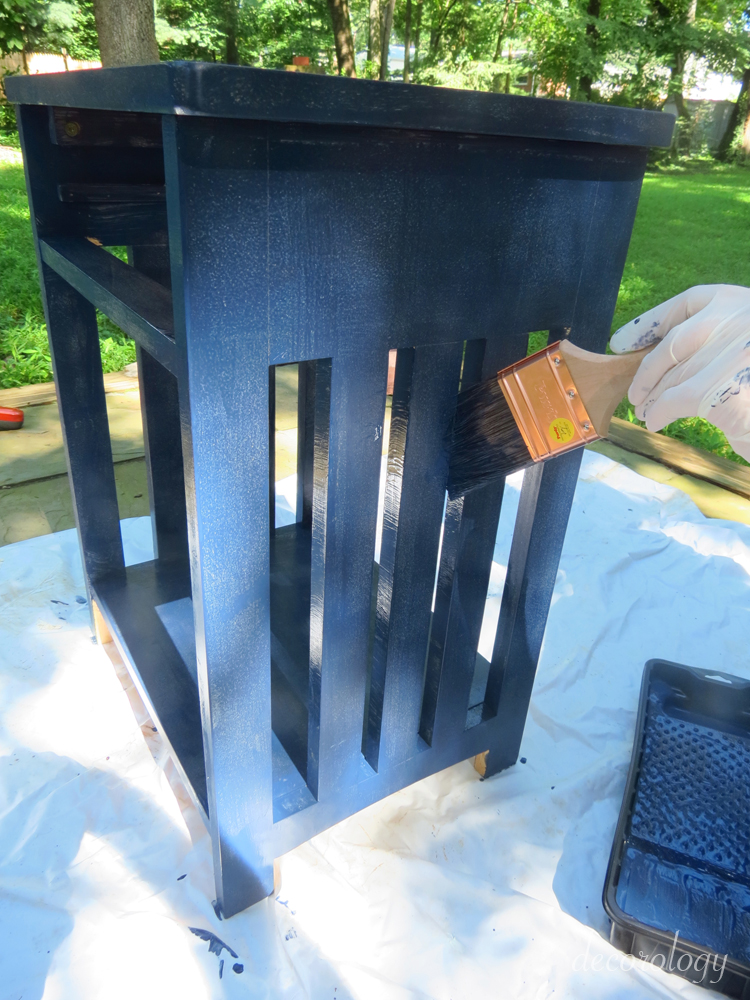
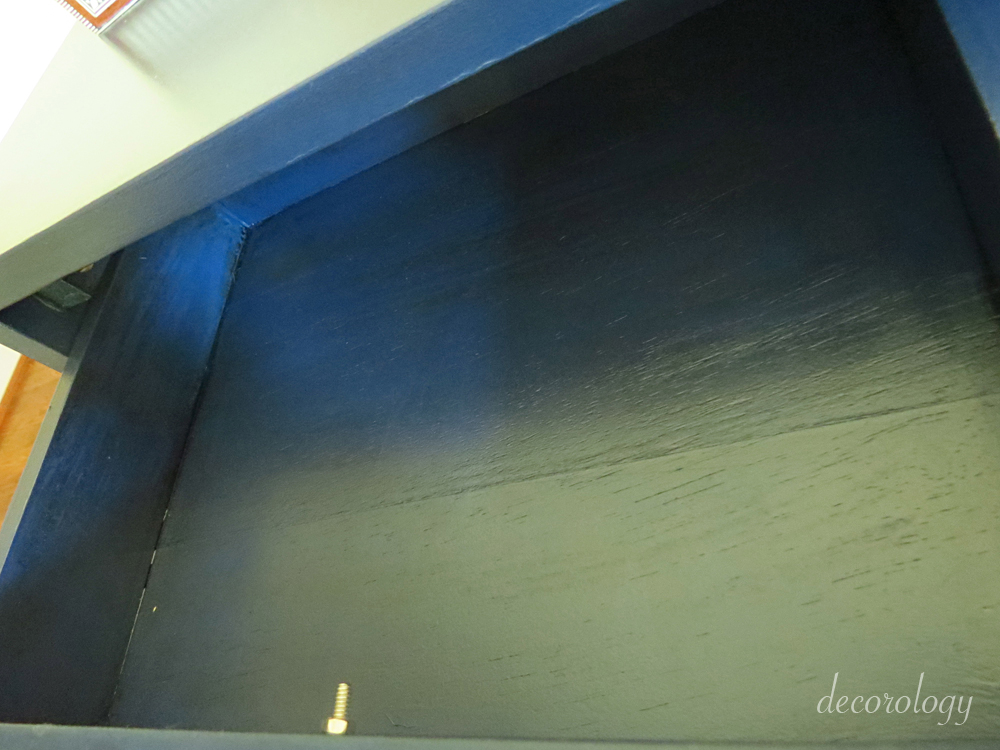
Next came the really fun part! After applying two coats of paint, allowing to dry, sanding, and cleaning again, I moved on to staining! Working in small sections, I applied paint to the nightstand. After about 2-3 minutes, I wiped it off (in the direction of the grain). Start off with a light hand – you can always take off more if you want a lighter look.
The stain stays workable for a long time, so remove it thoughtfully, leaving more stain in areas where patina would naturally occur – in corners, edges, etc.
Voila! I wanted my aged look to be subtle. Keep in mind that stain takes a few days to be totally dry. Mine was still sticky two days later.

The new nightstand. Quite a transformation, wouldn’t you say! (My mother grows the most beautiful zinnias, doesn’t she?)
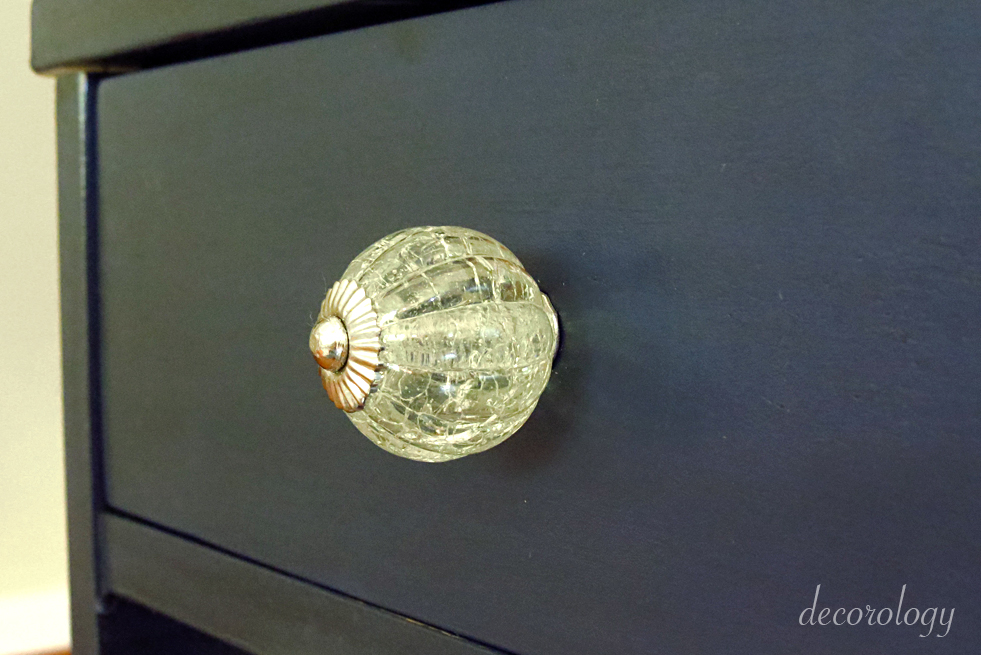
Adding a new knob was also one of the most fun parts…it is the little details that count, after all!
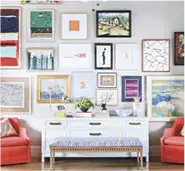
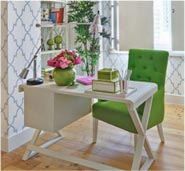
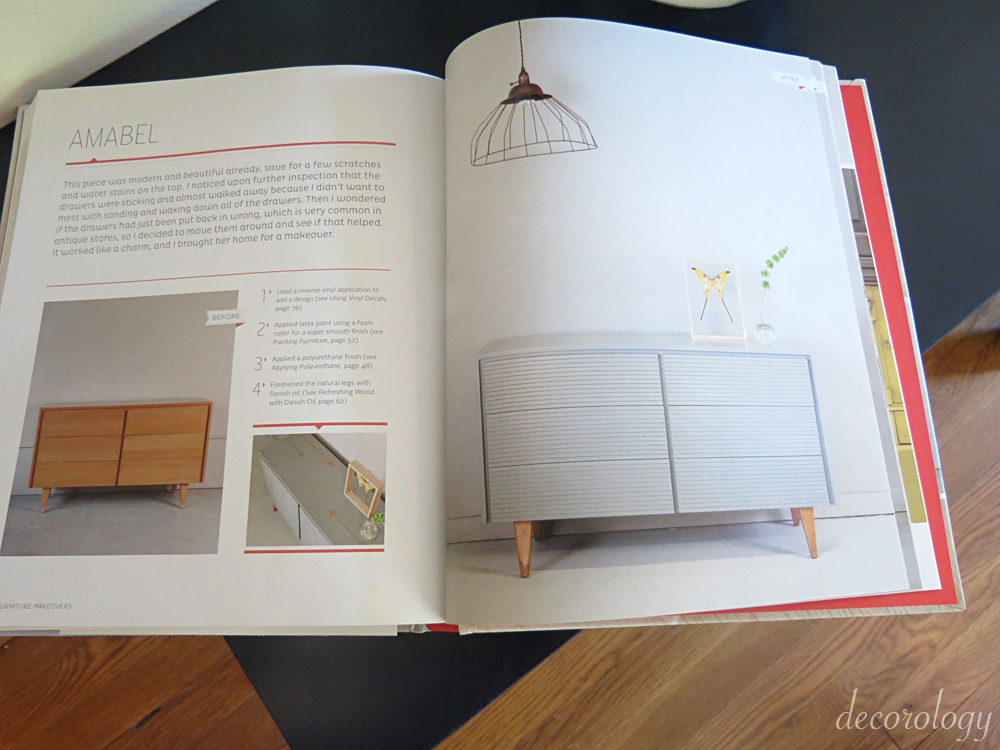
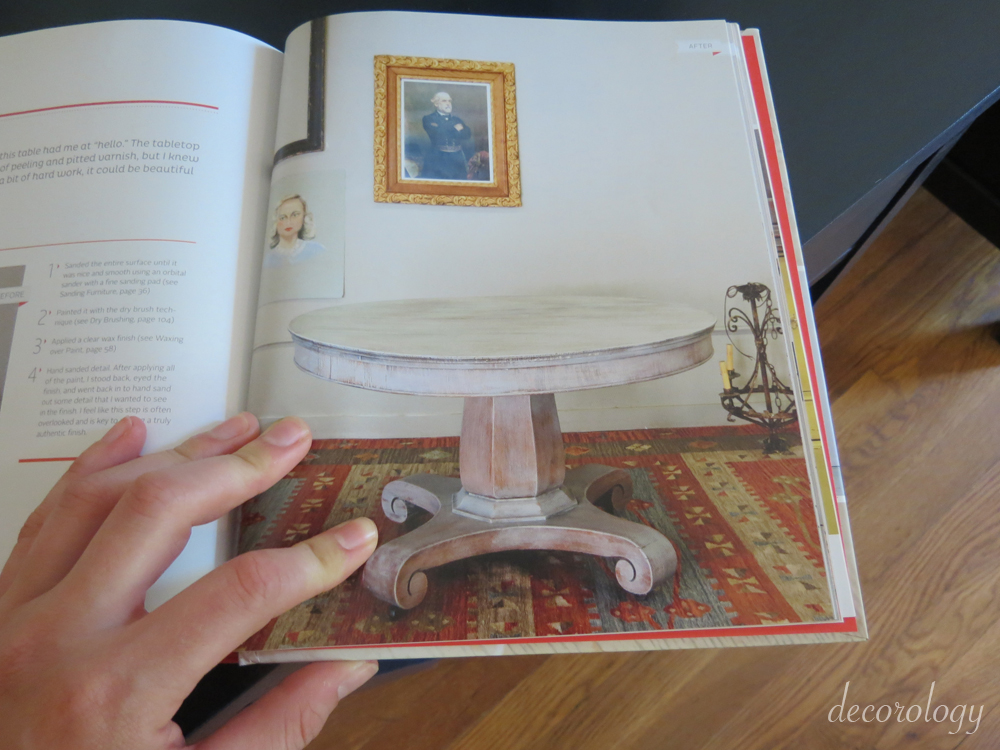
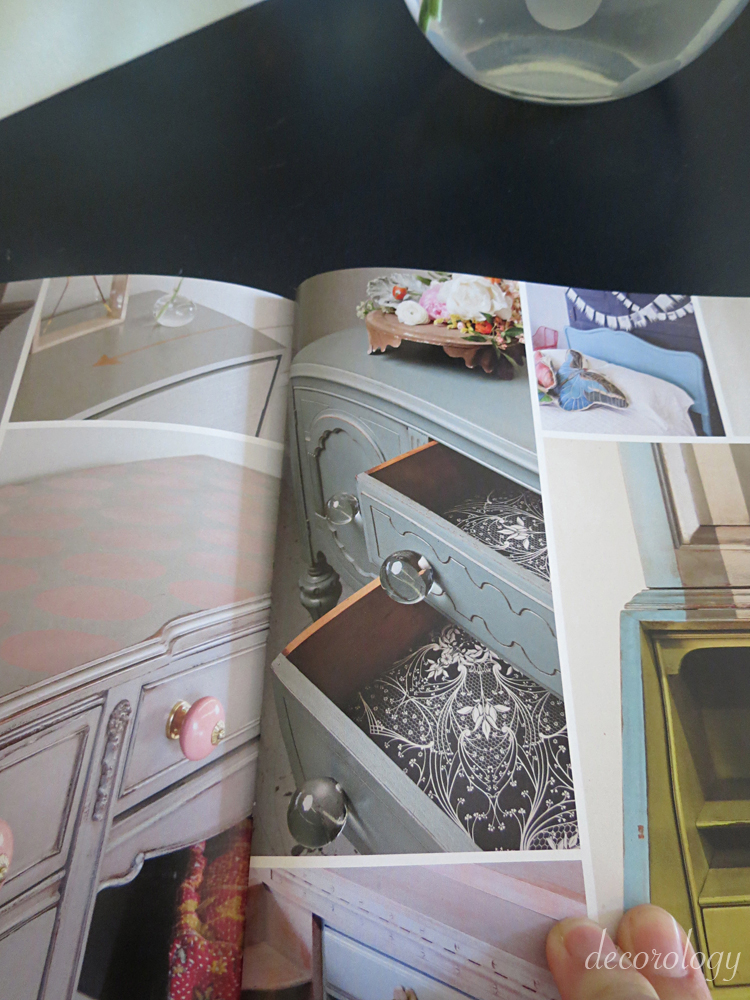
Here are a few more projects from Furniture Makeovers that I loved:
Are you inspired yet to makeover some of your furniture?!? If you must have Furniture Makeovers now, it is available at these locations – Amazon, Barnes & Noble, IndieBound, or Chronicle Books
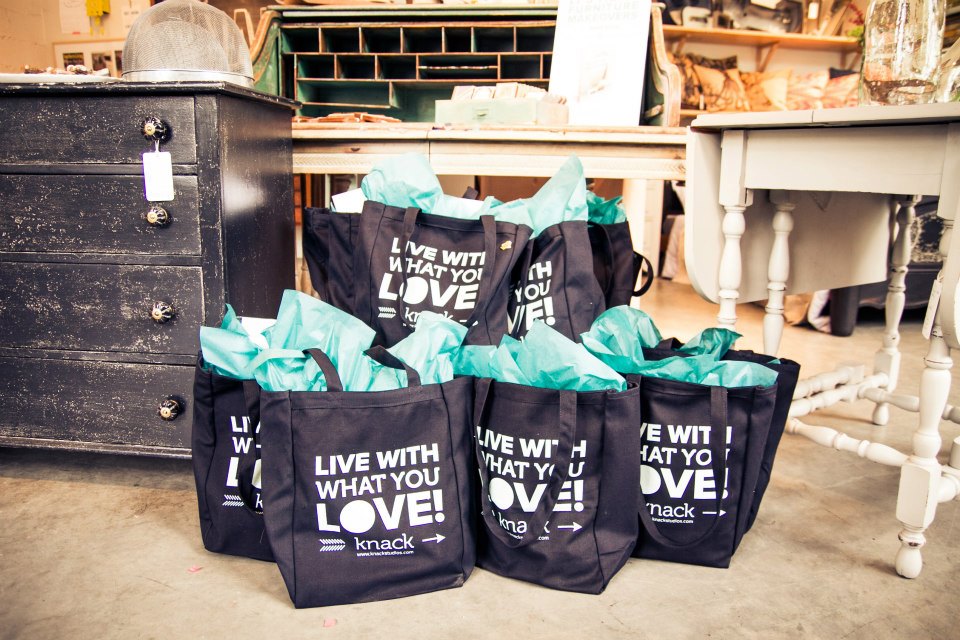
Or, you can enter to win a copy signed by Blair AND a Knack tote (Blair’s studio). To enter, just leave a comment below telling me if you have a piece of furniture you’d like to make over and what it is. The winner will be announced Friday, August 2nd. Good luck!
PS – To comment on this post (scroll to the bottom of this post and right above “Labels” you will see a number followed by the word “comments.” Click on the word “Comments.” Or, you will see a link, “Post a Comment,” which you click on to comment. If you receive posts in your email feel free to respond to the email noting that you’d like to be entered in the drawing.
Check out all of the fabulous Furniture Makeovers by these bloggers
I received “Furniture Makeovers” as a sample


