


3D rendering refers to the use of computer software to create three-dimensional images. This solution is commonly used in a variety of industries including medical imaging, real estate, interior designing, safety training, and more.
Its versatility is what makes 3D rendering such an intriguing new-age solution for commercial entities.
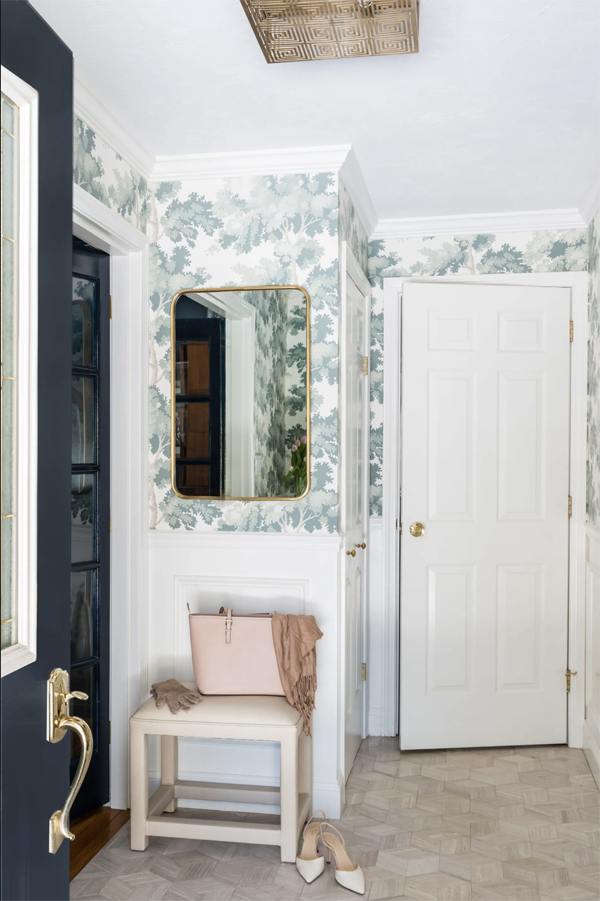
via Christine Wikman
Defining 3D Rendering
The core idea behind 3D rendering is to take any type of object and create an authentic 3D rendering of it using computer software. This helps provide a multi-layered visual of what that object looks like, which is essential in a variety of design-heavy industries.
Once the imaging has been completed using lights, cameras, and textures, the software “renders” the image into a 3D one.
How Does It Work?
Let’s dive deeper into understanding what 3D rendering encompasses.
There are specific steps associated with taking 2D images and rendering them into 3D ones. Each step plays a role in making sure the design is thorough, customised, and in line with what’s required by the client. Remember, each scenario is unique whether that involves architectural designs or medical imaging.

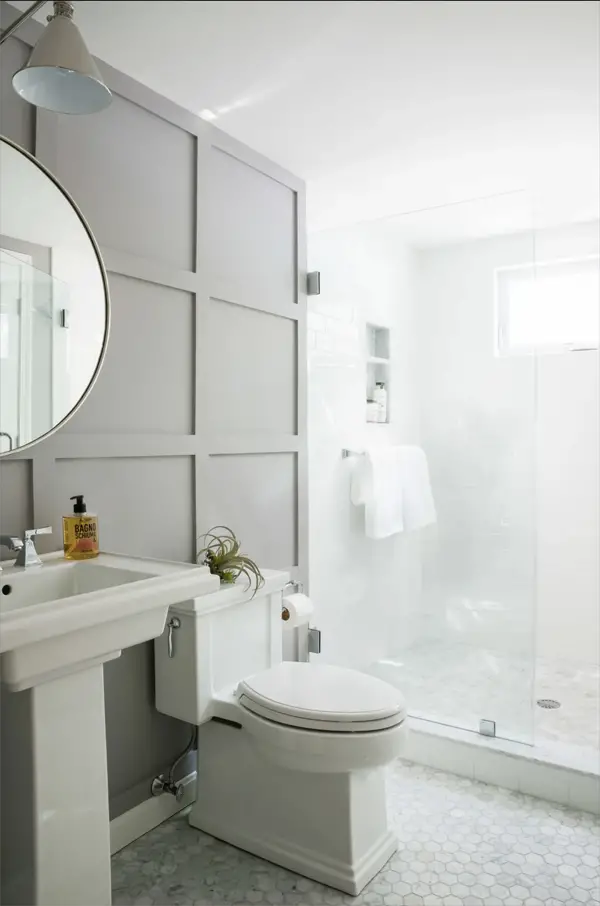
via Christine Wikman
1) The Vision
It starts with the basics, which means a 3D artist sitting down with the client and going through different sketches/references before creating a complete image. This can include the specific use of camera angles to make those 2D images come to life.
2) Modelling
Once the vision is in place, it’s time to start putting the digital model together. This includes creating a physical model (digitally) and going through the various reference points listed by the client until the rendering can be done.

via Christine Wikman
3) Materials
A 3D artist has to take the client’s vision and make sure the 3D models are hyper-realistic. This is the only way the rendering is going to yield the desired results. A good example would be taking a physical model and going through a wide array of angles including different types of materials. This can be modified depending upon how the digital rendering is going to turn out and what’s expected.
4) Lighting
The 3D artist begins taking the 2D image and working through different types of lighting. The idaea is to create something authentic, visually appealing, and in line with the project’s requirements. This is going to vary from project to project, but lighting does play an essential role when working with different 3D angles.
5) Rendering
Once the 2D image is ready to go, it’s time for the software to “render” the visual into a 3D model.
This can include going back through the 3D renders to refine every part of the model. As a result, most professionals will work through a draught-based process where they continue to make updates after sending it to the client.
Final Thoughts
This is one of the most powerful tools available to business owners that want to remain ahead of the curve in their industry. The high-quality RAW files that are going to be sent your way can be a game-changer over the long-term. It’s a wonderful differentiator that can lead to consistent success. Thanks to 3D Walkabout for consulting


