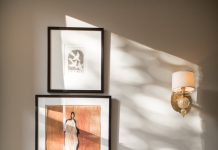
This post may not be the typical sort of thing I feature, but I was lucky enough to receive two lighting fixtures from Westside Wholesale and wanted to show them off in a meaningful way by showing you step by step out to change out a wall mounted light fixture. The lighting that was installed in our master bath when we moved in was nice, but it just wasn’t our style. So I jumped on the offer two review some fixtures of my choice and went with a classic, sophisticated wall mount – the Kichler 5367CH Bathroom Light.
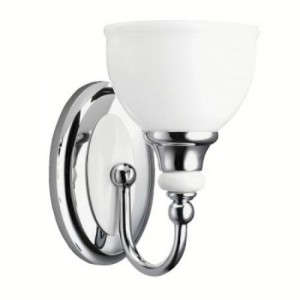
Pretty.
Let’s begin. Part 1: Removing the current fixture . VERY IMPORTANT – Turn off the light switch that powers the fixture.

The existing fixture

Gather up any tools you think you may need ahead of time

Find the screw or peg that attaches the current fixture to the plate to remove the fixture. Then, unscrew the back plate or begin disconnecting the wires (see below)

If you have to disconnect the wires first, you will notice black wires and white wires. Black first and then white. Untwist the cap connecting the black wires and then untwist them.


Next, untwist the grounding wires

Loosen the grounding screw so you and release the grounding wire.
If you didn’t remove the plate before, do it now. Your old mount should now be completely removed.

Depending on what shape box is installed in your wall already, you may need to pop out some of the “tabs” on the plate. Then, assemble the fixture as it will be on the wall.

FIRST – twist together the white wires and top off with the screw cap.

Second, screw together the black wires and top off with a screw cap. Third, twist together the grounding wires. I made a little video for you but it’s not working very well so I have two screen grabs above for you. It is similar to removing an existing fixture except for the order.

Once you have connected all the wires from the wall box to the new fixture, it’s time to attach the plate of the new fixture to the wall.

Push the wires into the box, and screw on the plate.

Loosen up the ground screw and twist the grounding wire around the screw. Retighten the screw.

Place the new fixture on the plate – lining up the screw holes on the top and bottom of the fixture to the holes in the plate.

Tighten the screws so the fixture holds firm and flush against the wall.

That wasn’t hard was it?

Now we just need to paint – and maybe get some matching lightbulbs…
I hope this has inspired you to take on a little DIY project and swap out any fixtures that need to go!
disclosure: I received the light fixtures as a sample from Westside Wholesale


