


Are your wood ceiling beams looking outdated? Don’t worry. You don’t have to go through the expensive process of replacing them. Various simple and cost-effective ways exist to update your old wood ceiling beams and bring them back to life. Here, we will guide you through how to update your old wood ceiling beams, from preparing the surface to finishing off with a protective coat of sealant. Read on to learn how to quickly and affordably update your wood ceiling beams!
Assessing the condition of your old wood ceiling beams
Before updating your old wood ceiling beams, assessing their condition is important. Inspect the beams for any signs of damage, such as rot, cracks, or insect infestation. Determine if any structural repairs are necessary before proceeding with the update. Look for discoloration or fading in the wood, which may require additional sanding or treatment. Understanding the condition of your beams will help you determine the best approach for updating them and ensure that they remain not only safe, but durable for years to come.
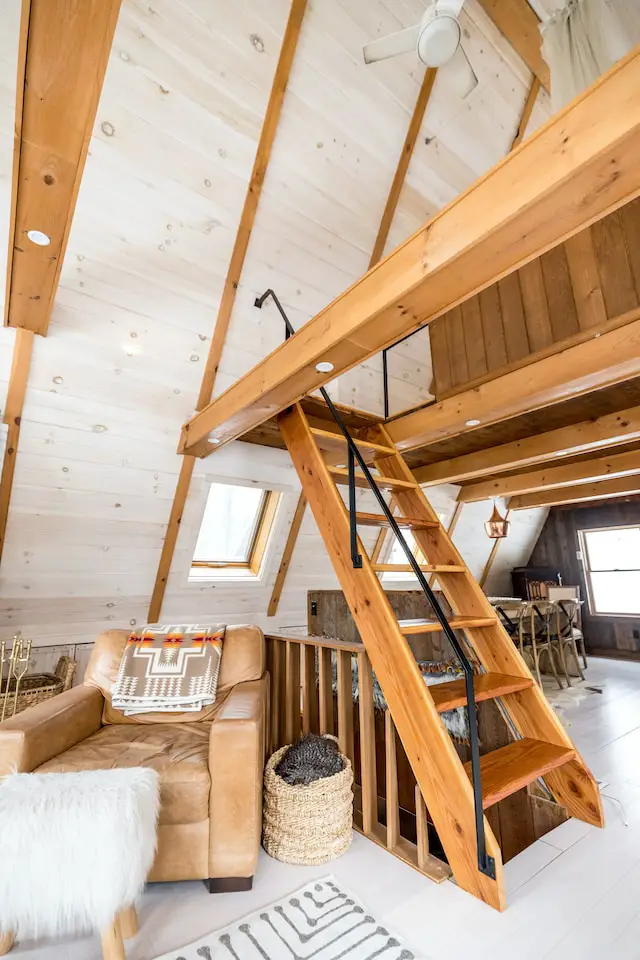
Photo by Andrea Davis on Unsplash
Choosing a new finish or paint color
When it comes to updating your old wood ceiling beams, choosing a new finish or paint color can make a big difference in the overall look of your space. Consider a clear varnish or stain to bring out the natural wood grain if you’re looking for a more natural look. For a more modern look, a white or black paint coat can be a bold choice. You may also consider adding a pop of color to match your decor or metallic accents for glamour. Whatever you choose, make sure it complements your existing decor and style.
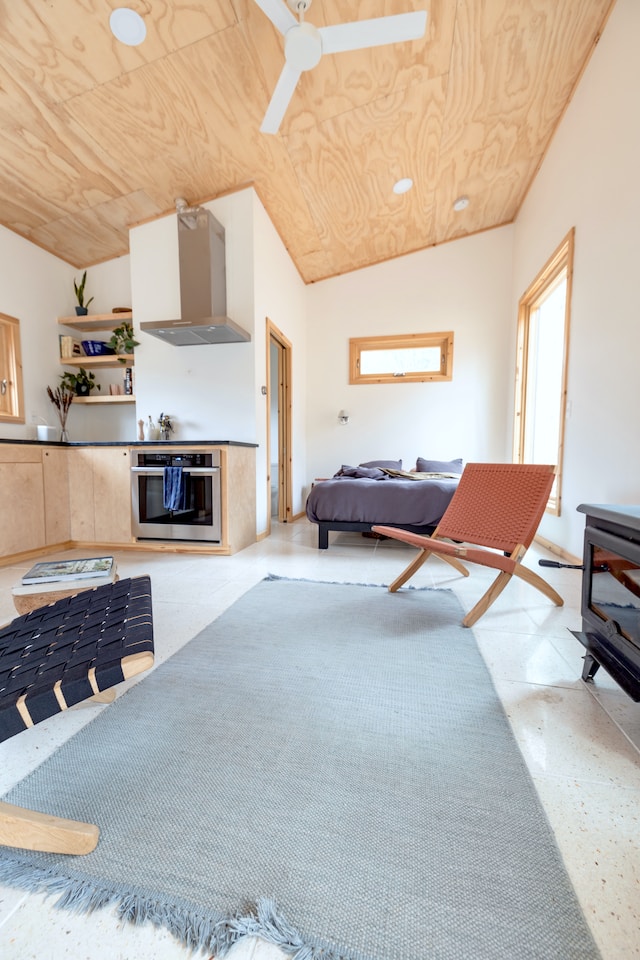
Photo by Andrea Davis on Unsplash
Sanding and prepping the surface of the beams
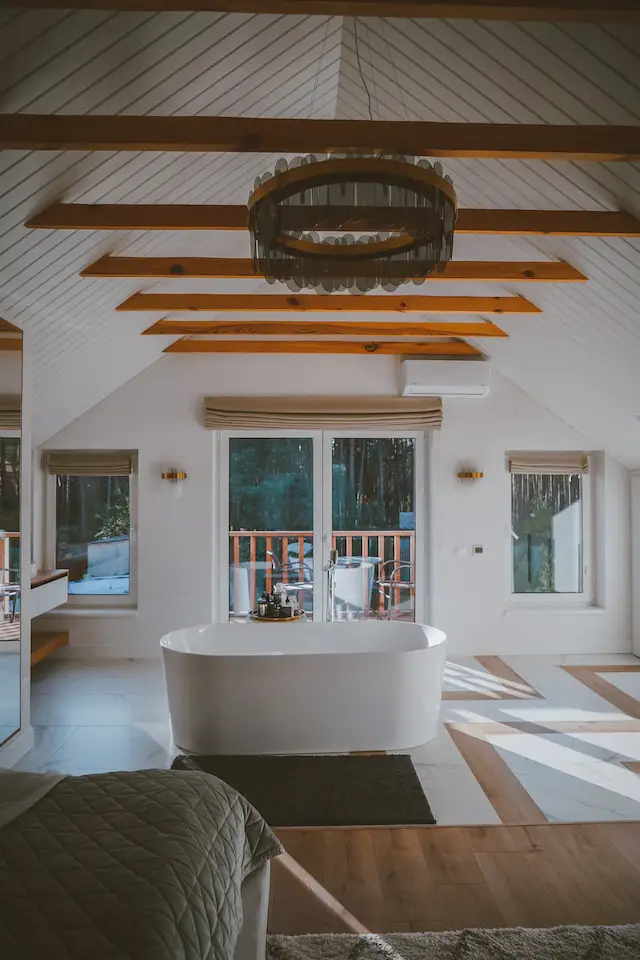
Once you have assessed the condition of your old wood ceiling beams and chosen a new finish or paint color, it’s time to sand and prep the surface. Start by using medium-grit sandpaper to remove any existing finish or imperfections. Be sure to sand in the direction of the wood grain for a smooth and even surface. After sanding, wipe down the beams with a damp cloth to remove dust. Finally, use fine-grit sandpaper to further smooth the surface and ensure the new finish or paint adheres properly.

Photo by Andrea Davis on Unsplash
Applying the new finish or paint to the beams
Once you have prepped the surface of your old wood ceiling beams, it’s time to apply the new finish or paint. Start by applying a primer coat to ensure the finish adheres properly. Once the primer is dry, use a brush or roller to apply the chosen finish or paint color evenly to the beams. Allow each coat to dry completely before applying additional coats if needed. For a more rustic look, consider using a stain instead of paint to enhance the natural beauty of the wood.
Optional step: adding decorative elements to the beams
Consider adding decorative elements if you want to take your old wood ceiling beams to the next level. This can be anything from carving intricate designs into the wood to adding metal straps or hardware. For a unique touch, you can also paint patterns or designs onto the beams. Just remember to keep your home’s overall style and aesthetic in mind when choosing decorative elements to ensure they complement the rest of the space.
Updating your old wood ceiling beams is a great way to refresh the look of your space and add character to your home. By assessing the condition of the beams, choosing a new finish or paint color, and properly prepping and applying the new treatment, you can transform your outdated beams into a stunning focal point. Don’t forget to consider adding decorative elements for an extra touch of style. With time and effort, you can enjoy the beauty of your updated wood ceiling beams for years. Thanks to Reclaimed Michigan for Consulting.
