Read on to learn how to install skirting boards, whether you’re building new or replacing existing ones!

Skirting Board Fitting
Step 1: Note the corner position on the back-edge skirting board and the angle at which to make the cut. You may add a temporary direction mark on the skirting board near but not over the cutting mark.
Step 2: Hold the board firmly and securely before making the incision. Position the saw to cut the front face of the board rather than its back face to avoid any harm as you saw.
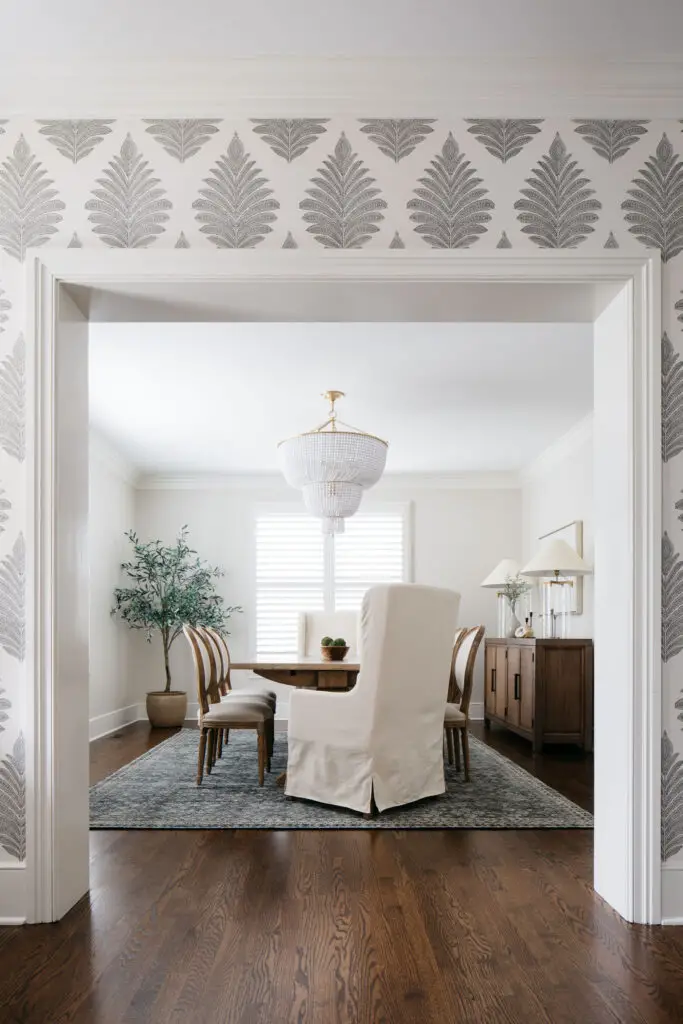
Step 3: Use fine sandpaper to clean and smooth the cut surface. You must then ensure that the board forms a tight joint – if there is a gap in the joint that prevents it from being secure, utilise a sharp chisel or block pane to remove a little skirting to close the gap.
Step 4: Cut any internal corners with a scribe joint. An ascribed joint is made by cutting one of the skirting board pieces square and shaping the other to the profile of the skirting board. The profiled piece may then push up against the face of the square-cut piece.
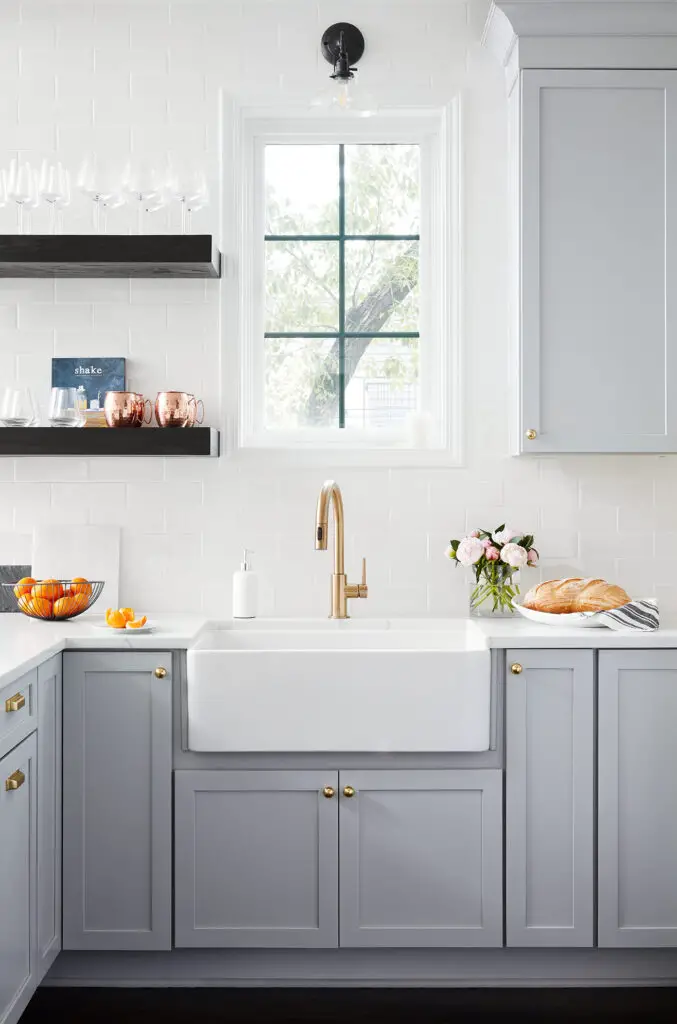
Step 5: You must first use a mitre box to cut the end of the skirting board with the profiled edge (done the same way you would if you were going to make an internal mitre join). Once done, you have a profile of the skirting board on which to work with a coping saw or jigsaw.
Step 6: Set up your scribed joints so you won’t have to make a profiled cut on both ends of a single piece of skirting board. Cutting a square from a profiled cut is considerably easier than doing it the other way around. So if you need to trim one piece of skirting board, start by cutting the profiled end first.
Step 7: If you’re bracing skirting boards on a masonry wall such as brick or block, use masonry nails or screws with wall plugs. If you’re adding a skirt to a timber stud partition wall, you’ll need to use lost head nails and a stud detector to identify the studs. Find these from ADA Fastfix.

Step 8: If you’re using glue, put blobs on the back of the board at regular intervals and PVA glue to any external mitres. To keep the joint firmly together using tiny diameter pins if necessary.
Step 9: Push the skirting board firmly against the wall, positioning the bottom edge to the floor just in front of the fixing position. If the wall is flat, no additional fasteners are required; but if it bows use additional screw fixings to draw the skirt closer to the wall.
Step 10: If you’re using screws, place a contrasting piece of paper on the skirting board and make a line 2cm below the start of the chamfer (the sloping surface at the edge) at 60cm intervals. Then, push up the wall and match the fixing points by placing it flat against the floor.
Step 11: Using a countersink bit, make a countersink in each fixing hole. This must be deep enough and broad enough to allow the screw head to sit below the skirting board’s surface. Before removing the skirting, check that each mark can be seen by making marks through the screw holes on the wall and removing it.
Step 12: After that, put the wall plug into its mount and wrap masking tape around the drill (as long as the length of the wall plug) to indicate when drilling should stop. Then make a series of holes in the wall using a drill. Insert the wall plugs and tap them until they’re flush with the surface.
Step 13: Fill any gaps with a similar-coloured filler and screw the skirting board to the wall.
Step 14: Use a flexible decorative caulk in a mastic gun to close the space between the top of the skirting board and the wall. To smooth out any bumps, use a wet cloth along the seam. Thanks to ADA Fastfix for consulting.


