Deciding to repaint your home is one of the best decisions you can make towards revamping its appeal. When you’ve made that decision, you just can’t wait to see the house in all its new colorful glory!
But a lot goes into that flawless finish you desire. There are vital things you need to do before ever holding up the paintbrush. When you neglect these things, the end product of your paint job will likely not be top-notch, no matter how talented you are in painting.
So what are these things you must do before painting?
1. Clean the walls
You see, the walls are exposed throughout the day and night and get dusty with time. Even your interior walls get dusty when you sweep the floors and dust furniture. Cobwebs, mold, and mildew may also be present.
Before painting, use a duster to remove dust and cobwebs from your interior walls. Next, wipe down the surface with a rag dampened with soap water.
For your exterior, power-wash the walls to eliminate the dirt and debris accumulated over time. If you notice mildew, use a solution containing detergent, bleach, or any other mildew remover.
2. Carry out repairs
Another important thing you must do before painting is to make repairs.
Go around the property, checking for damages such as peeling paint, holes, cracks, concrete edges, wood rot, and any defect that exists on any area you’d be applying paint to.
Using a wire brush, peel away cracked paint to create a uniform surface for the new coat to adhere to. If you apply a fresh coat on cracked paint, it won’t bind well, and the crack will progress. After peeling, sand the surface to make it smooth.
Patch up holes and cracks and then sand for a smooth finish.
Do not neglect broken wall edges, as they can put a dent in the fresh new look you’re trying to achieve. Rather than calling a builder and wasting precious time, do your concrete corner repair yourself using a fast-setting cement patcher. Within 20 minutes, the area will be all set, and you can start with paint for your interior.
Also, attend to exterior areas that need to be recaulked. For the exterior, use materials designed for outdoor use to ensure durability.
3. Take furniture and accessories out of the way
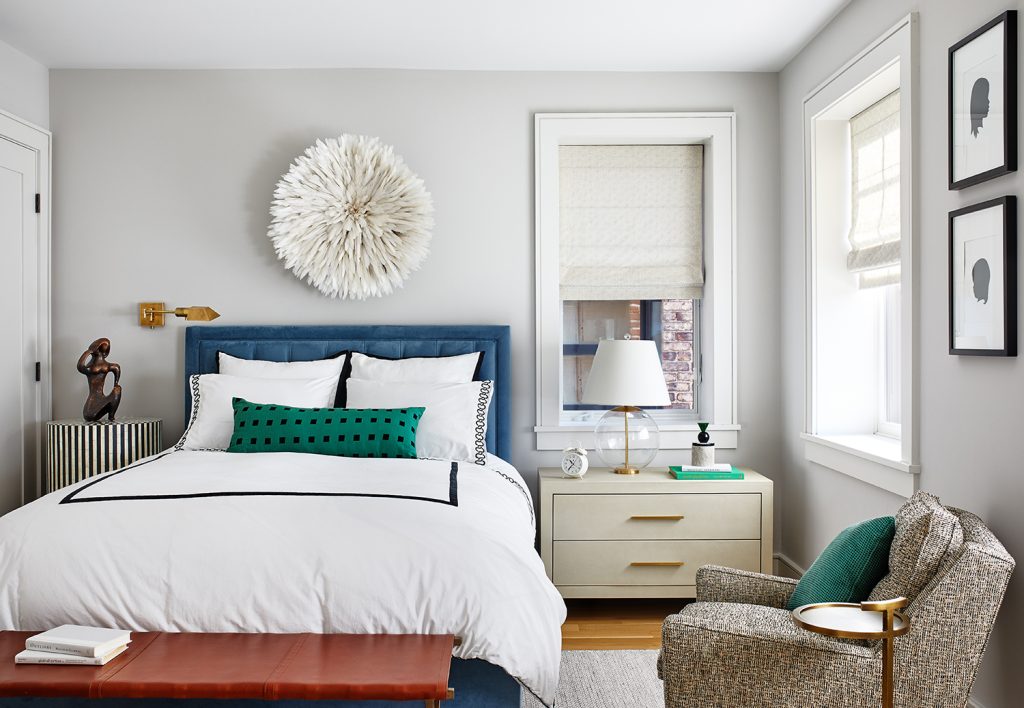
While it may seem like an unnecessary hassle, removing furniture, rugs, and curtains will make your painting job much faster. That’s because, with these things out of the way, you won’t try to be too careful to minimize paint droppings, thereby wasting considerable time.
For your exterior, use a drop cloth to protect plants and flowers. Consider tying up plants close to the wall to make room for painting.
4. Use tapes to seal no-paint surfaces
Of course, there are certain areas you shouldn’t paint but can’t move out of the way, including windows, ceilings, and floorboards. For such regions, apply painter’s tape. It doesn’t leave residue behind.
You can also use painter’s tape to section off areas you don’t want to stain.
Wrapping up
Painting can be an exciting experience, but the prep work contributes significantly to the outcome. So if you want to be happy with your final results, it’s worth going over the steps below and ensuring you follow through.
Thanks to sakrete.com for consulting.


