


Sealing your log cabin windows is the first step to ensuring a clean, smooth, and beautiful finish. Additionally, the best log cabin stains reduce air leaks, thereby putting a stop to cooling/heating inefficiencies.
Read on to learn more about wood sealants, the benefits of wood sealing, and how to seal log cabin windows.
What are Log Cabins

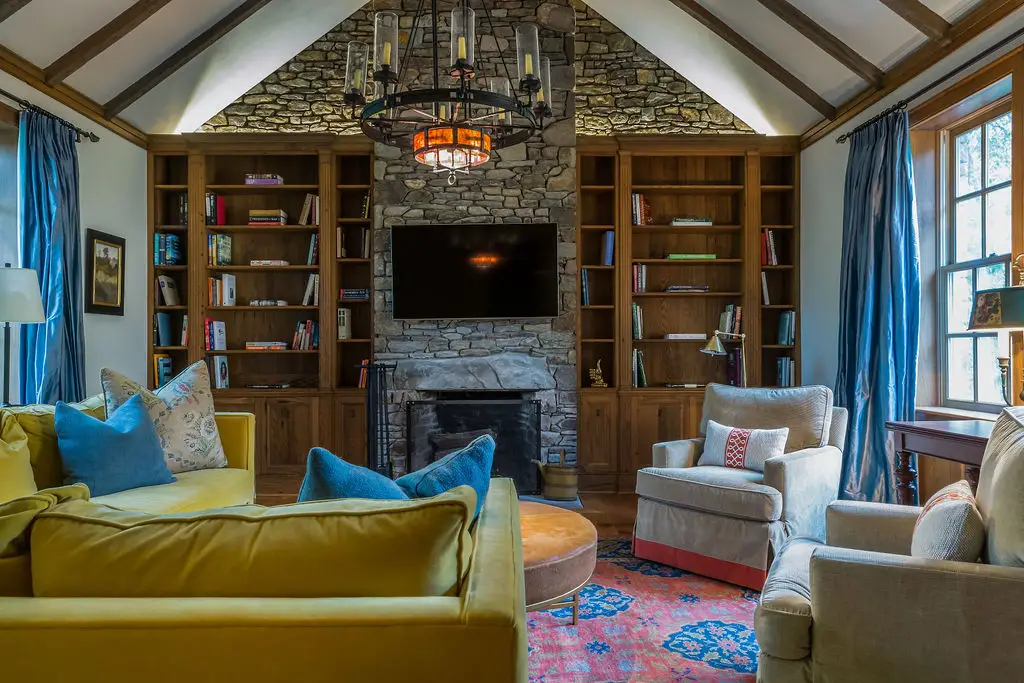
Log cabins are a type of small structure, typically rectangular in shape. They were popular in North America during the eighteenth century, and were used to form settler communities in Kentucky and Ohio valleys. In this day and age, log cabin homes have become a prominent feature on the rustic home interior design scene.
Log cabins were originally used by deer hunters. The front half of the cabin would be left open to let in light while hunters, often with dogs, hunted wild game. The original log cabins could not hold heat well because they were not sealed and insulated
What’s Wood Sealing?
Wood sealing is the process of applying a sealant to wood to protect the wooden product from damage. Sealants also provide a better foundation for painting and ensure a smoother finish.
A sealer is a product that coats wood in order to provide added protection against external elements, such as rain and extreme sunlight. Sealers also protect the wood from grain rising and may add valuable color depth to wooden structures.
Benefits of Sealing Your Log Cabin Windows
You have every reason to seal wooden surfaces. The following are just some of the benefits of sealing log cabin windows;
1. Protects the window for a long life
First and foremost, sealing a wooden window protects it from external elements such as rain and sun damage. Sealants create a waterproof surface over the wood that prevents rainwater and moisture from seeping into the wood. It also protects the wood from the damaging effects of direct exposure to sunlight.
As such, even a single coat of sealant can extend the life of the wooden window by many years. Otherwise, you may have to replace the window within no time.
2. Ensures the perfect finish
Wooden windows are as much about style and statement as they are about function. Although you expect the window to protect you from the outside environment, most people elect wooden windows for cabins to beautify the structure.
As such, you want the window to be beautiful and elegant. One way to ensure the perfect finish on log cabin windows is to seal it before painting. The right sealant allows you to preserve the rich natural qualities of the wood. Additionally, it allows the finish to bind better on the wood surface, ensuring a smoother, shinier surface.
3. Increased energy efficiency
Finally, drafts (cold or warm) mean that your HVAC system must work harder to achieve the desired indoor air conditions. If it’s winter, the furnace must work harder to ensure that the home is consistently warm and cozy. If it’s the summer, the air conditioner must run faster. Faster, harder running means the HVAC system consumes more energy.
Window sealing blocks outside air while also reducing the loss of conditioned indoor air. The result is more efficient heating and less energy use.
How to Seal Log Cabin Windows
The following is a step-by-step guide you can follow to seal any wooden surface, including sealing log cabin windows. Make sure to wear gloves throughout the procedure to avoid staining your hands.
1. Get the right sealant
There are four main types of wood sealers, i.e., standard stain and sealant applications, polyurethane, shellac, and wood lacquer. We recommend polyurethane sealants for this application.
However, remember that polyurethane sealants also come in multiple options, including oil-based, water-based, and synthetic options. Oil-based sealants are the best choice for outdoor products such as wooden windows.
2. Clean the surface
After obtaining the right sealant, the next step is to clean the window thoroughly. Ideally, you want to use a vacuum cleaner. Make sure to remove any dirt and dust on the surface. You can even sand the rough edges a little to ensure an even finish.
Once done, use a clean cloth to wipe the surface clean. A tac cloth works particularly well as it is a specialty cloth made to remove dust from wood after sanding.
3. Apply the sealant
You can use a paint brush or roller to apply polyurethane sealant. Whichever the choice, begin by placing the window on a flat surface (we’re assuming you haven’t installed it yet). If it’s already installed, you can seal it as-is. Just be extremely careful to ensure even sealing.

Pro tips:
- Use long strokes with a clean brush or rag to spread the polyurethane: This ensures a clean and uniform finish.
- Work from side to side: It’s best to apply sealant along with the grain to enhance continuity.
The good news is that polyurethane is self-leveling as it’s thin enough to spread out on its own. However, you still want a little extra urethane on the end grain as this is the absorbent part of the wood.
4. Allow it to dry
After completing the first coat, allow the window to dry. How much time polyurethane needs to dry varies from application to application. So, it’s best to refer to the user manual for the manufacturer’s guidance.
However, the general rule is to allow at least 12 hours between the first and second coatings. If you can leave it overnight, that’s even better.
5. Apply the second coat
You’re free to smooth the surface before the second coat. However, this is only necessary if the first coat dries up unevenly. In that case, grind it out with sandpaper to remove any humps before the second seal coat.
After smoothing, apply the second coat of polyurethane and, again, allow it to dry overnight. You can also apply a third coat depending on how the second coat was absorbed.
Summary
That’s all. Now you know how to seal log cabin windows. Feel free to follow up the sealant with a coat of paint to beautify the window.
Thanks to all companies linked above.


