While the weather outside is frightful, these DIY projects are certainly delightful! To save you from those post-holiday winter blues, Redfin has gathered DIY experts from Atlanta to Bend. Whether you need tips on must-have tools, a fun idea to tackle on a chilly afternoon, or just a good laugh at common DIY mistakes, these handymen and women have got you covered. So, grab your toolbelt, pour yourself a cup of joe, and prepare to be inspired!
*This post was first published on Redfin
HomeISD: We love everything that looks unique and gives your decor a personal touch (isn’t that what DIY is all about?). So one of our favorites has to be the DIY curtain rod. First of all, it’s unexpected (rarely does someone decide to make their own rod). Secondly, you can reuse so many cool items for stunning and whimsical decor – some of the most exciting things might be a canoe paddle, a dried tree branch, plumbing pipe, and anything else that resembles a bar.

HQ Remodeling & Design: Here are the most common mistakes we see in beginner DIY’ers:
1. Starting a project without the knowledge of how to finish it. Many times we see a demoed bathroom or kitchen that was done unprofessionally and sometimes it even causes extra damage and expenses.
2. Learning only from YouTube and forums on the internet. Not all information sources are professional, and I’ve seen more than a few misleading videos and advice on how to do DIY projects.3. When starting an exterior project, try to consider the weather and forecast. If the forecast is rain for the next few days, don’t plan on pouring concrete, for example.
Bianca Octavia: Prep & protect your work area: During the winter you may find yourself completing more DIY projects indoors in order to avoid the cold weather. While doing so, be sure that you are protecting the interior of your home at all times by properly prepping your work area. Try to use things you may already have like old towels & sheets, flattened cardboard boxes or poster boards for surface area protection. If you happen to run into any spills, remember these three cleaning methods: rubbing alcohol for wood floors, warm water & dish detergent for carpet and a boiled water & vinegar solution for glass.
Sugar & Cloth: When it comes to DIY tools, one of my favorite supplies to have on hand at all times is a plethora of spray paint, spray primer, and good spray shellac for a clear coat. Adding a pop of color to renew an old piece of furniture or home accent is always a quick and easy weekend project. Beginner DIY’ers should always be sure to paint several thin coats of paint in order to avoid excess paint drips for a more professional end product.
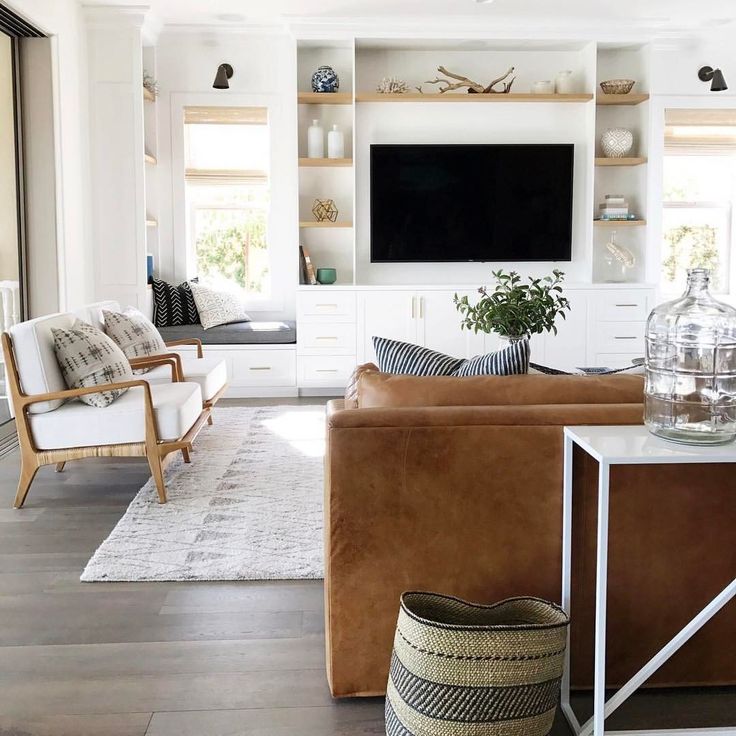
HomeBeautifully: My favorite winter decor DIY? Create a cozy reading nook! A new thick blanket, a delicious seasonal candle, a favorite old chair, and a big stack of books are perfect for spending chilly winter night tucked in at home.
Saved By Scottie: My favorite DIY project was taking an old rustic ladder and converting it to a fabulous “Farmhouse Glam” chandelier that fits my home perfectly. It was not terribly difficult or time-consuming and truly made a HUGE impact on my dining room. I talk all about it in this blog post: https://byscottie.com/a-rustic-chandelier-with-a-bit-of-glam/
I think the most essential DIY tools are the right ones for the job- do not try to use a knife for a screwdriver or a key for a box cutter. Barring that, a decent set of screwdrivers and drill bits with a cordless drill, hammer, and a few pairs of pliers (needle nose, channel lock, and snub nose or lineman are probably first picks) should get even the most “green” homeowner through the first year. Different saws, planers, and specialty items are great to have, but collecting them as needed is generally less costly and since you’re buying for the current project, you’ll generally have more time to research. Research can keep you from making a lot of buying mistakes.
Dirt Poor Primitives: Don’t ever be afraid or intimidated to DO IT YOURSELF. I build replicas of 1800’s style furniture. I am a self-taught hobbyist and have been building for 10 years. Most importantly, be safe using power tools. When I am building, my focus is completely on what I am doing. If I can’t be focused, I get out of the shop.
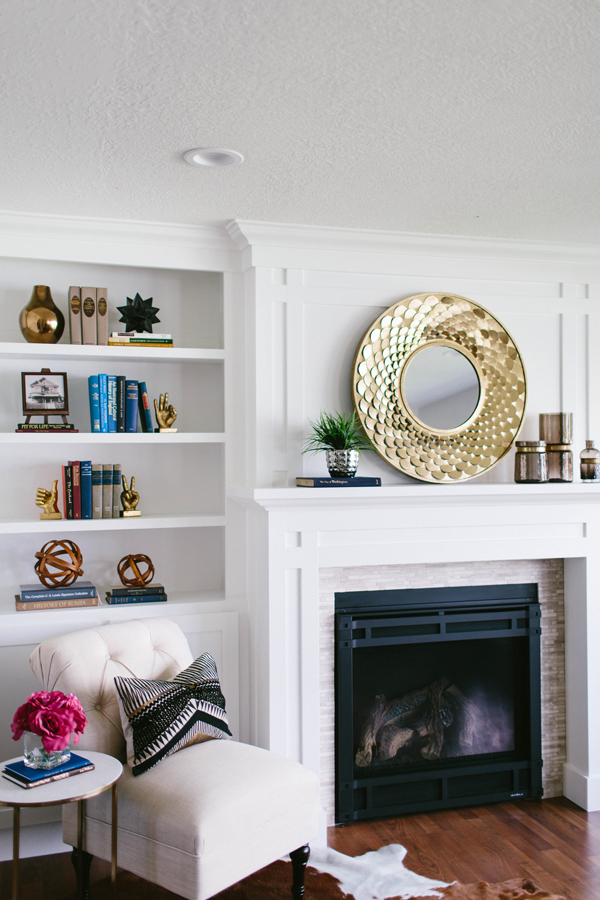
Crates & Pallet: The new year is a great time to organize, and an easy winter project is to build shelves to organize and display items in your home. With a pair of farmhouse shelf brackets (6” – 12”), a wood shelf that is painted, stained or left natural, and a little bit of hardware, you can create shelving for any room in your home or office. The steel shelf brackets align well in versatile modern, industrial and modern farmhouse design. Another easy project is attaching hairpin legs or even plumbing pipe to a large wood crate to make a functional and fun side table. And wood crates are fabulous for so many organizational projects. In fact, we have many project ideas at http://www.cratesandpallet.com/projects.
A Nest With A Yard: My favorite winter DIY project is to make snow sculptures! I even wrote a post with snow sculpture ideas: https://anestwithayard.com/snow-sculpting-ideas/ It’s fun and the sculptures really liven up the backyard. Well, of course, I make them only when we have enough snow.
For me, the most essential DIY tools are:
– for the winter projects similar to the one I mentioned above, it’s a snowblower. I use a one-stage snowblower since winters in NC are not very snowy;
– a drill kit with a drill set; you always need to drill something when DIY-ing!
– a Vise-Grip (or locking pliers); I use it to unscrew everything because it’s so convenient to use!
– a level; it is irreplaceable for all DIY projects, from wall stenciling to building stuff to making snow sculptures!
As of the mistakes DIY-ers do, I think the most common and painful one is to buy tools that do not suit the job. I am talking about the tools that are cheaply made and break easily if being used often. Also, I mean the tools that are way too advanced for the job. For example, if you need to occasionally sand here and there, sandpaper will work just fine! Getting a variable speed orbital sander would be most likely overkill. You would have to learn how to use it (and re-learn again after not using it for a while), store it somewhere, do maintenance… with this overhead, you might end up not having enough time to do the sanding work you wanted to do in the first place!
John McClain Design: I love to have a great toolbag for DIY Projects, and here are my essentials for what’s inside:
I can’t live without my cordless toolset that includes a rechargeable drill, jigsaw, sander, and circular saw; and the best part is you can use them anywhere with or without electricity.
Next, make sure you have a 25 ft minimum length measuring tape (pro-tip: pay the extra money and choose one with a longer/stronger extension, you will thank me later when trying to measure that extra-long wall).
Finally, a pencil, pencil sharpener, shop rags, wall spackle and plastic trowel (for those holes from the picture you moved 3 times), various screw sizes, drywall anchors (I prefer the metal ones for ease and durability), and a good cell signal to YouTube your DIY project!
Studio DIY: I love adding color and pattern to unexpected places, like inside closets or on doors. My husband and I recently DIY’d new doors for a nursery closet, inspired by some of the old sunburst screen doors you see here in Los Angeles. We used an embroidery hoop and square dowels to create a sun pattern on solid bi-fold doors. We custom cut each piece and nailed it to the door, then painted the entire thing a sunny yellow to give a subtle, tonal pattern and a big pop of color to the room.
Inviting Interiors: Add a plant to every room – We all know that plants improve the air quality in our homes, but they also add art when you use a beautiful pot and cover the dirt with shells, moss, or river rocks. And, they add a lot of ambiance when you add little fairy lights or an up light. These will add dramatic shadows on the wall and ceiling. Don’t expect the plants to last forever. Some trial and error may be needed to find the best-suited plant and a water meter is really handy to know when and how much to water.
Upgrade your lighting – Better color and better quantity of light will help create better Winter moods. Select dimmable LED bulbs in 3000K to get the best color rendering, and it won’t be too blue at night. Ignore watts but look for in the highest lumens you can find. Change out wall switches to dimmers and add dimmer switches to lamps so you can soften the light to create a cozy ambiance. Happy Hygge!
Yellow Brick Home: A DIY mistake that we’ve made, and hope to help others avoid, is making decisions too early. We encourage people to live in their space and establish the way it needs to function for them before making major changes. Giving time to determine needs in a space almost always results in a finished product that you’ll be happier with in the long run!
Decor Hint: One of my favorite DIY projects for winter is also one of the easiest. I love making no-sew DIY fleece blankets for our home. Not only are they inexpensive and easy to make, but they also look really pretty and are so practical for those chilly winter days. Trust me, you will want one for every room in your house!
Hello Lovely Studio: It’s not sexy or likely to draw oohs and ahs from guests, but touching up paint on baseboard and trim throughout our home is a favorite winter DIY project around here. With painter’s tape, semigloss paint, and a 2″ angled brush in hand, it’s a job that can become a meditative exercise (play Mozart), educational (cue that history podcast), or even interactive (chat with a wireless cell phone headset). DIY painted trim touch-up never takes as long as you imagine it will and is highly gratifying in the end!
Allure with Decor: I don’t know about you, but I love a good interior project during these cold wet winters. This DIY project, or as we like to call them around here at Allure with Decor,
INC Projects (Inspire N Create) will give your plain walls a fresh new look.
Start with a square edge baseboard of 4-10” high and then add 3” strips of wood directly to your textured walls all the way up to the ceiling (as we did here in Sweet Rose Cottage – photo by @betsyblue). Use paintable caulking on all gaps or edges and paint out in your favorite bright white. Instant character to an otherwise plain room.

image via Millhaven Homes
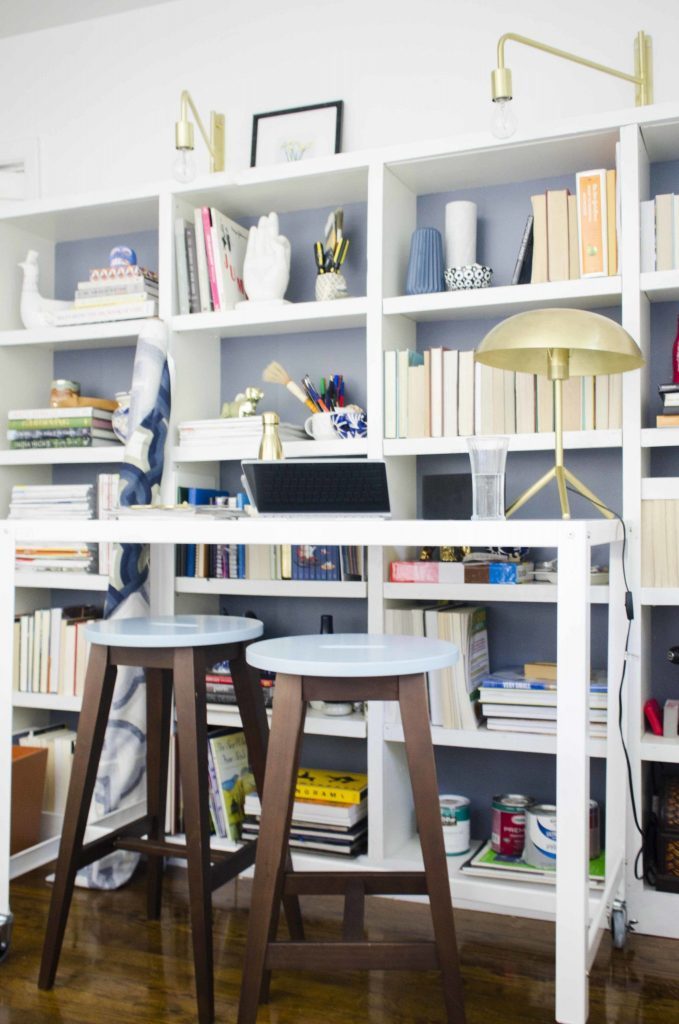
Decorology: Spend a blustery day styling or restyling your shelves. It can be just as impactful as a project requiring handyman level skills, and you don’t even need to use tools! You will be surprised how many compliments you get when you thoughtfully arrange your shelves. Thinking of a bookcase or set of shelves as a composition really lets you show off your favorite accessories and books while also serving a purpose. I would start by pulling a few images that I really like to use as a guide. Next, collect the items that will be on the shelves. You may have to omit some items or add some along the way. You will want items with a variety of heights and widths. Other than that, a lot of the process is just “feel.” Step back from the shelves from time to time to make sure you are happy with how your “composition” is taking shape.
Ugly Duckling House: For winter projects, my favorite-slash-least-favorite habit is something I call “nuisance projects”. They are my least favorite because it’s winter and I spend more time inside, which makes me zero in on things that annoy me; it’s my favorite because these things finally bug me enough to fix them! All summer long, I make a mess and put off organization because I’m jumping from project to project (I will always choose a new project over cleaning up). In the winter, when I want to shut myself inside, bumping my shin on tools I should have put away or created a solution for can no longer be avoided. A recent example of this is my powder room shelf project. While the rest of the room is still waiting for a larger makeover, I simply couldn’t stand the tiny cabinet any longer! Winter is a great time to take out what’s not working (a too-small cabinet) and replace it with more function (wider shelves that display art & store essentials). I’m super pleased with the upgrade and it’s one less stressor in my small home.
Renovation Semi-Pros: Winter is a great time to complete indoor projects that add value to your home and provide a welcoming space for your guests! Our favorite is a DIY Murphy bed project that can be completed over a weekend (we promise!). Using materials from any home improvement store, plus a few simple tools, you can add stylish and comfy extra sleeping spaces that don’t take up space all the time. This is also a great project if your old futon/hand-me-down guest bed/blow-up mattress is no longer cutting it!
DIY or Not: Great tools to use: A paint spinner is used to clean paint brushes and roller covers using latex paint. After rinsing the brush or roller in water, you pump the handle of the tool and its spinning motion removes the excess into a 5-gallon bucket. For a paintbrush secure its handle in the clamps of the tool; a paint roller slides over the drum. The spinning motion forces the paint to splatter into the bucket The water and paint are released as you pump the tool. It works like a kid’s spinning top toy or a wet shaggy dog shaking itself to get dry. By using the spinner you can invest in good brushes and covers that you can reuse for years to come.
A basin wrench is a specialty plumbing tool designed to install or remove a faucet which can be difficult in the tight confines under a base cabinet. The tool lets you loosen the nuts that hold the faucet onto the sink and reach the faucet nut, which is not easy to do with a regular wrench.
Kravelv: Favorite DIY project: That would probably be interior painting. Colors can certainly affect anybody’s mood. And picking the right one for each room is certainly a must. For instance, you can paint your bedroom any shades of blu,e for it gives soothing feelings and is said to slow the heart rate according to experts. And the fun part is that you can do it with your kids.
Most essential DIY tools: That would be paint sprayer, paint and paint tape. I don’t know if it’s just me but whenever I start a project, I usually look for these three items. It seems to be a part of every project.
Most common mistakes you see in beginner DIY’ers: That would be using the wrong tools for the job and too much improvisation. The recipe for a successful project is that you stick with the plan, use the correct tool and do not go overboard.

