


This awesome giveaway is provided by Design in a Bag. Just to introduce Design in a Bag, here’s a bit about their services:
“Prêt-à-porter for your kitchen and bath projects, Design In A Bag introduces collections of professionally coordinated and proven kitchen and bath design recipes, offering the expertise, access and eye of an interior designer without the price tag. Unlike other prêt interior design services, Design In A Bag allows you to browse online galleries of coordinated kitchen and bath looks – each carefully designed and crafted by Rebekah Zaveloff, an HGTV contributor and the creative force behind Chicago’s preeminent kitchen and bath interior design firm KitchenLab – and delivers selected complete concepts including cabinet, countertop, tile and paint samples, shopping list and hand-drawn renderings direct to your door. Taking the guesswork out of putting together a cohesive look for your kitchen or bath project, consumers can touch, see and experience the materials in their home, bringing the showroom and interior designer directly to you.”
You can search concepts by Modern, Vintage, or Classic styles, and by palette: warm, cool, or neutral. To enter the giveaway – leave a comment below or email me at
ashley[at]decorologyblog[dot]com saying what style or palette you think you’d choose. A winner will be picked via a random draw on Monday the 27th at 5pm EST. You can find out what’s included in the bag by reading this page “What’s in a Bag.”
Here are some great kitchen transformations from Design in a Bag where the bag materials and concept were followed to a ‘T’. They are both examples of the “Vintage” style.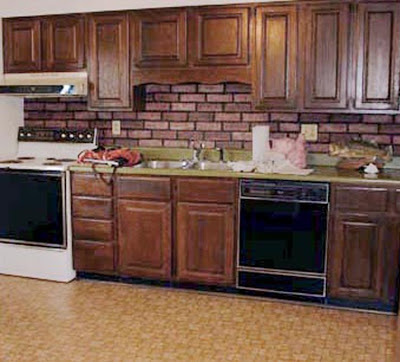 Kitchen before
 Materials/samples provided in the “Burgoyne” bag
 The amazing transformation!
The next is using the “La Motte” bag.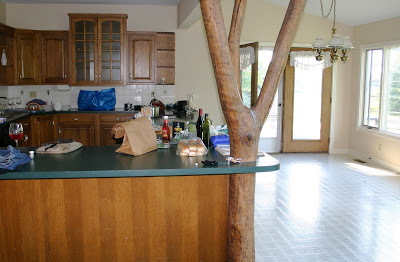 Kitchen before
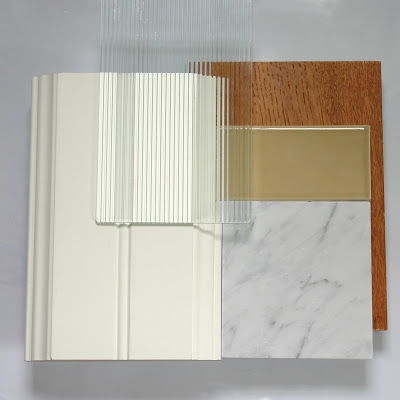
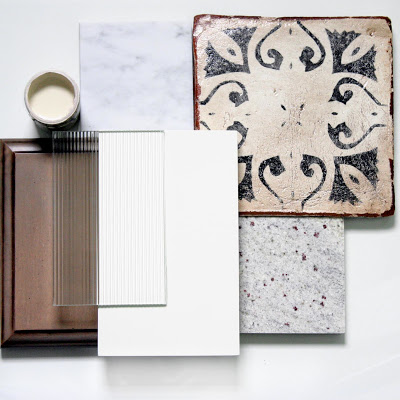 La Motte bag materials
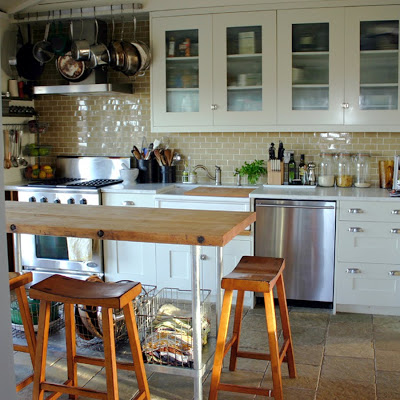
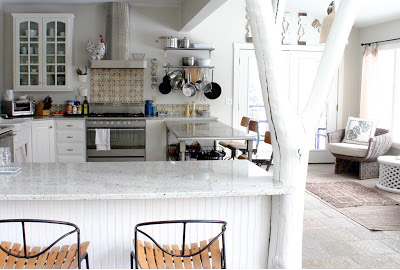 Kitchen after – so much better. I really like the tiles used for the oven backsplash
Check out the Design In A Bag site for more info and photos. Don’t forget to comment or email me by Monday the 27th 5pm EST for your chance to win this awesome giveaway!
To comment, scroll to the bottom of this post, and directly above the word “Labels” click on the # Comments link. Or scroll to the bottom of the comments and click “Post a Comment”
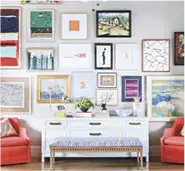
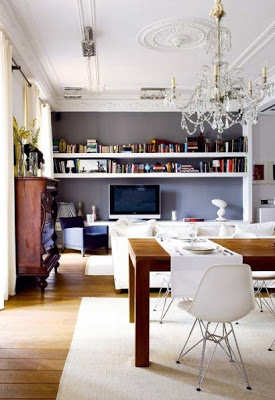
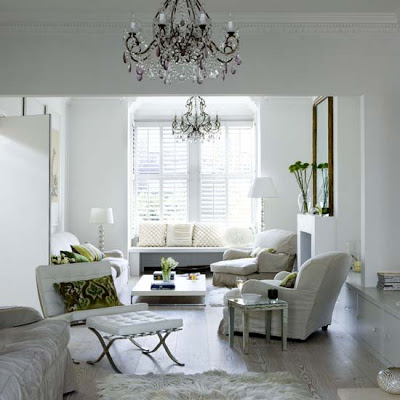
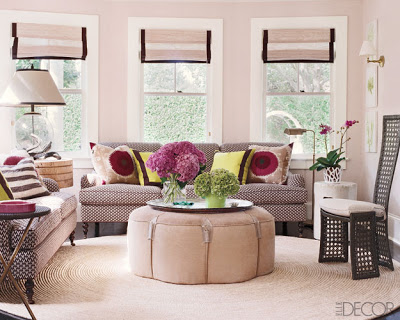 I like ottomans as tables
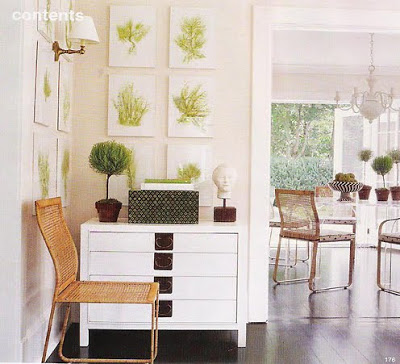 I like all the white with the plant prints
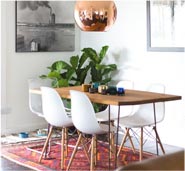
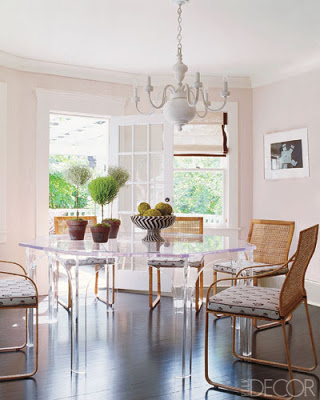 A clear piece of furniture, like this table, is a great option for a small room because it doesn’t take up so much “visual” space.
 The checked floor is actually painted wood!
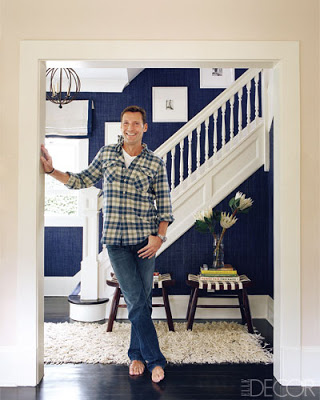 I really like the wall treatment going on at the staircase, which is
 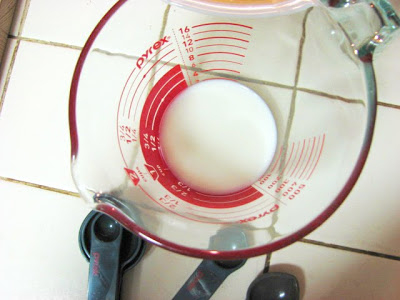 Here’s a view of the easier to read measuring graphics from above
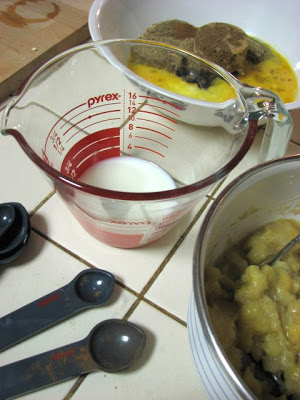
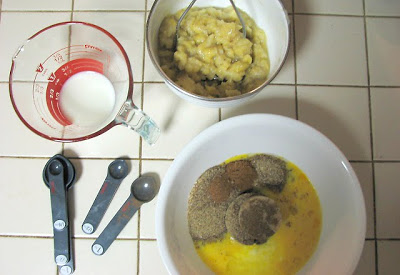 The spoons on the left bottom corner are from Pyrex too – my dad thought they were “cool,” because they are magnetic so they all stay together in the drawer.
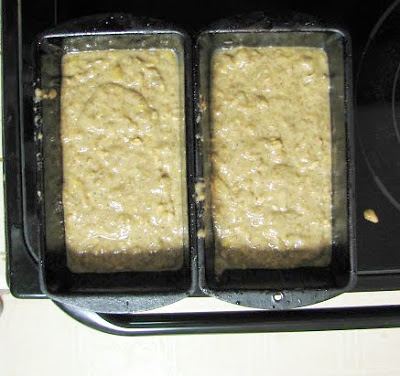 I didn’t end up with as much batter as I thought – I should have just put it all in one pan.
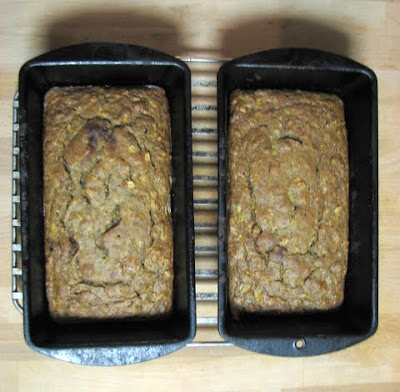 mmmm….the bread turned out moist and dense.

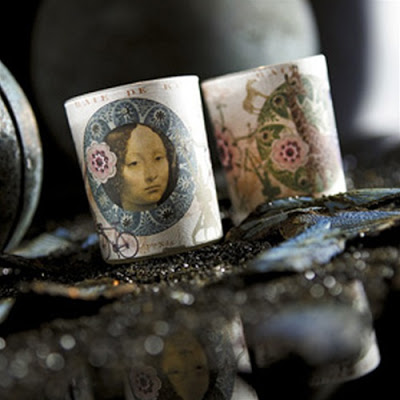 Love these tealights
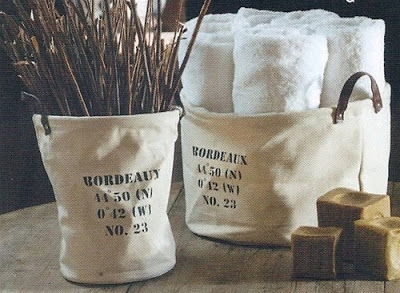
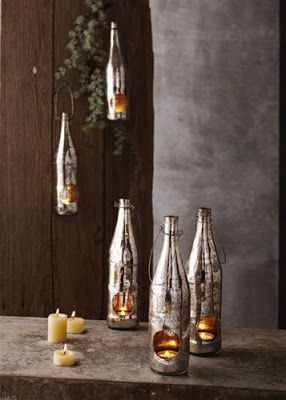 These mercury bottles mix modern with rustic
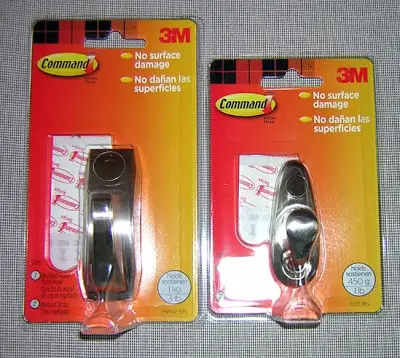
 Plan carefully and mark with a pencil if necessary where you’ll place the hook. Wipe down the surface of the wall or furniture with rubbing alcohol, and allow to dry, before applying the hook.
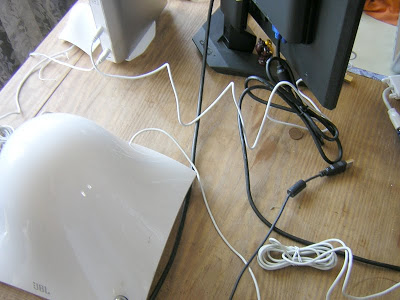
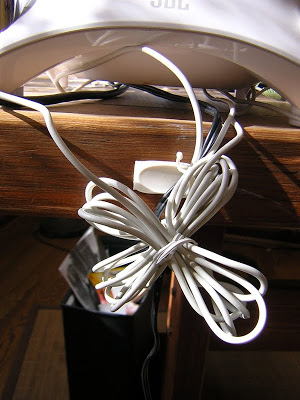
 My results aren’t particularly pretty, but much more orderly. Now I need a table skirt to hide the cords!
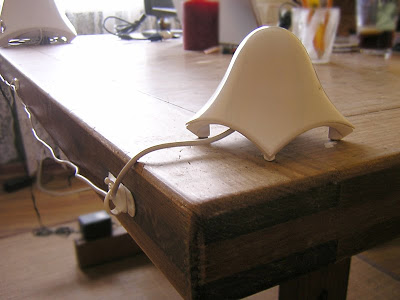 The cord clips work great!
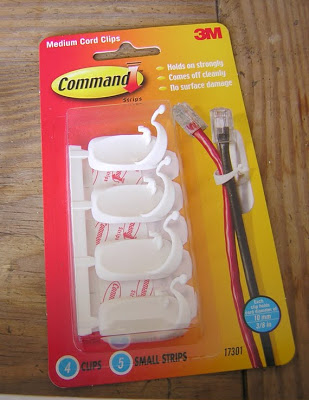
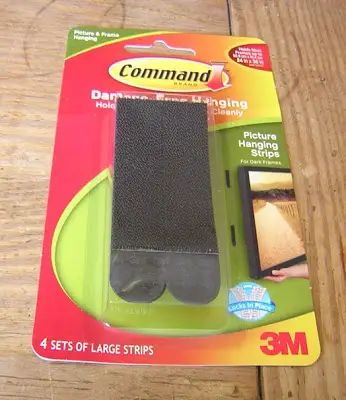
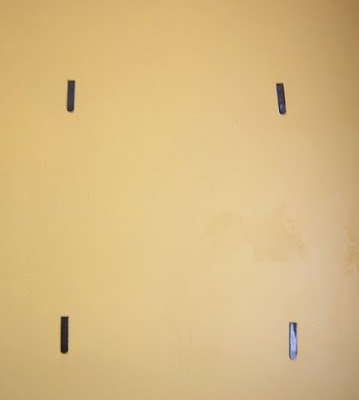 I’ve wiped down the wall, marked where the board will go, and applied the hanging strips.
 I then mounted and pressed the board to the wall. Unfortunately it fell about 30 mins later. In all fairness to the strips – I made a few mistakes that I’m sure affected the results. I didn’t really read the directions thoroughly, and didn’t press firmly for a full 30 seconds – completely forgot to wait an hour before hanging (I’m sure this was what did me in), and I didn’t apply the strips to the frame at all, but attached them to the strips on the wall. Also, this wall is actually has a plaster texture, so the surface wasn’t completely smooth.
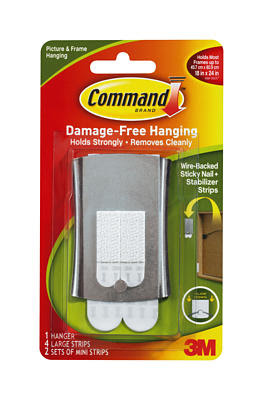 I followed the directions to a T and it did the trick!
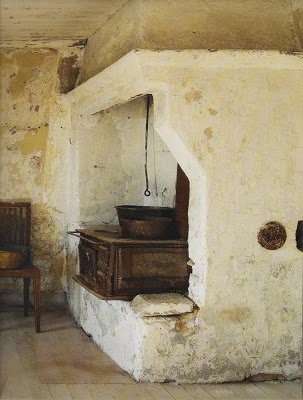
 A very utilitarian kitchen
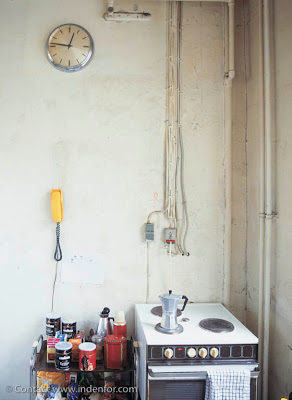
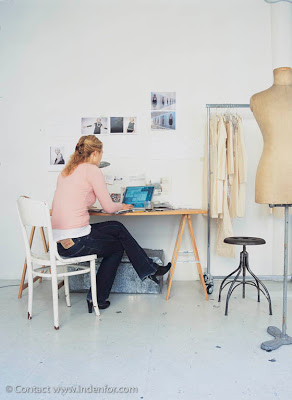 workspace
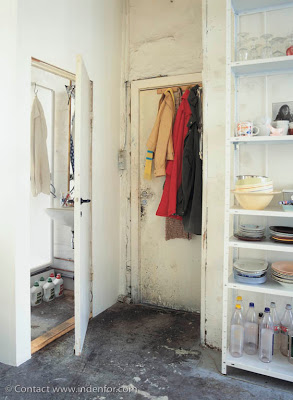
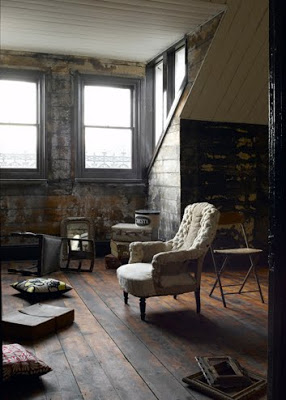
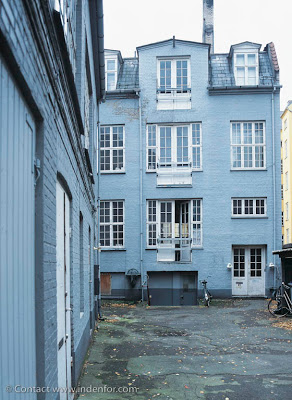 the back of the building
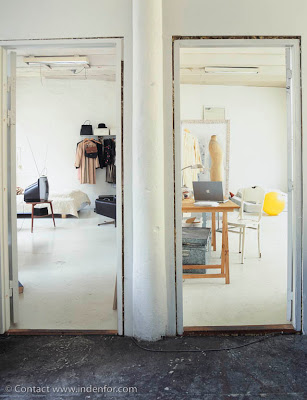

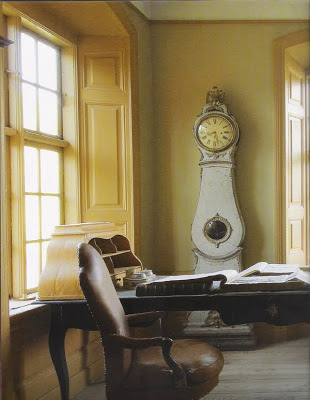
 A pretty spot.
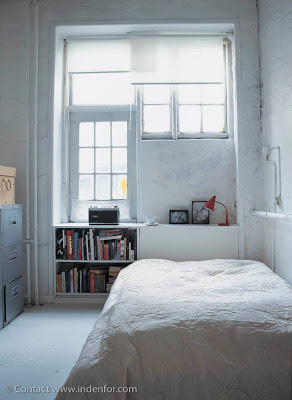
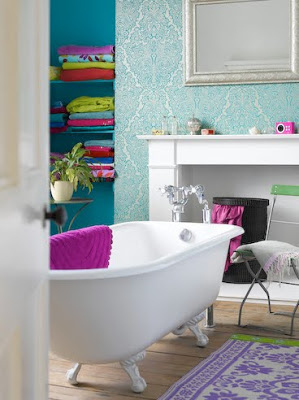
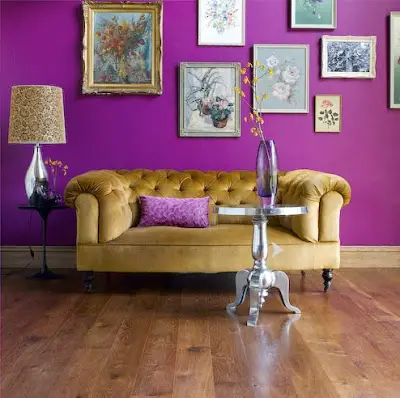 I love the color on the walls, but I don’t know if I’d ever have the guts to use it on a wall…maybe I’d test it out in a bathroom or hall…have you used a color this bold?
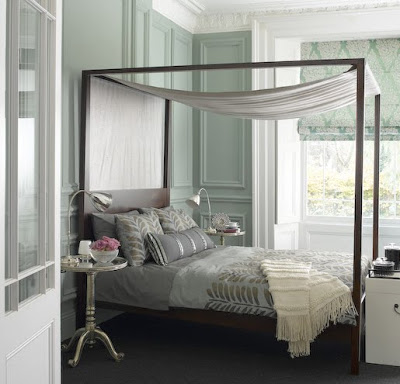 …soooo pretty
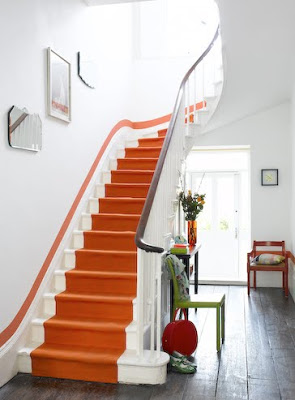
 What do you think of these?
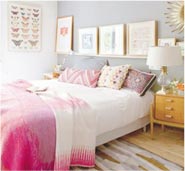
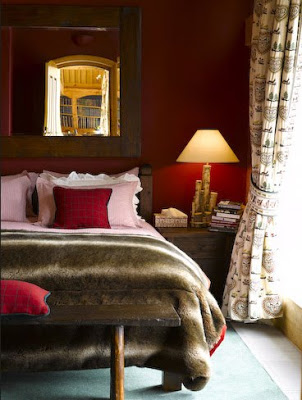
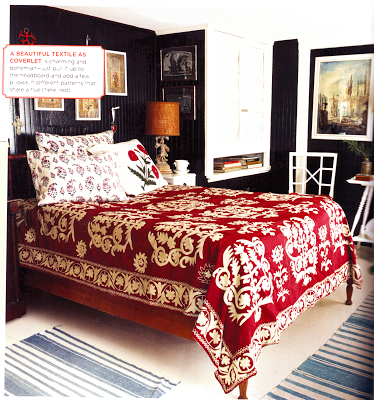 The autumn leaf red coverlet keeps the furniture from being absorbed in to the dark walls
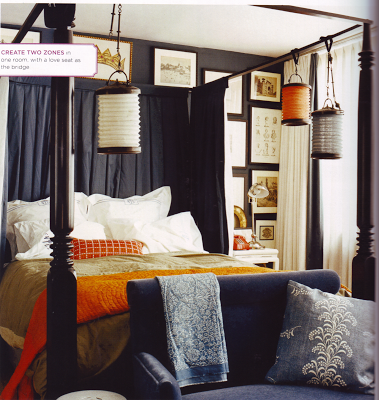
 The dark wine walls and texture from the hopefully faux fur blanket say “warmth”
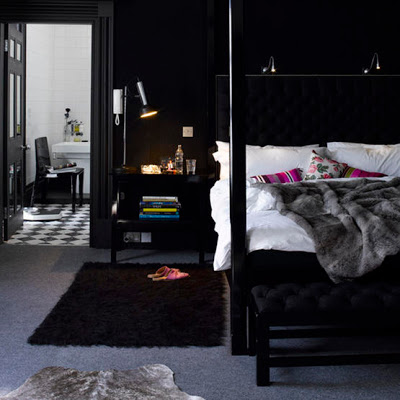 This mostly black bedroom is kept fresh with white linens and purple accent pillows
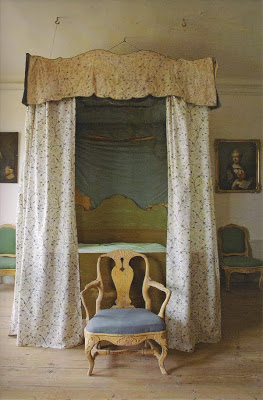
 One day I
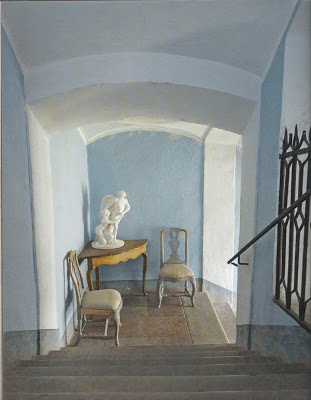

