The new home networking site – Link My Home, was awesome enough to publish my post today on turning a Mason jar into a soap pump. Link My Home connects home owners globally to chat, share inspiration, and buy/sell – check it out.
Below is my post and DIY
Decorology DIY: Turn a Mason jar into a charming soap pump – A great Mother’s Day gift too!
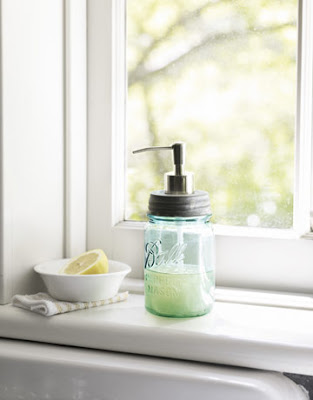
via Country Living
I’m far from the first one to present this idea, but it’s really great and perhaps some of you out there have yet to discover it. All you need is a soap dispenser pump (reuse one from your last soap bottle or purchase one from a supplier like onedreamdesign.com), a mason jar, and the jar’s lid. It is also helpful to have a drill, as you will need to create a hole about half and inch wide to accommodate the soap pump. Other supplies you may want to have on hand include scissors, a marker to mark where you will drill the hole, and some 2 part epoxy to seal the cap of the soap pump to the jar of the lid.

(via Apartment Therapy)
Directions:
1. Use marker to measure and mark a circle in the lid of the mason jar the width of you soap dispenser pump
2. Drill hole where you marked in lid of mason jar
3. Mix epoxy and apply to the lower rim of the soap dispenser pump
4. Insert the pump dispenser through the jar lid (if the tube is too long for the jar, just snip it to size with some scissors)
5. Let the epoxy dry according to the instructions
7. Fill with your favorite liquid soap – and enjoy!
Here are some examples of what you can create:
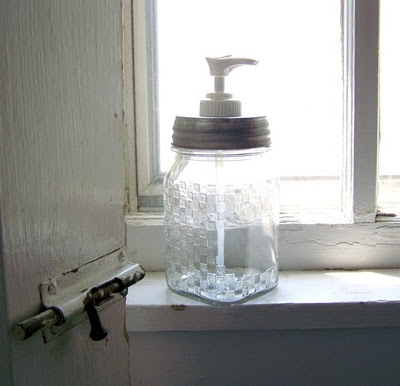
(via Apartment Therapy)
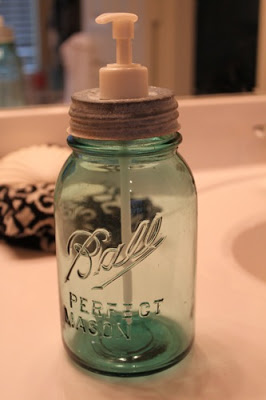
If you don’t have a Mason jar they are pretty easy to find at thrift stores.
via Décor Chick
So cute right? I think I’ll be making a couple for my mom for Mother’s Day!
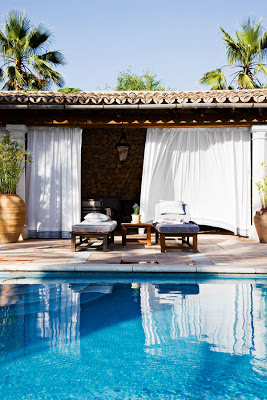
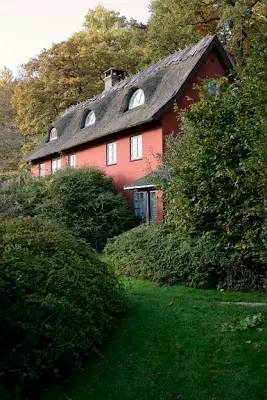 I love the longer days…so beautiful
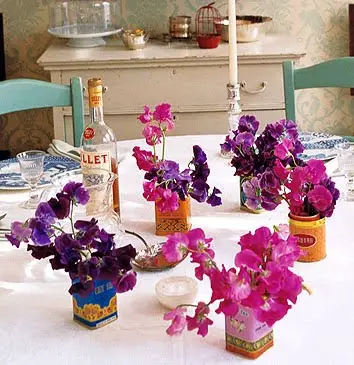 Domino Mag
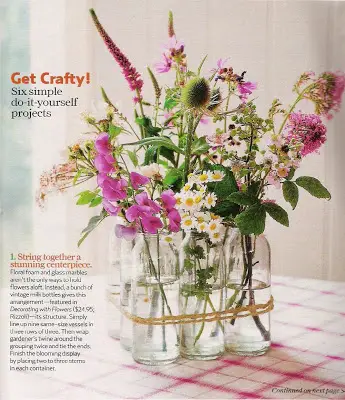 …and fresh flowers. The first image is flowers in tea tins. I do this, but my tea tins aren’t water tight so I put a juice glass with water inside the tea tin and just put the flowers in the glass. The second image is a cute idea: use some glass bottles (they don’t have to match), wrap some jute or hemp around them – and you get a lovely handpicked, country centerpiece.
 ….weekends in the country….
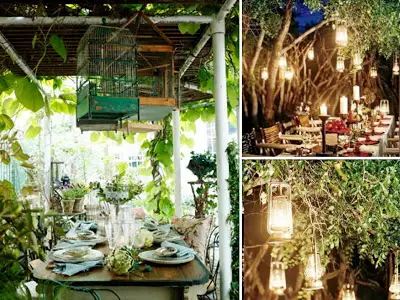 Love the lanterns hanging from the trees!
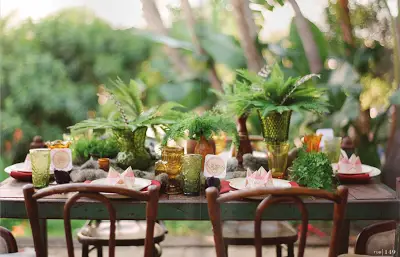 Meals outside..
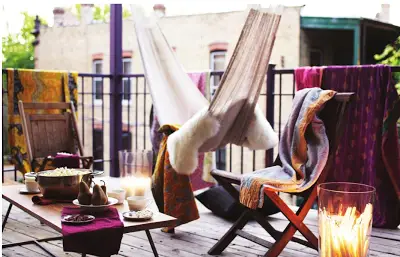 2 images above via
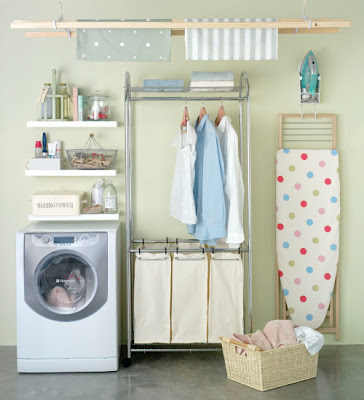
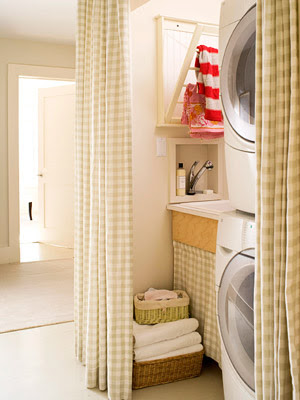
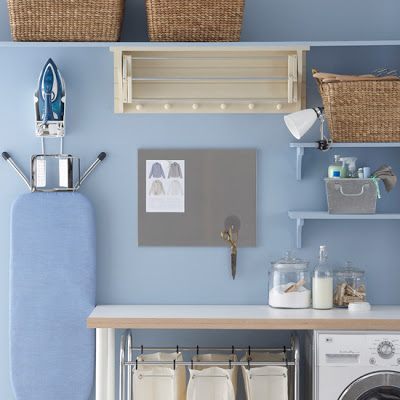
 Laundry baskets make great sorting bins that are easily moved about. You can download BHG’s free Laundry Labels
 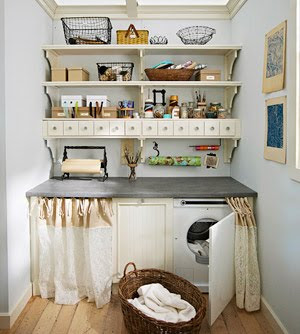 Not all of us have the luxury of separate rooms or dedicated spaces for every task or hobby, so a well planned out utility room can handle multiple purposes. This room handles laundry, and crafts such as wrapping… notice the rolls of wrapping paper. A surface over the washer and dryer provides space for crafting. Lots of baskets and bins provide storage for supplies.

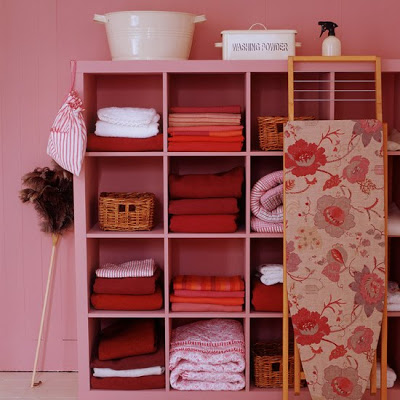
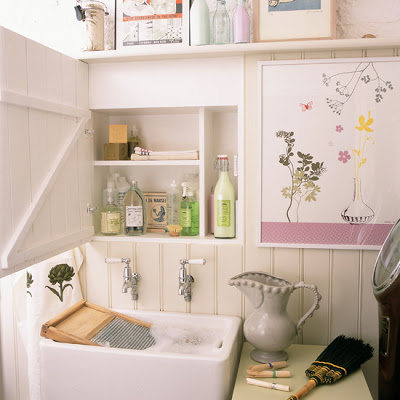
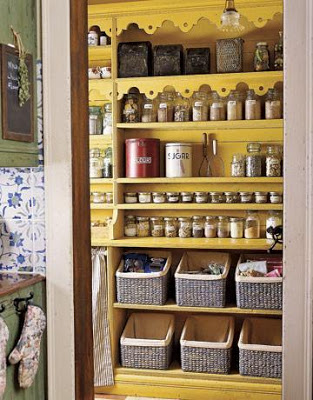
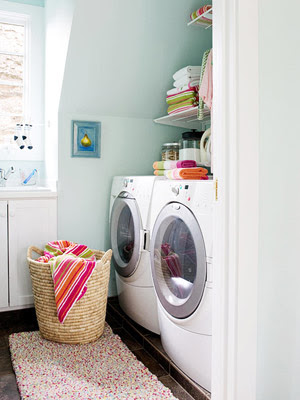 Small, but shelving provides space to organize
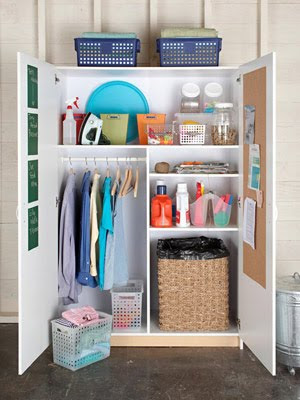 I love the idea of an armoire as a utility room organizer.
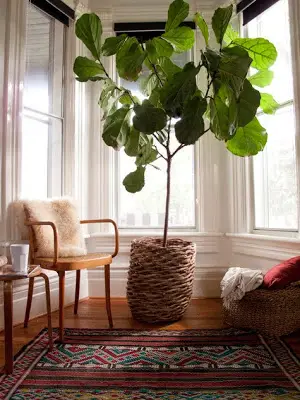
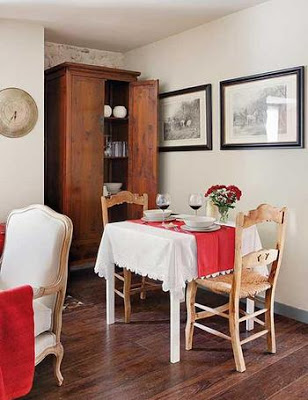
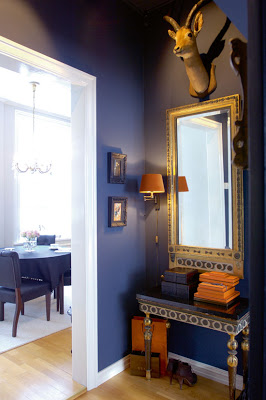 The dusky blue paint in this entryway sets the tone for this home – you get a sense that it will have a historic, eclectic, and mature feel.
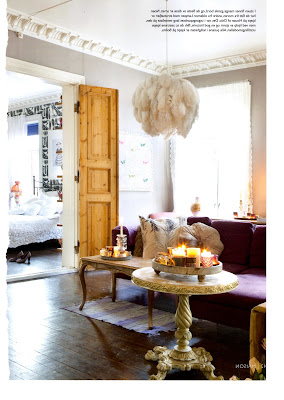 The decorator here took a cue from the elegant molding and created a luxe sitting room
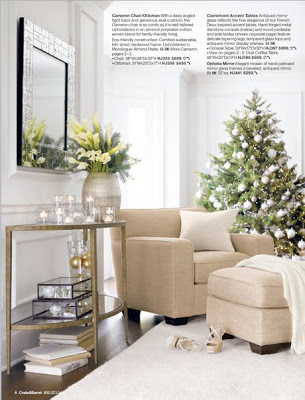
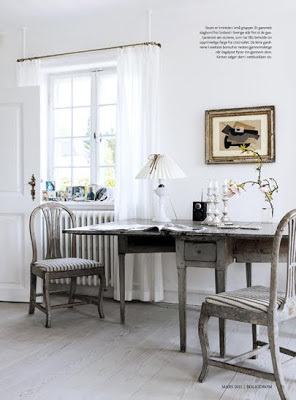 This room could have gone in many directions but this unique table and the patina of the wood sets the tone as rustic and traditional
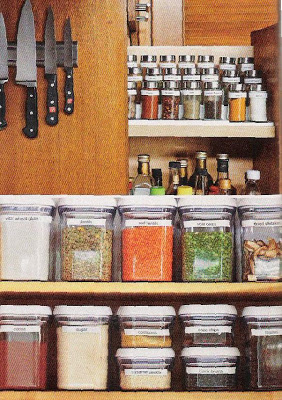
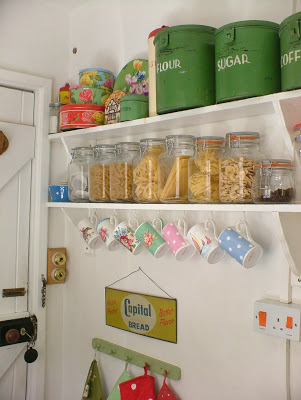 One cannot have too many jars and canisters. Looks better and keeps food fresher than boxes and bags. I will cut off the label on the box and tape it to the lid of a jar if it’s something I might have trouble identifying later.
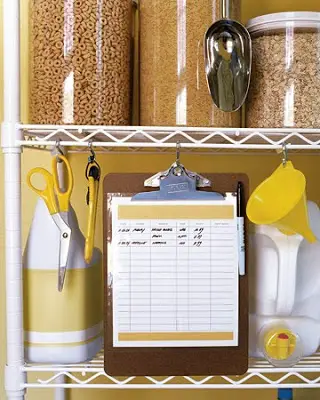 Keep a clipboard in your pantry to jot down any staples you are running low on.
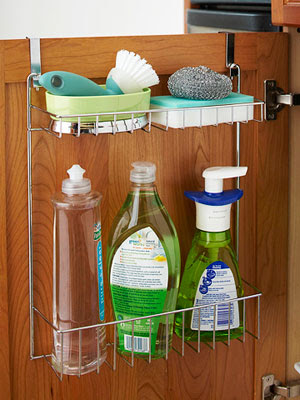 Living in small NYC kitchens I learned early on to utilize the inside of cabinet doors, closet doors, etc. to store things.
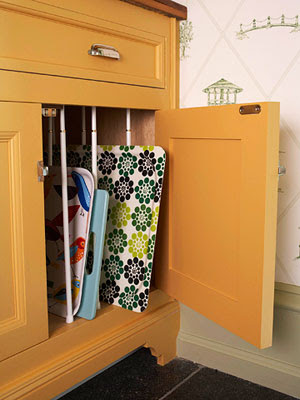 Genius! Use tension rods to separate and divide lids, trays, and baking sheets.
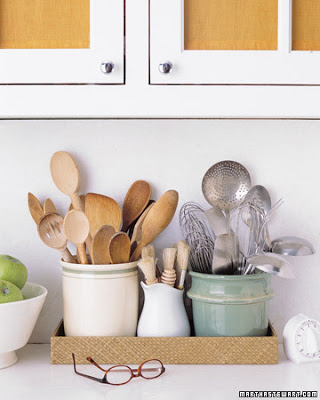
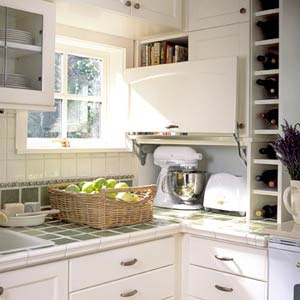 I love the nook for the mixer and toaster!
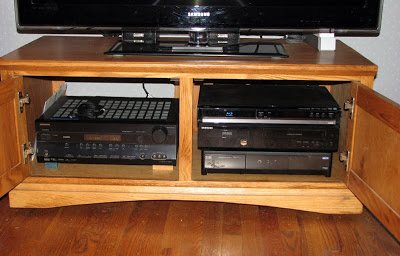
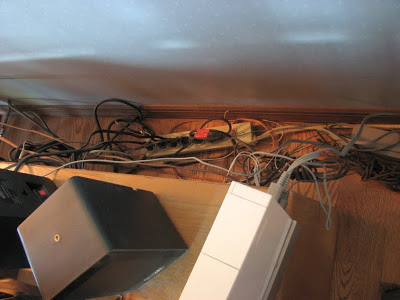
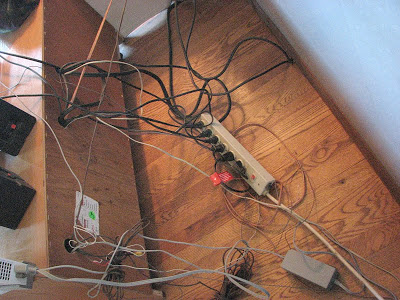 Pretty bad huh?
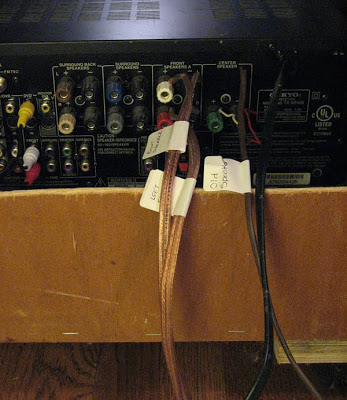 The end of each cable is labeled with the corresponding hole, i.e. ” AV 1″ or “Front Speaker – Left” You may find a labeling solution that works better for you based on your equipment.
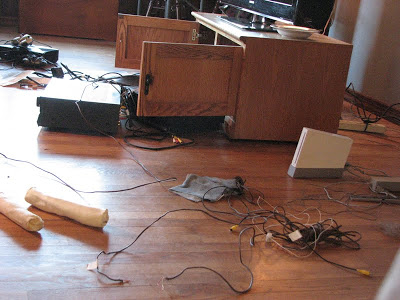 In the middle of the project – don’t worry – things might look worse before they look better.
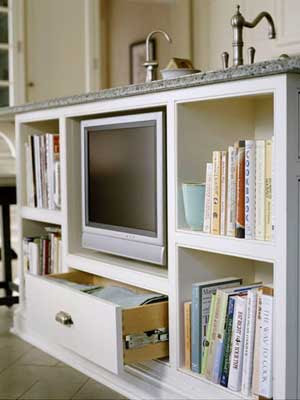
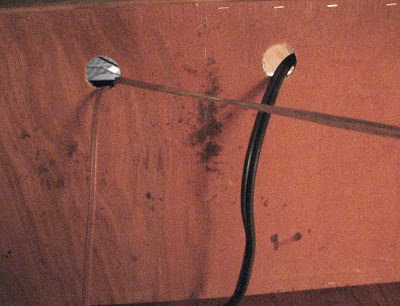 So…being that the backing of the console was only fiber board, I traced a rectangle with a pencil and cut a much larger opening with a hacksaw. This allows easy access to the back of equipment, and provides better ventilation.
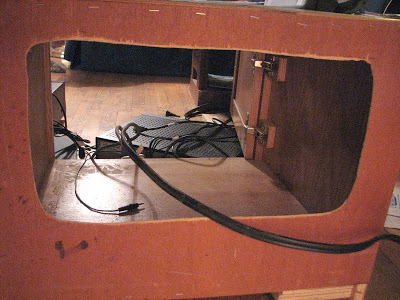 After cleaning and wiping everything, and labeling the cords, I put all the equipment back in the cabinet, rewired everything, and utilized regular household twisty ties to bundle the cords.
 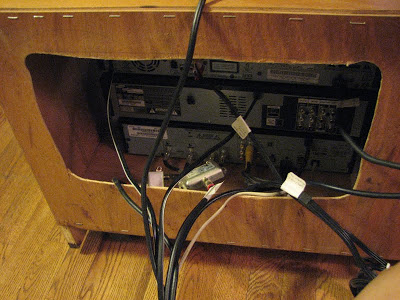 Labeled cords coming out of their respective equipment…
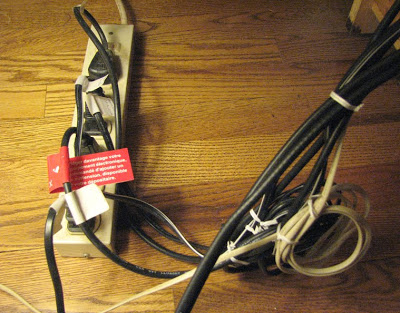
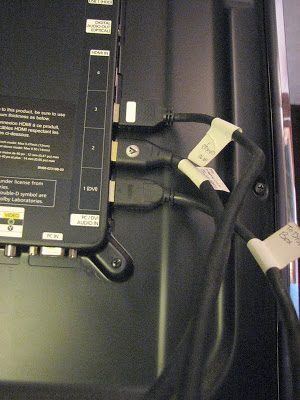 Labeled cables going into the back of the TV
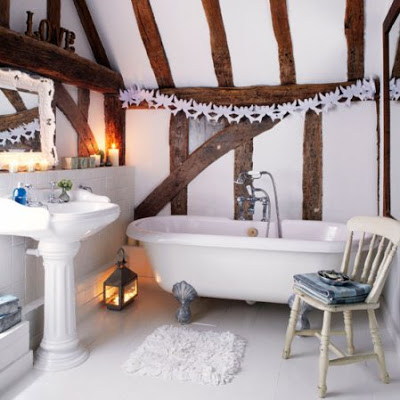
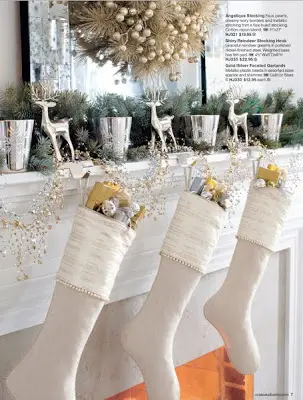
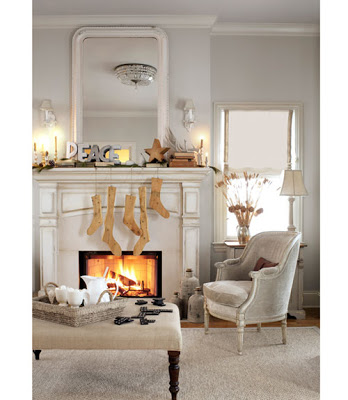
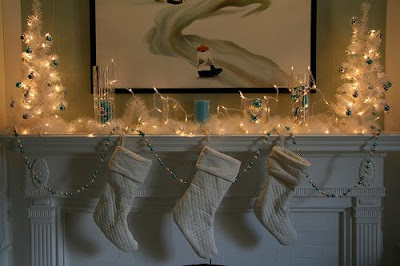 Isn’t this the sweetest mantle?
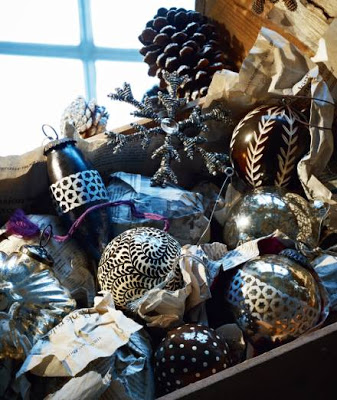

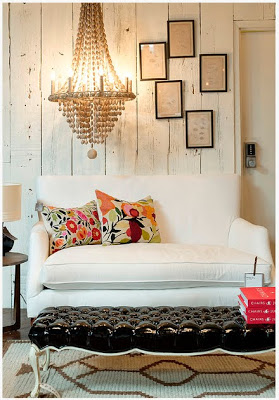 I adore the chandelier contrasted with the rough walls. This is actually the Jayson Home and Garden store. PS- if you like Jayson Home and Garden Gilt is having a sale on their accessories.
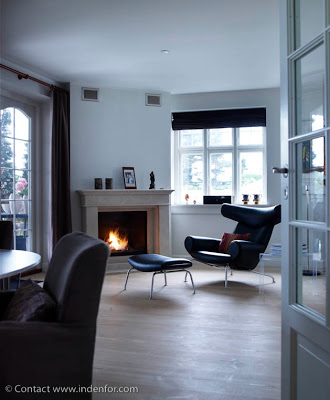
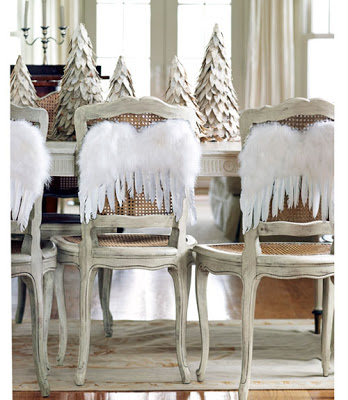
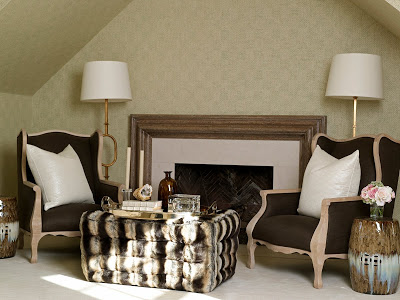 Beautiful chairs
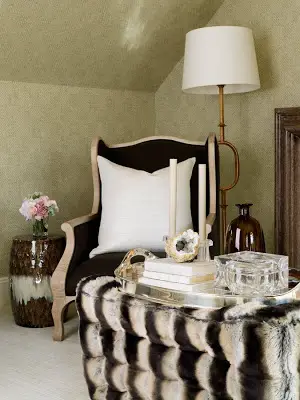 Great ottoman too – providing the fur is faux…
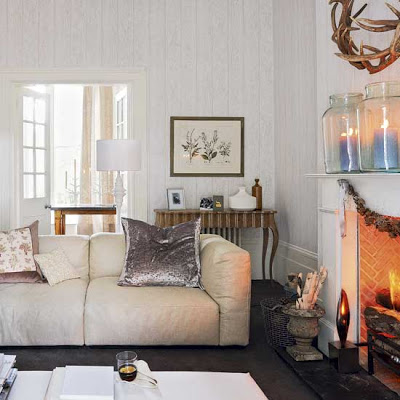
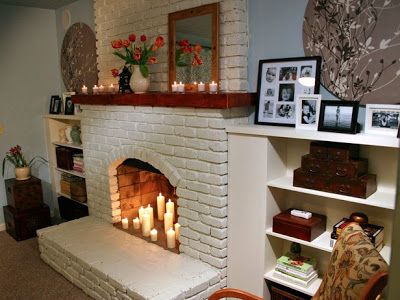 Even if your fireplace is non-working you can still create a cozy fire with a grouping of pillar candles. BTW – this is a real home -not staged or professionally decorated.
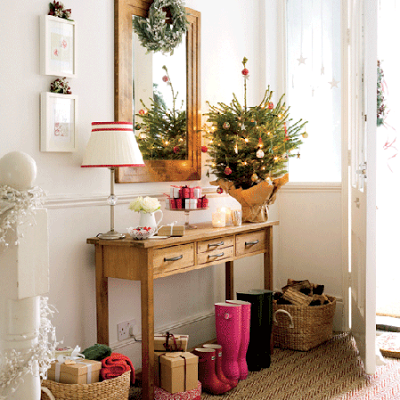
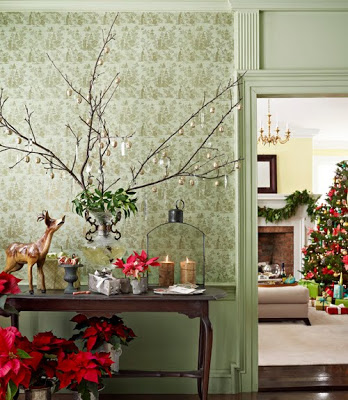
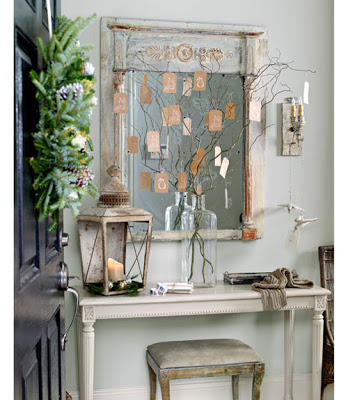 The above is my favorite picture. I love the branches with the stamped tags.
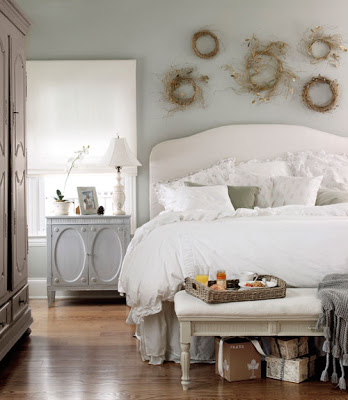
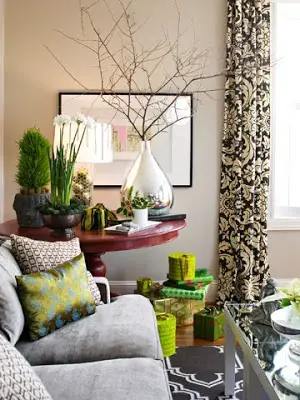
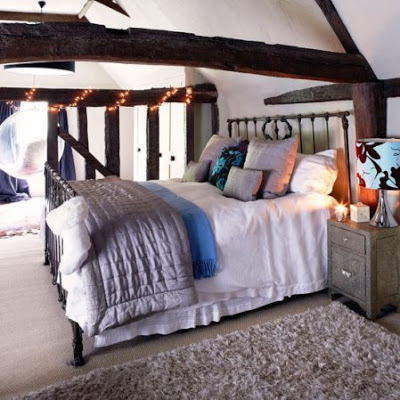
 I ADORE this bedroom! It’s Christmas-y but remove a couple of elements and it still works day-to-day.
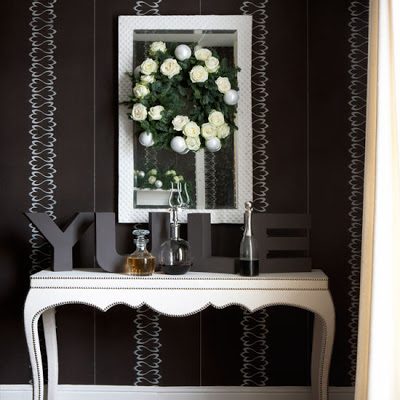
 A green, garden-y Christmas theme.
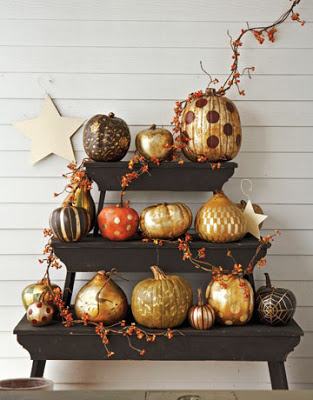
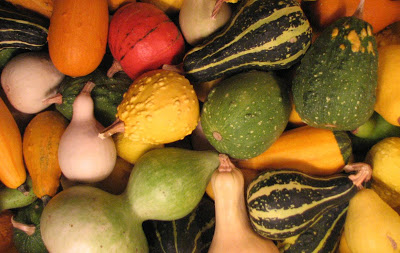
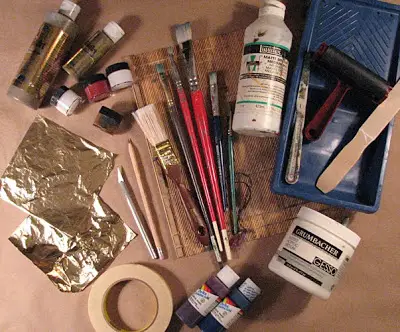 Here are a few supplies you may want to have on hand – gesso (which I used as a primer on the gourds that I only painted, not leafed). Paint (some of the gourds I just painted metallic gold to ad variety alongside the gilded ones). Brushes, paint stirrer, paint tray, palette knife for mixing small amounts of paint, a pencil and masking tape for creating designs on the gourds, and a leafing kit or supplies.
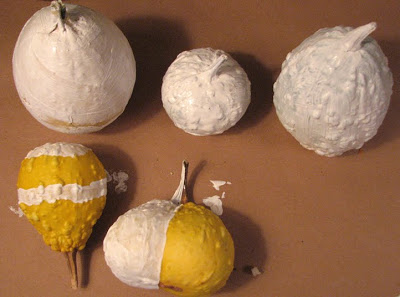 After picking the gourds I wanted to paint, I primed them with gesso, applying it only where I planned on painting them or applying the leaf.
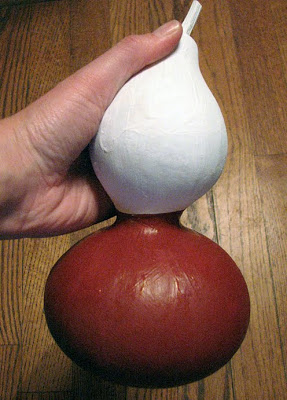 This gourd I painted the top a metallic gold, and applied leaf on the bottom half. (Notice the red leaf primer on the bottom.) A dark color primer makes the gold leaf “pop” a little more.
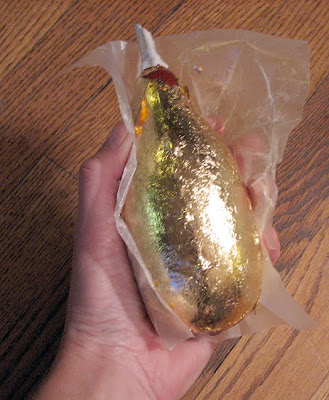 Once the primer dries, apply adhesive as instructed on the label. I found applying the gold leaf was easy it I placed a piece of waxed paper over it, warmed the wax paper a little just by rubbing my hand over it, and then applying the leaf to the gourd. Try and touch the leaf with your fingers as little as possible. You only have to press the leaf to the gourd very lightly.
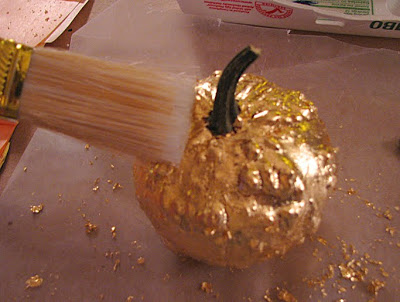 Brush off any excess flakes with a soft, dry, brush. A light touch will do. After that, coat it with the sealer
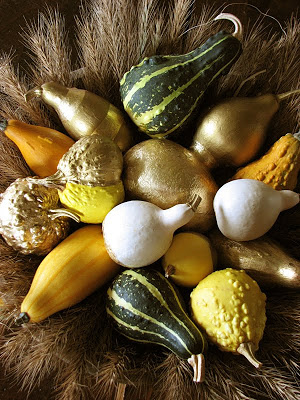
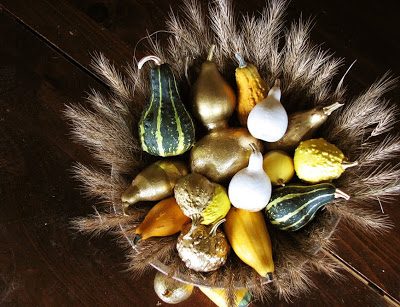

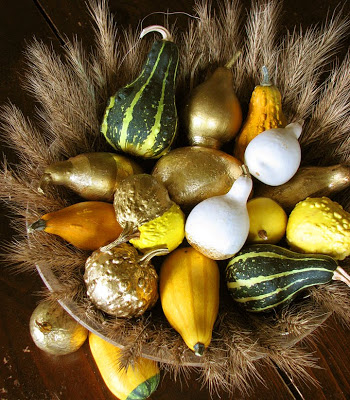
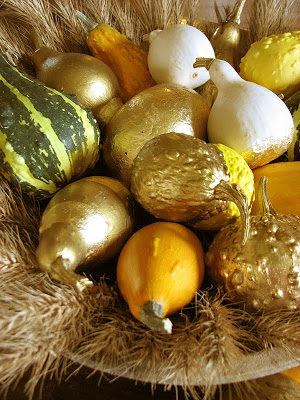
 I lined a wood bowl with dried rye and than arranged the gourds to create a centerpiece.
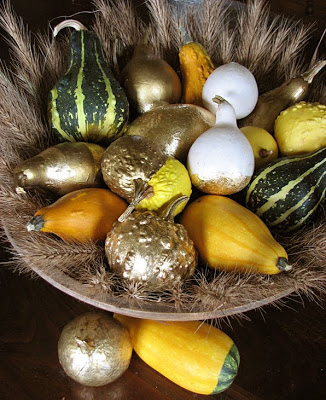