Renovating can quickly lead to clutter and chaos if not managed properly. Staying organized during a renovation requires organizing to stay on top of things and avoid clutter :

Create a Detailed Plan:
Outline each step by breaking down the renovation into phases and set clear timelines for each.
Designate spaces and decide where materials, tools, and items will be stored throughout the renovation.
Declutter Before You Begin:
Purge unnecessary items by sorting through belongings and get rid of things you no longer need before the renovation starts. Consider renting a storage unit for temporary storage or using a designated space in your home to store items that need to be out of the way.
Use Temporary Solutions:
Procure portable storage containers like bins, boxes, or portable wardrobes for items that need to be temporarily relocated. Label everything! Clearly label all boxes and containers with their contents and room destination to avoid confusion later. Also check out this article on Porch with lots of tips on staying organized during renovation.
Organize Materials and Tools:
Set up designated zones and set up specific areas for materials and tools. Keep them organized and accessible to prevent them from being scattered around.Establish a daily cleanup routine for tidying up at the end of each day to maintain order.

Minimize Furniture and Decor:
To protect and store your possessions, move large furniture and decor items to a safe location to prevent damage and reduce clutter. Cover remaining items with drop cloths or plastic sheeting to protect any items that can’t be moved.
Set Up a Temporary Living Space:
Create a functional area and designate a clutter-free zone where you can carry out daily activities away from the renovation mess. Keep essentials handy and store daily essentials in this area to avoid unnecessary trips through the renovation zone.
Stay on Top of Waste Management:
Rent a dumpster and have a plan for disposing of debris and waste materials as the renovation progresses. Arrange for regular removal of trash and debris to keep the work area clean and manageable.
Use Vertical Space:
Shelving units and temporary shelving can be used to keep tools, materials, and supplies organized and off the floor. Hanging organizers and wall-mounted hooks or pegboards for hanging tools and supplies.
Protect and Isolate Non-Renovation Areas:
Install temporary barriers, such as plastic sheeting, to separate the renovation zone from the rest of the house. Limit dust spread and use air purifiers or close off HVAC vents in the renovation area to prevent dust from spreading.
Stay Flexible and Adapt:
Regularly reassess as the renovation progresses, reassess your organization strategies and make adjustments as needed. Tackle clutter immediately and address any clutter or disorganization as soon as it appears to prevent it from becoming overwhelming.
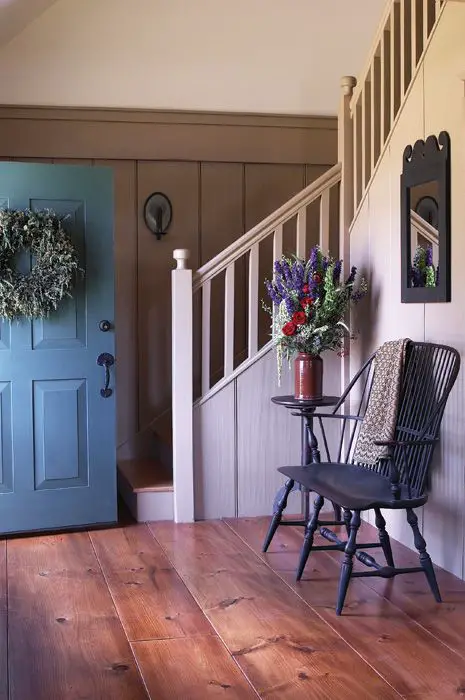
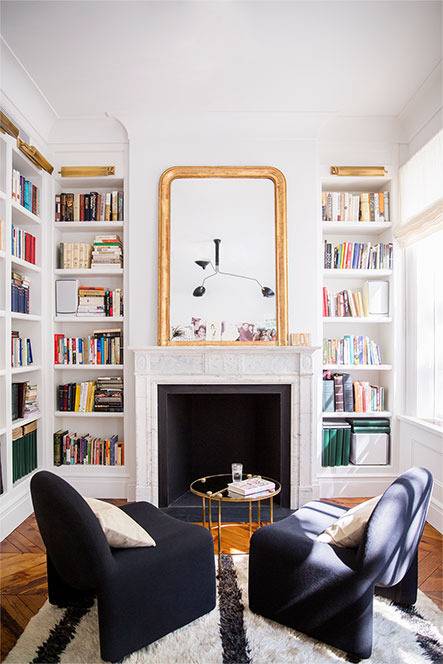
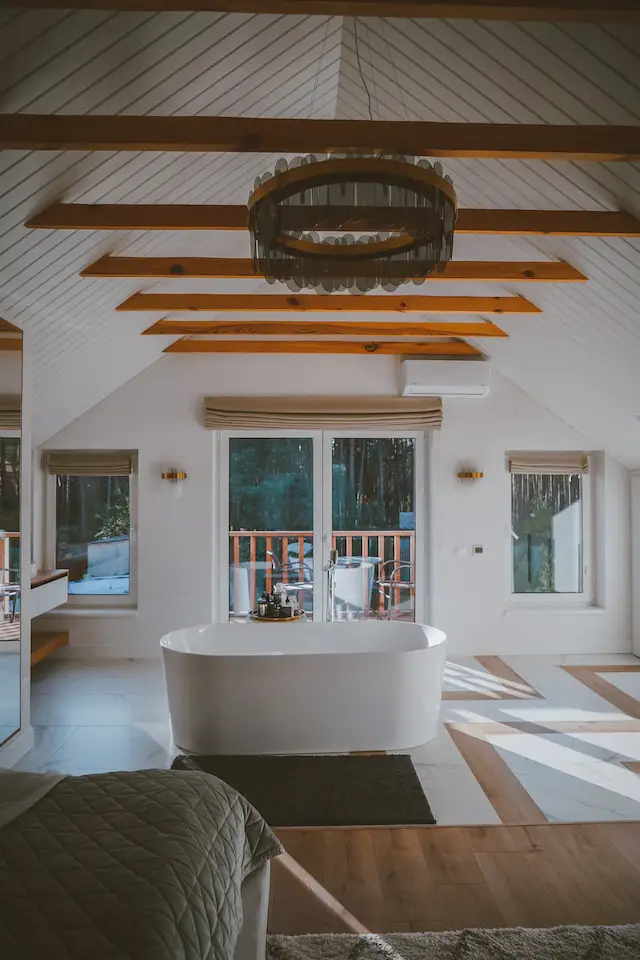
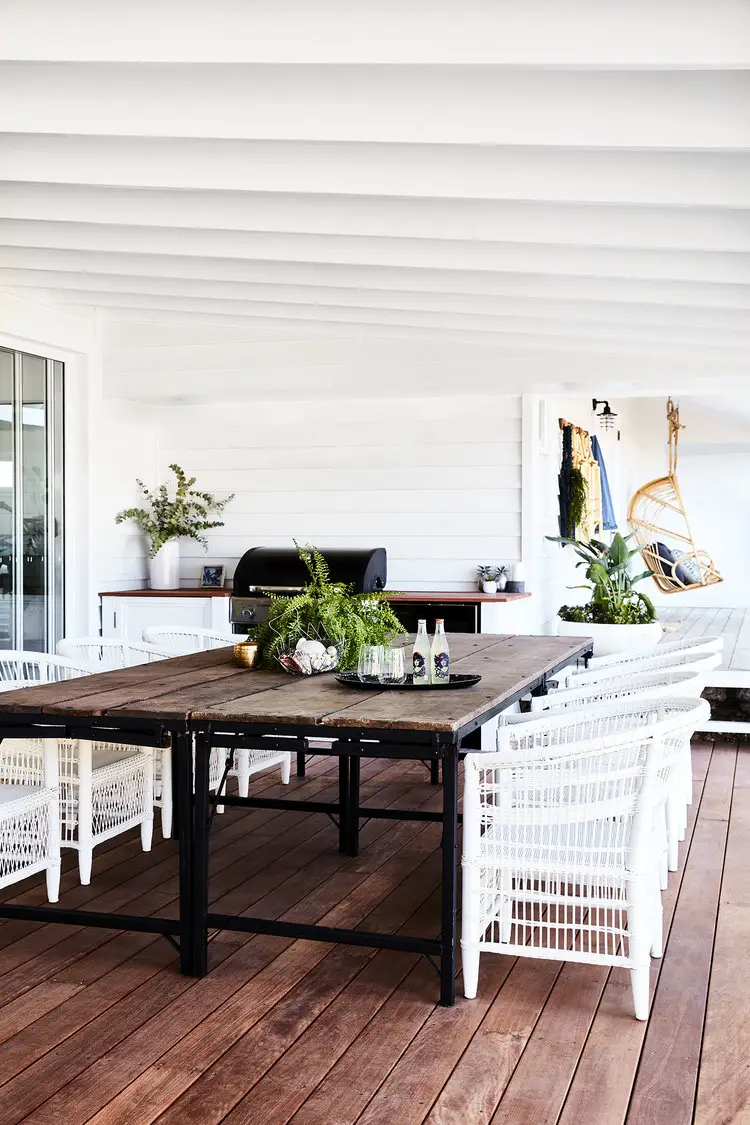
Staying organized during a renovation
By following these tips, you can keep your renovation project organized, minimize clutter, and maintain a more manageable and stress-free environment throughout the process.


 Shop small, buy big.
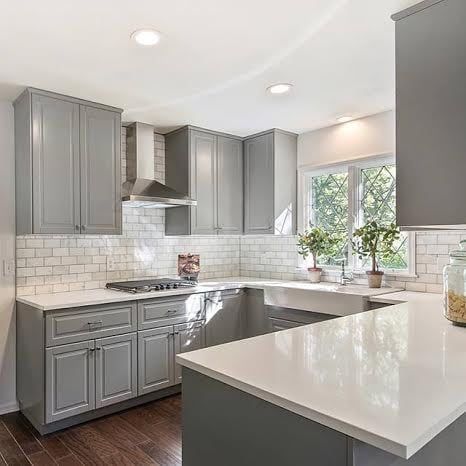 Look for materials at various suppliers
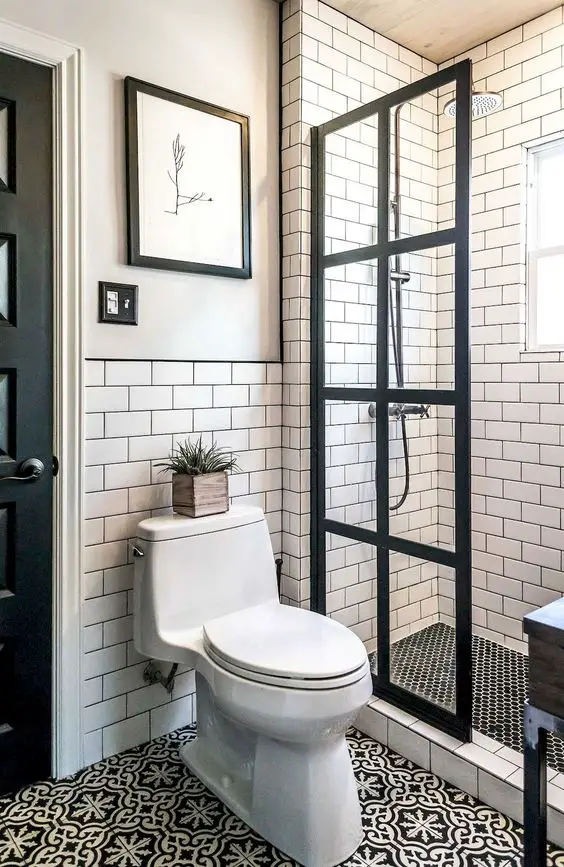 Ask any question you can.
 Get packaged deals.
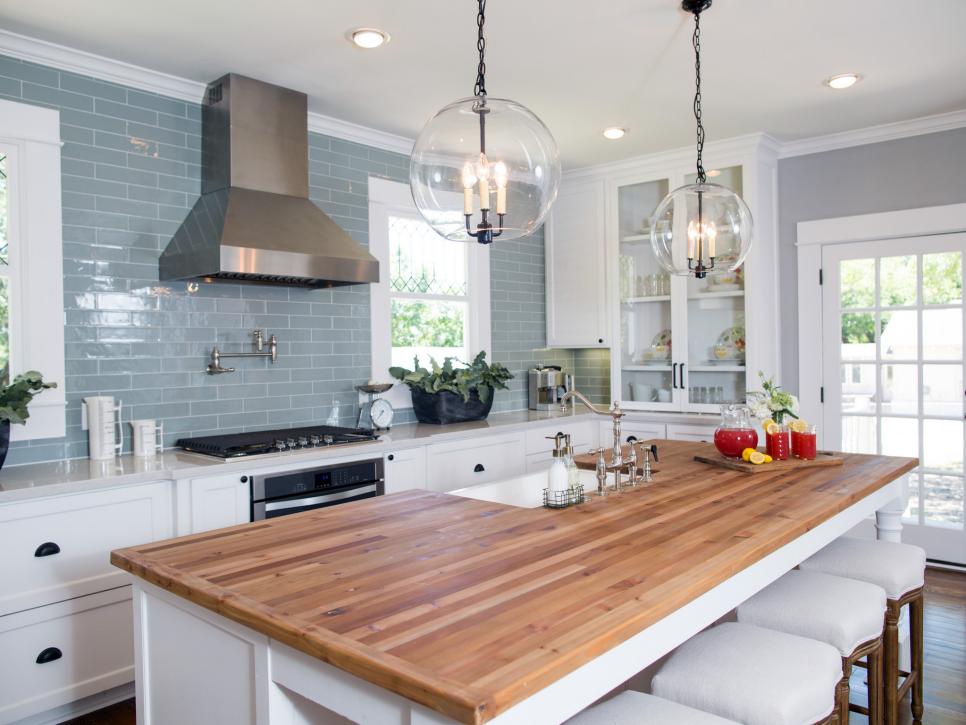


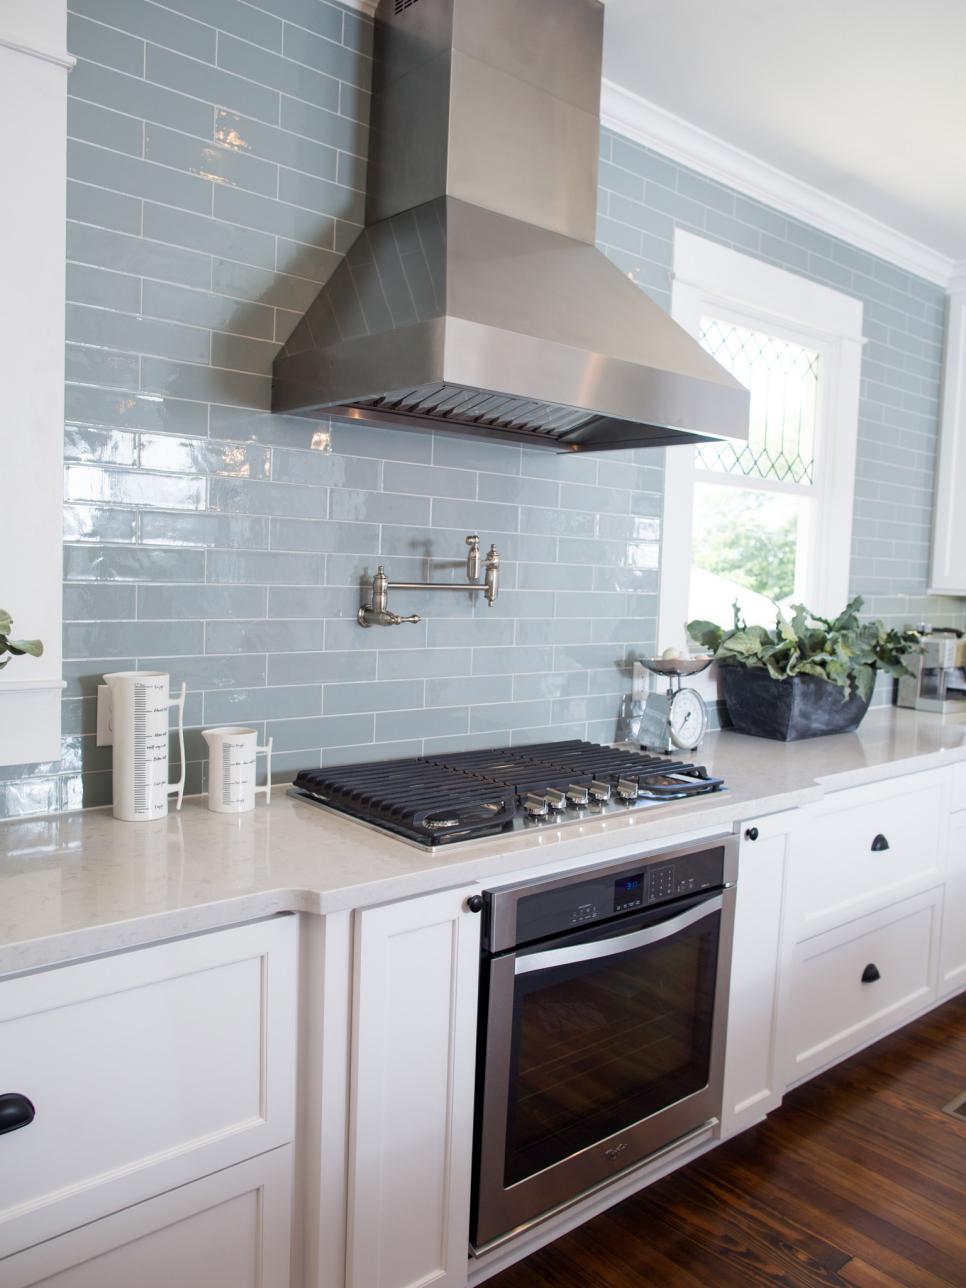


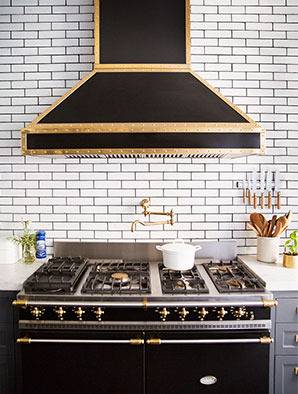
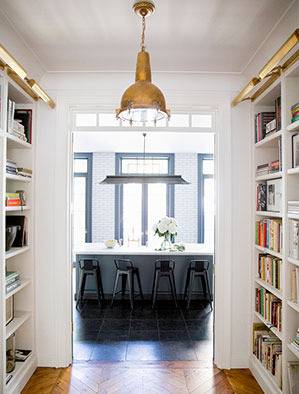
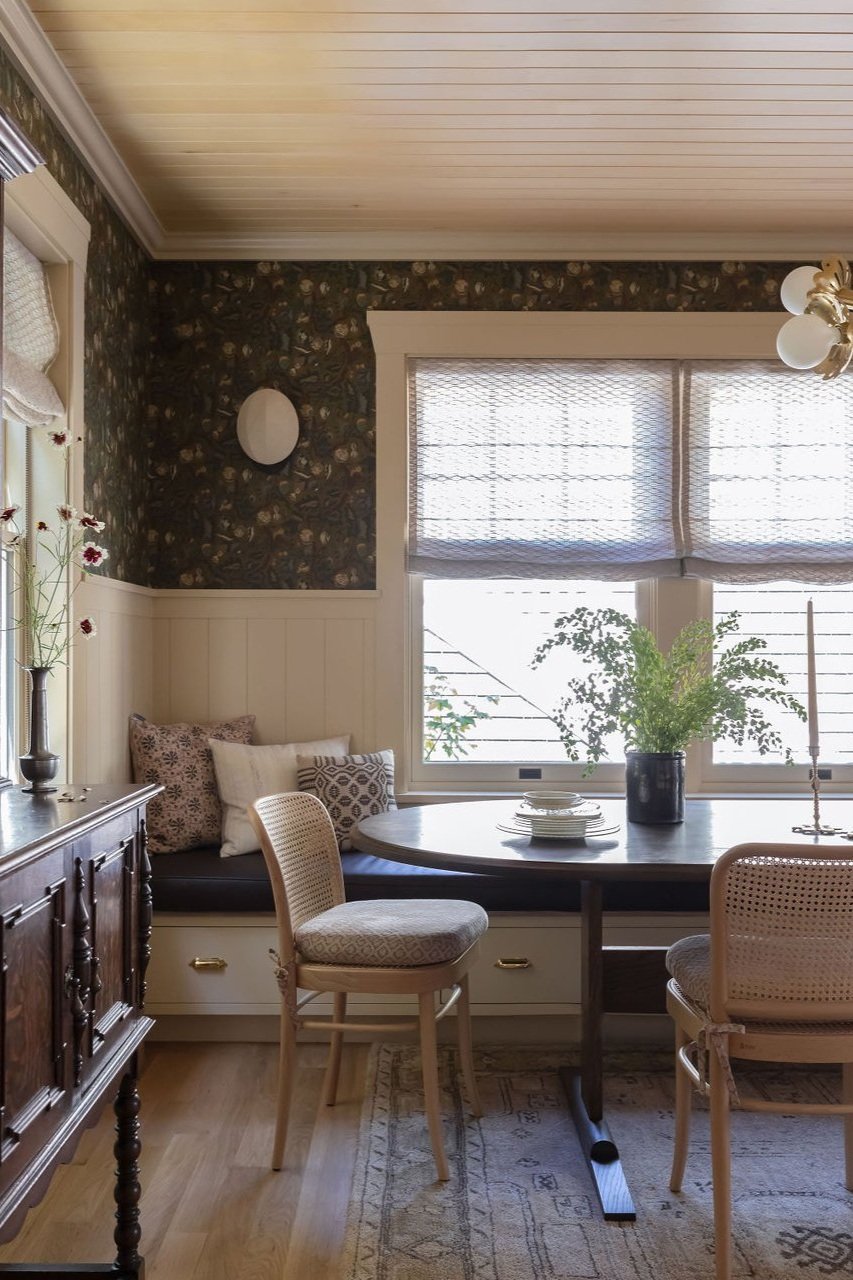
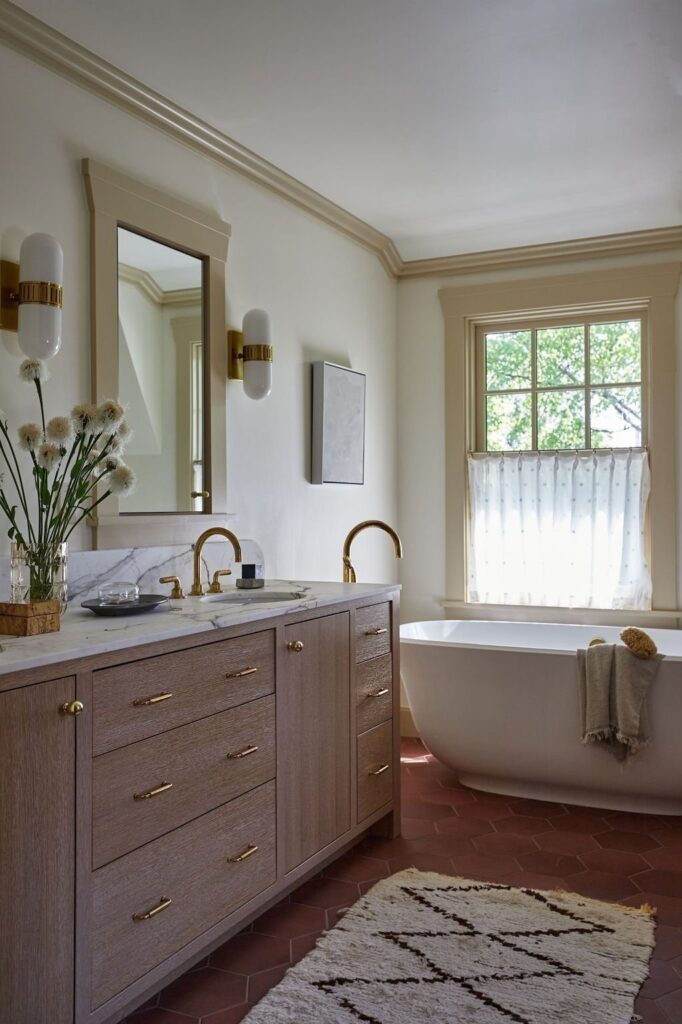
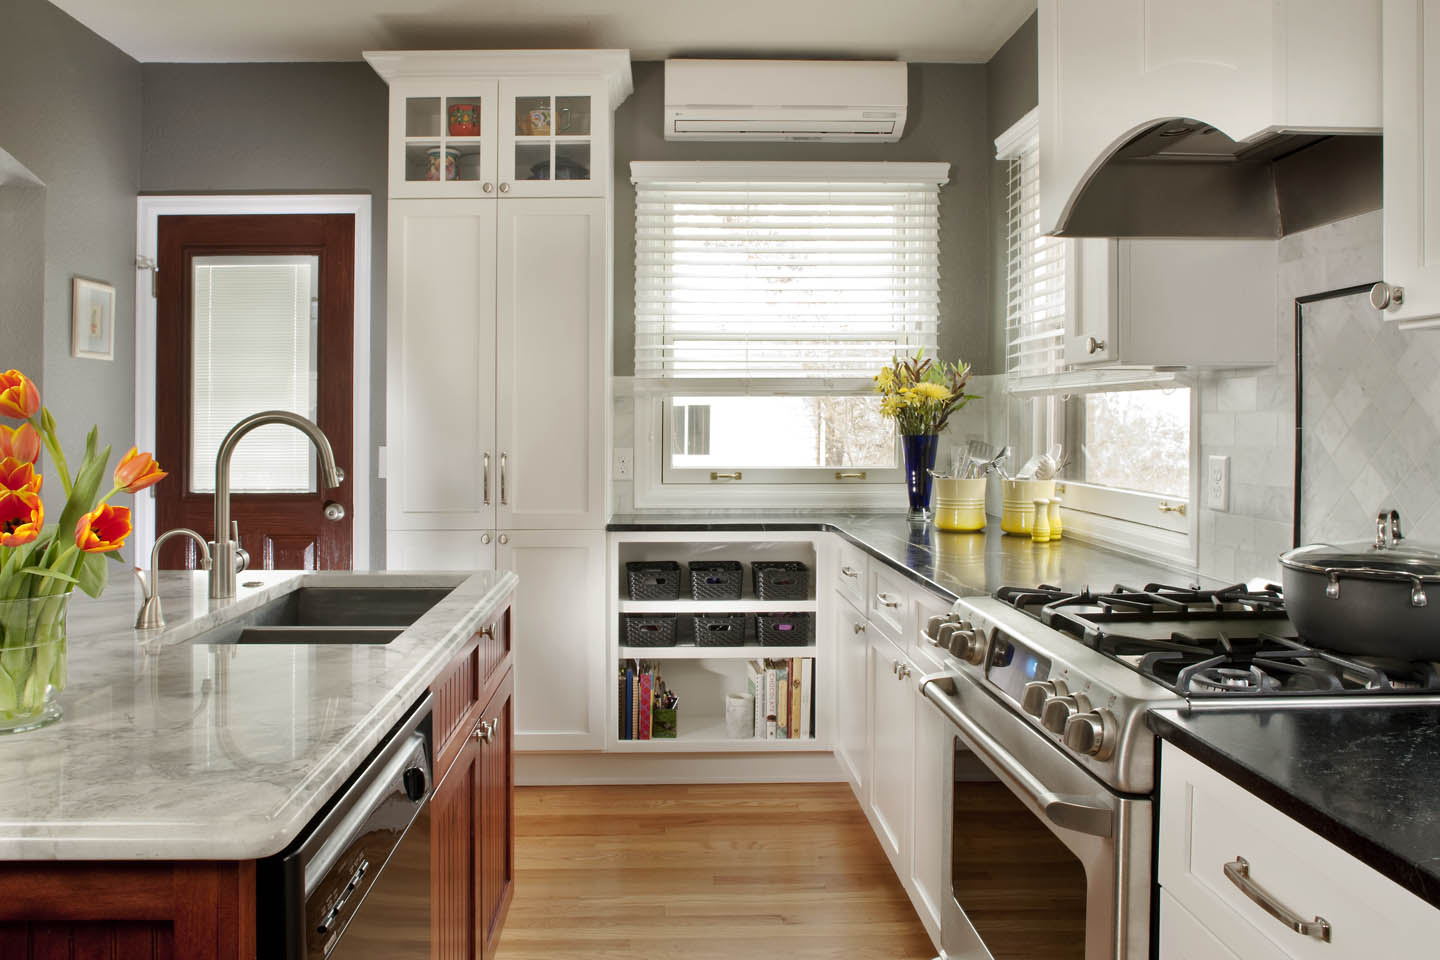
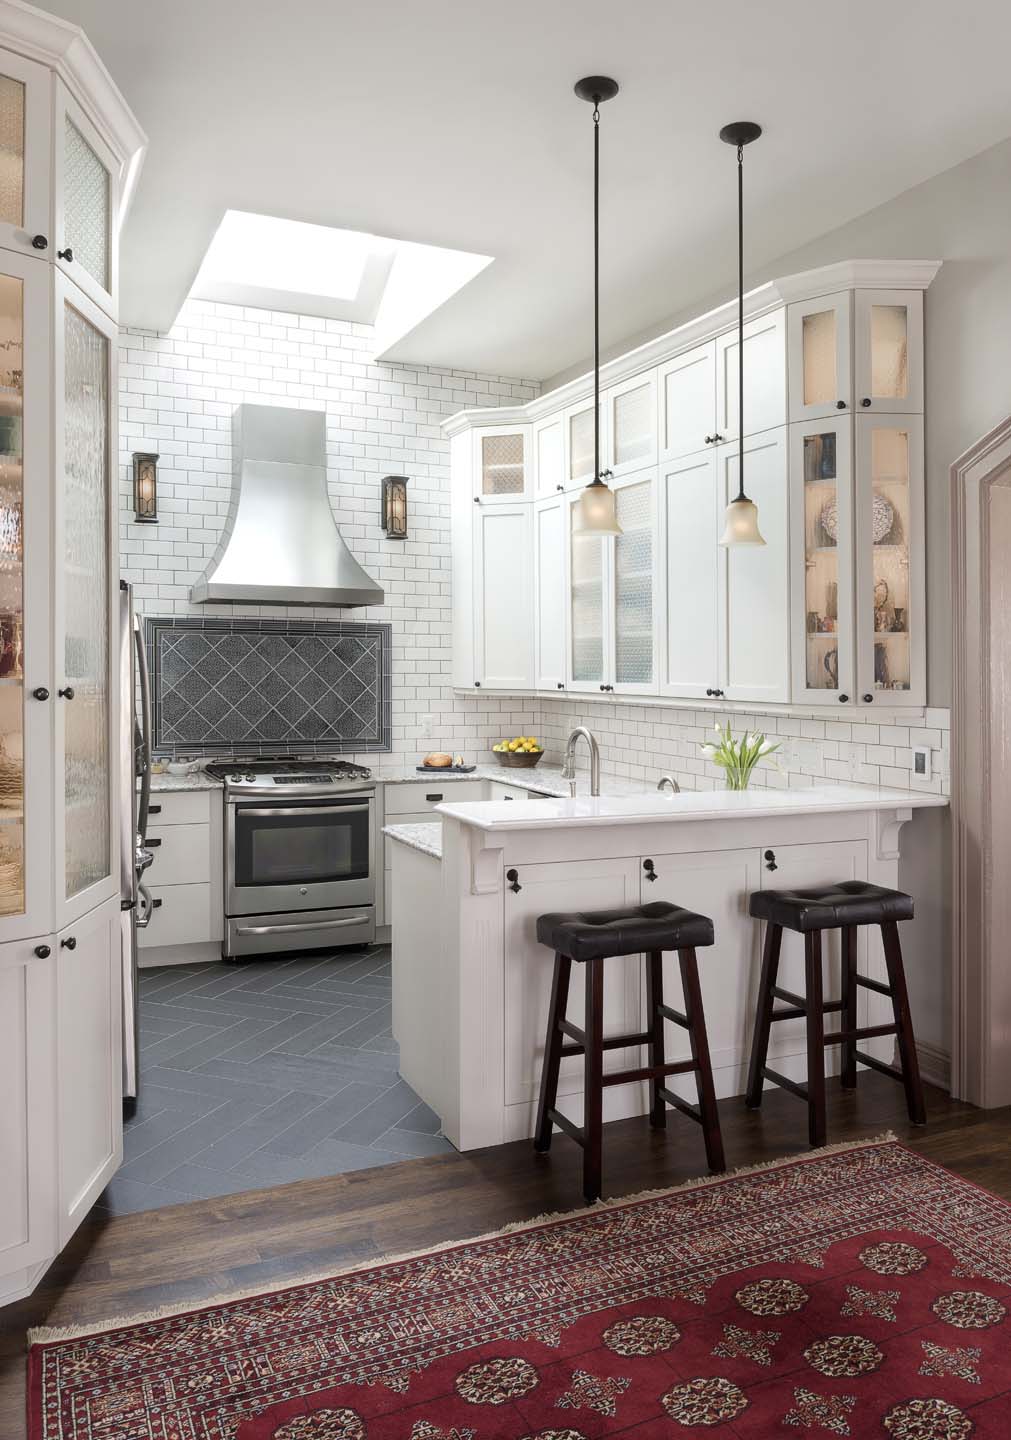
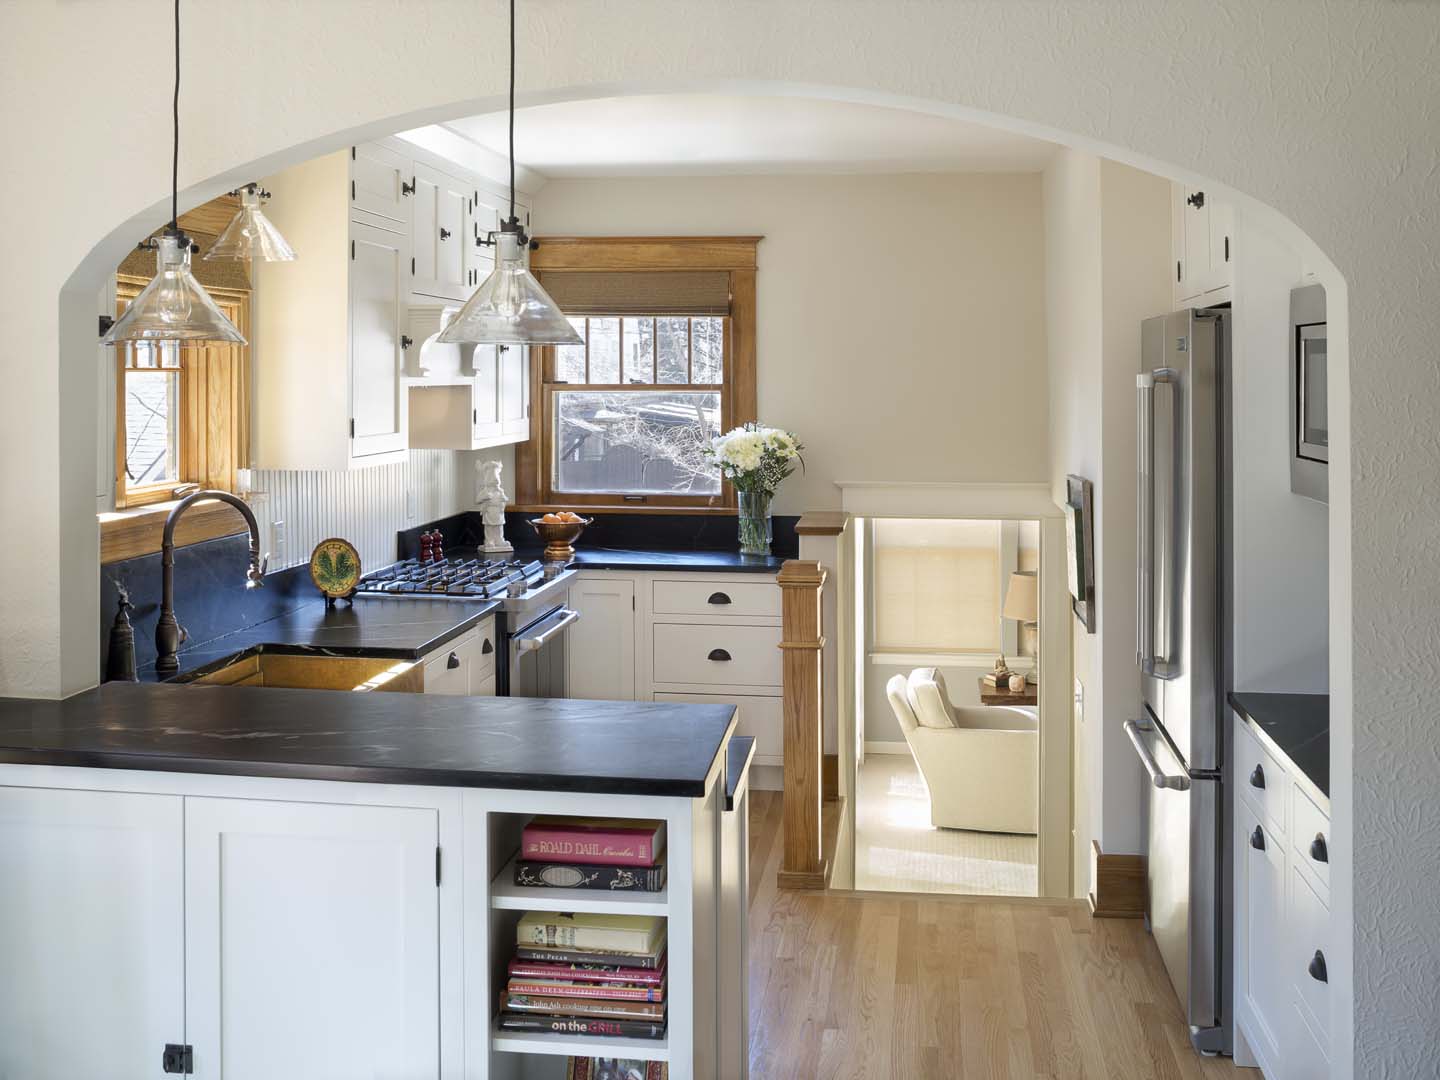
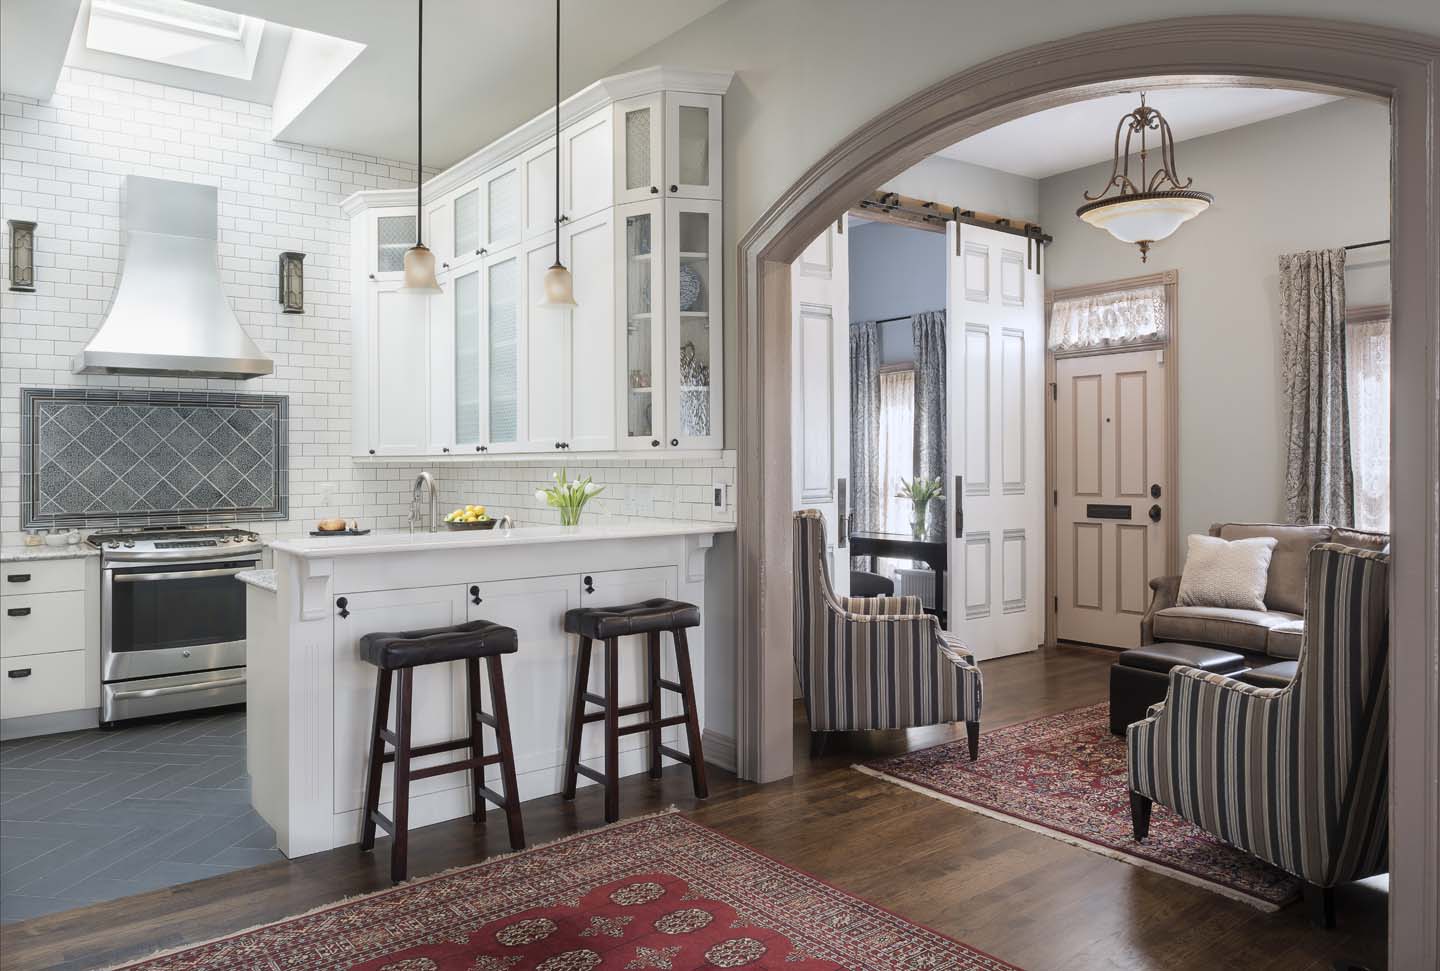
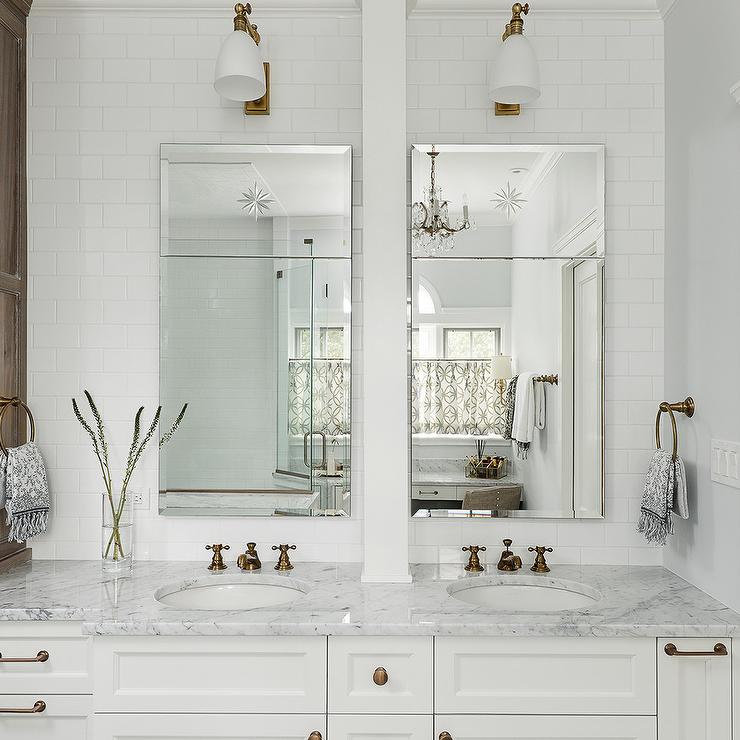
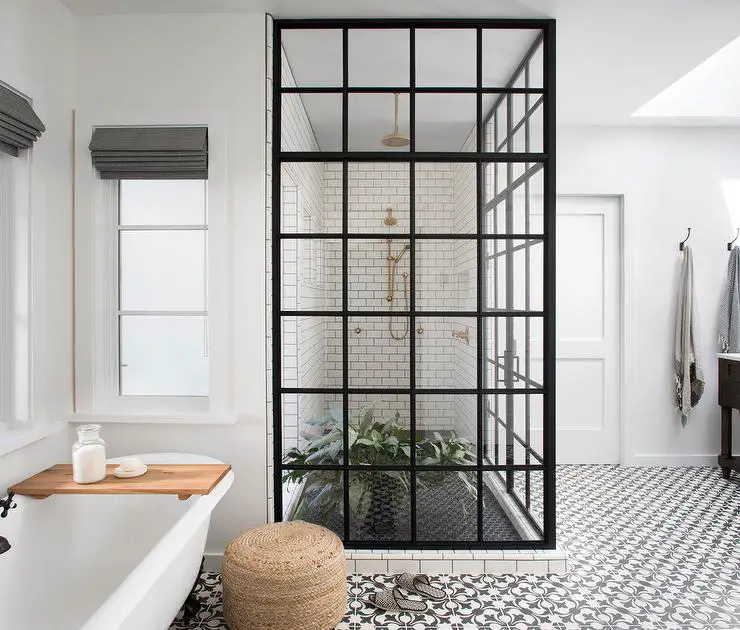
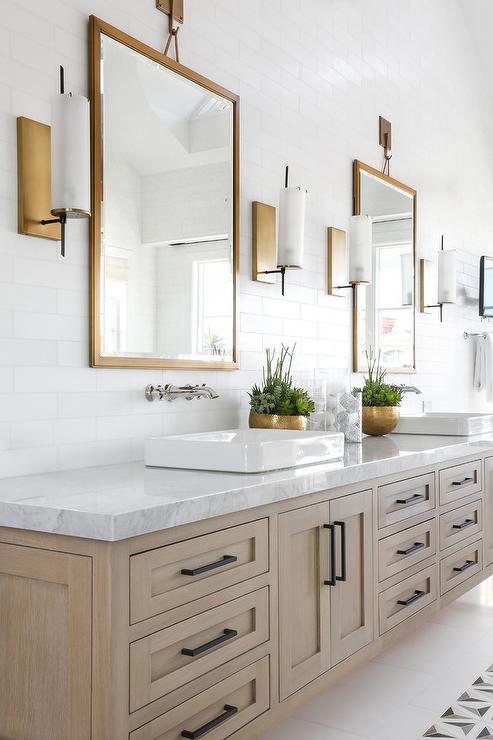
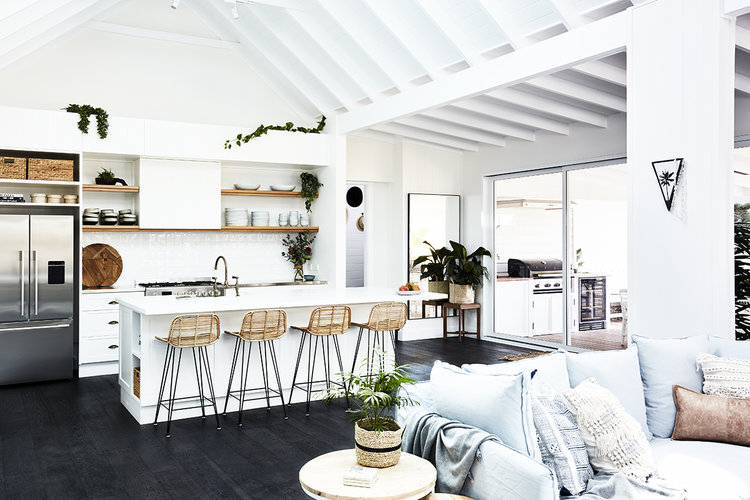
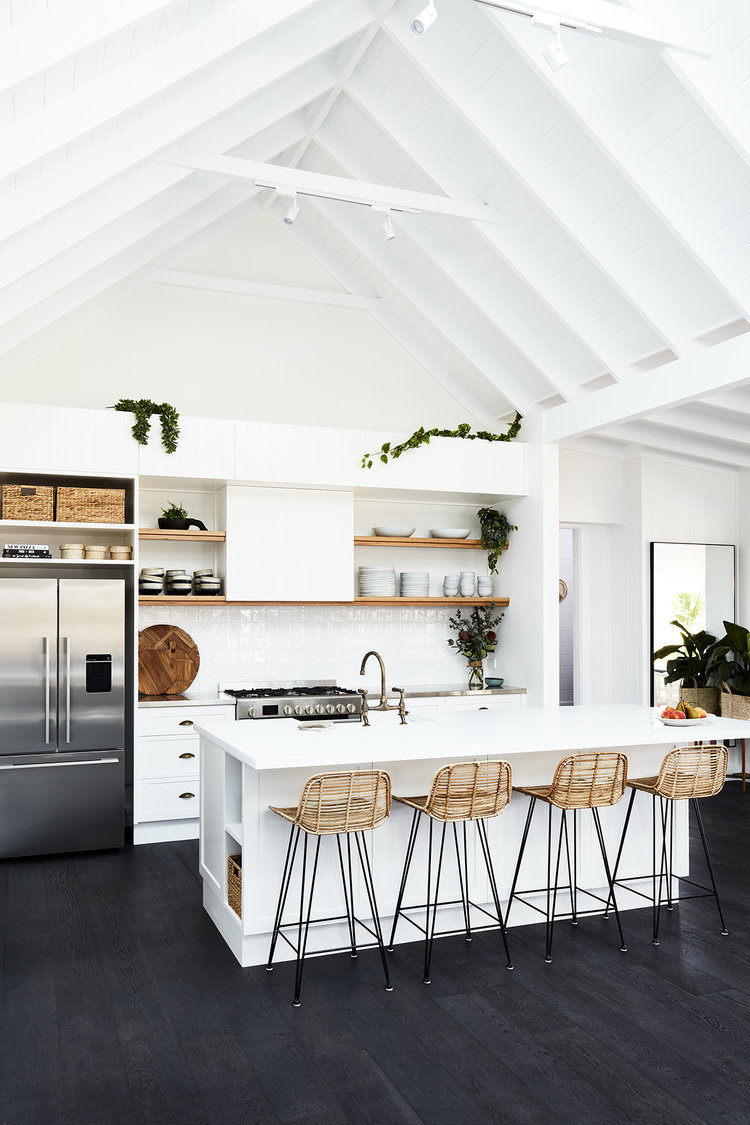
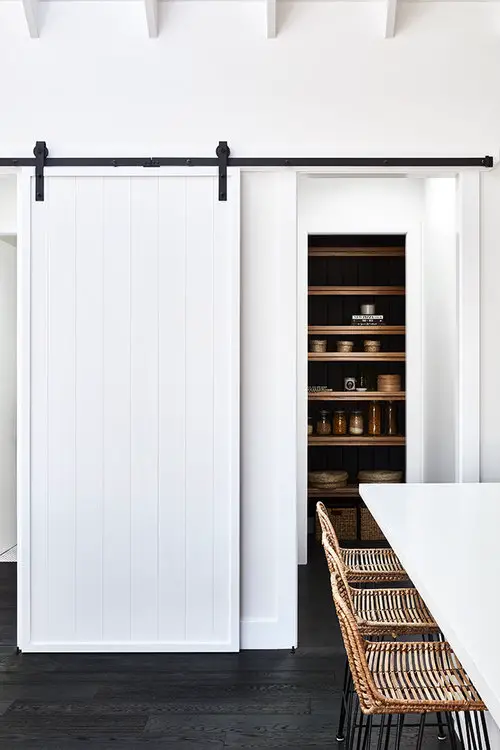
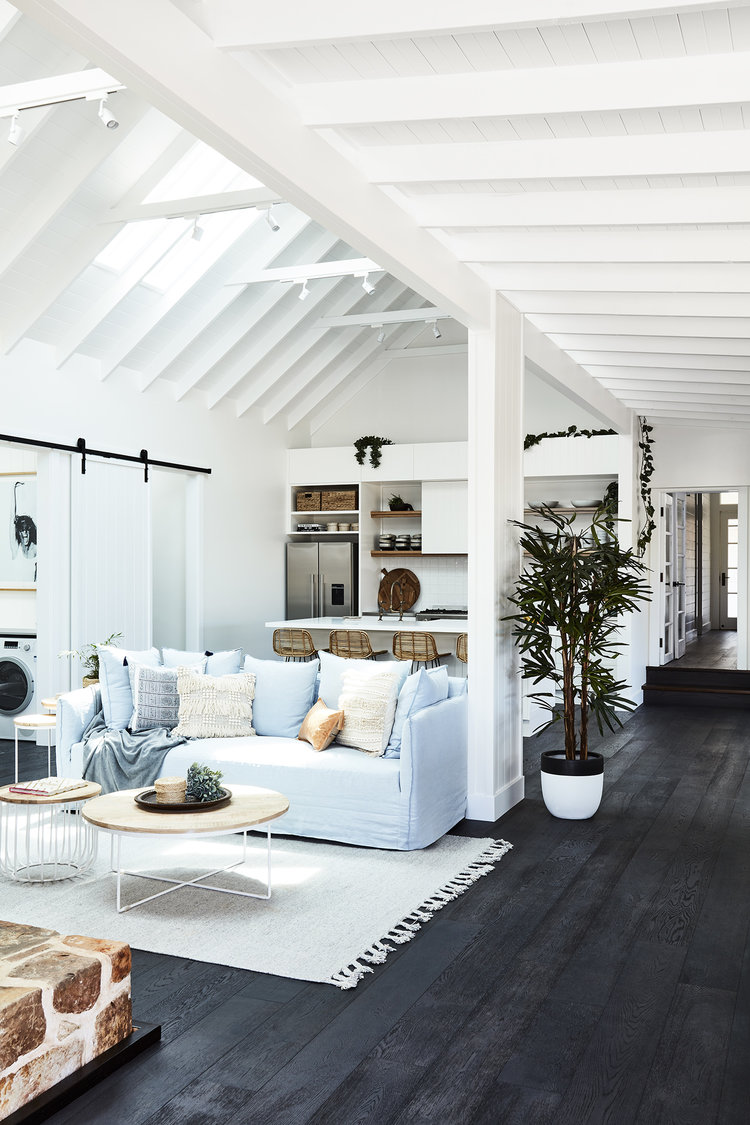
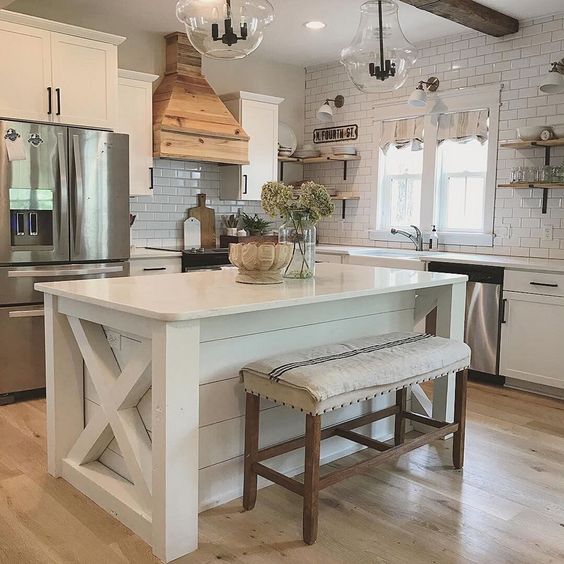
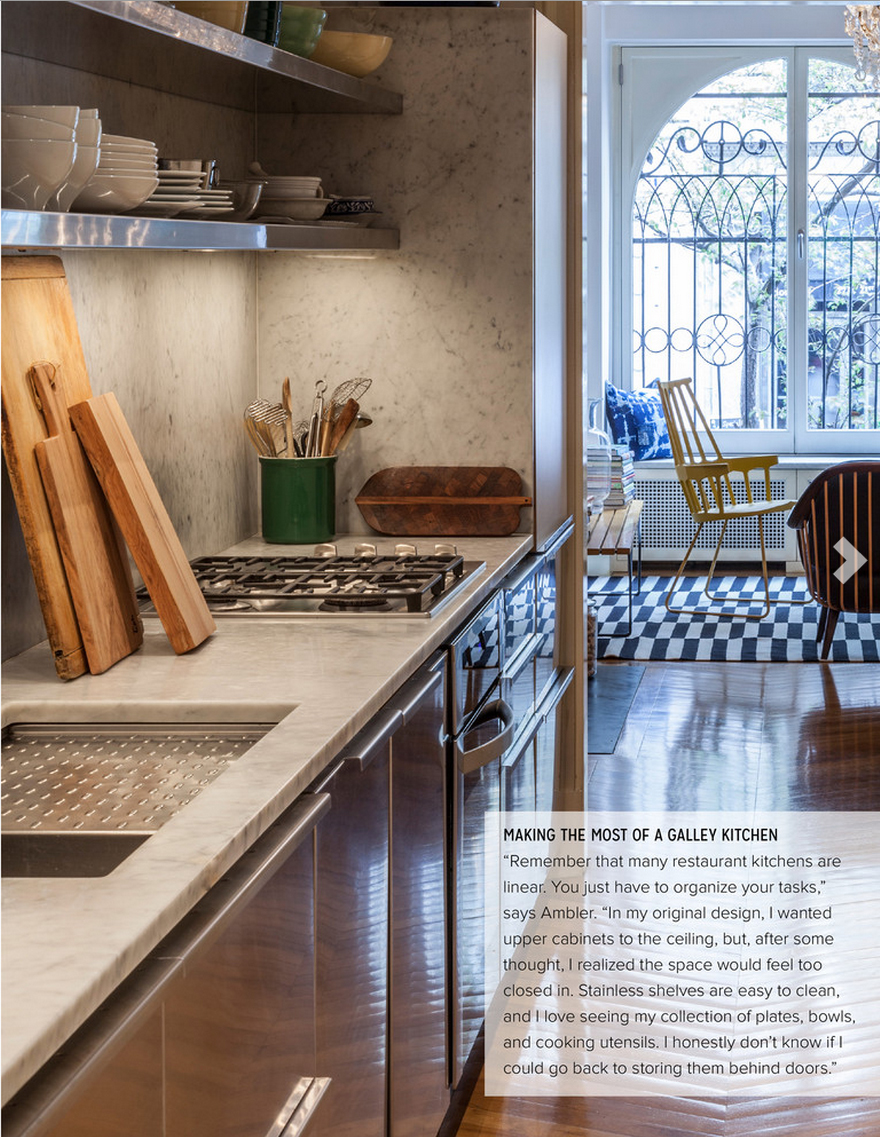 Ambler honored the traditional bones of the house in all of the renovation except for the kitchen and baths, which he intentionally wanted modern.