As some of you know I work from home – well, at my parent’s house – while I’m getting my web design business off the ground. Since I’m limited in how much I can alter the appearance of the room since the space and the furnishings belong to my parents, I focus on keeping it as organized and functional as possible. I was lucky enough to be contacted by the folks at Command products from 3M asking if I’d be willing to test out some of their adhesive hooks, picture hangers, and other goodies an organization junkie like me goes gaga for. Of course I agreed and below you can see how I completed two office projects.
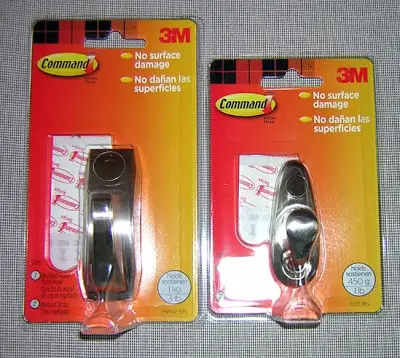
On a side note, I was surprised when I found these chic metal hooks! White plastic doesn’t always fit into everyone’s decor, so they were smart to create these stylish options.
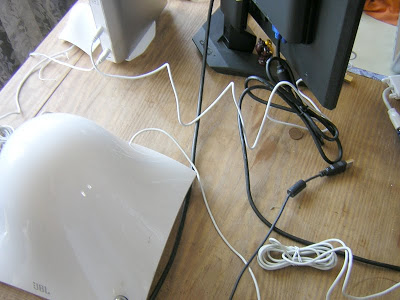
Okay. So the two projects I needed to do were to find some solution to the absolute mess of cords on my desk from my speakers, backup drive, and extra monitor, and to hang my inspiration board.
Below: My cords
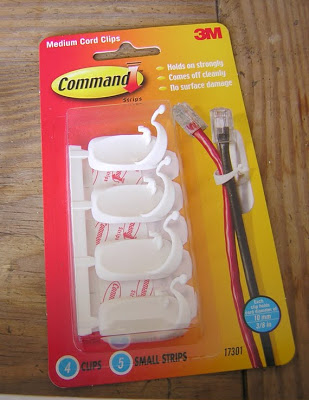
The 3M Command problem solver, medium cord clips
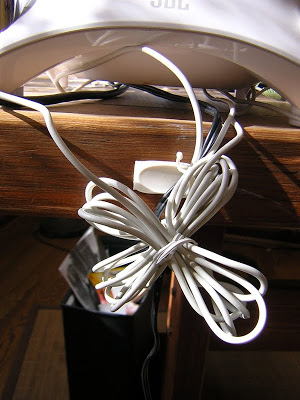
First thing I did was bundle up any cord slack and secure them with white twisty ties. (Most of my cords are white so I chose white). Make sure you leave enough loose cord to reach the electronic or outlet it’s associated with.
 Plan carefully and mark with a pencil if necessary where you’ll place the hook. Wipe down the surface of the wall or furniture with rubbing alcohol, and allow to dry, before applying the hook.
Another thing I never knew about the adhesives is that before hanging anything on them, let them set for an hour.
 My results aren’t particularly pretty, but much more orderly. Now I need a table skirt to hide the cords!
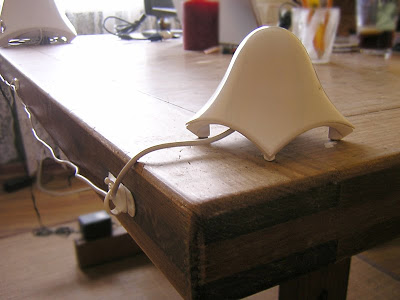 The cord clips work great!
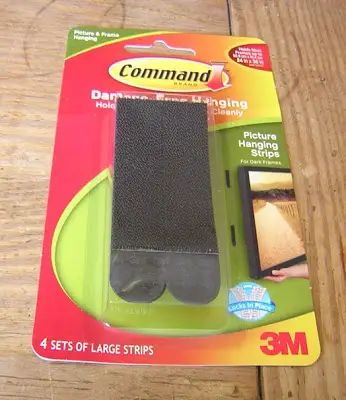
The next project was to hang my inspiration board. I decided to use these Damage Free Hanging Strips, which are similar to velcro – but much stronger. They have an adhesive side that go on the wall, and an adhesive side which stick to the frame.
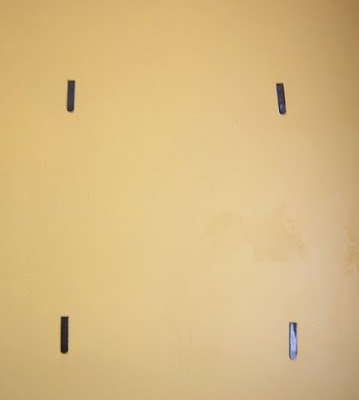 I’ve wiped down the wall, marked where the board will go, and applied the hanging strips.
 I then mounted and pressed the board to the wall. Unfortunately it fell about 30 mins later. In all fairness to the strips – I made a few mistakes that I’m sure affected the results. I didn’t really read the directions thoroughly, and didn’t press firmly for a full 30 seconds – completely forgot to wait an hour before hanging (I’m sure this was what did me in), and I didn’t apply the strips to the frame at all, but attached them to the strips on the wall. Also, this wall is actually has a plaster texture, so the surface wasn’t completely smooth.
Good news is, I used another hanging product –
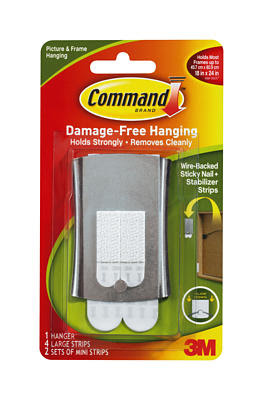 I followed the directions to a T and it did the trick!
As a whole, I think these no-damage Command products are ideal for renters who don’t want to put holes in walls, or those who want the option to move things around without having to patch holes. Also – don’t make my mistake – read the directions! Also, save the packaging or go to the Command site for removal instructions.
See some pretty and practical inspiration at the Command site.
Disclosure: I received these Command 3M products as a sample
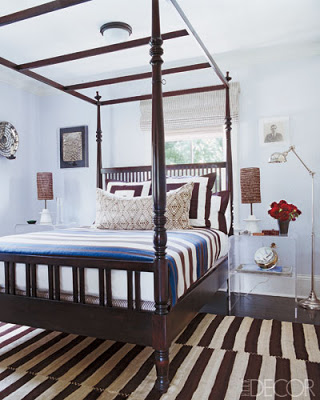
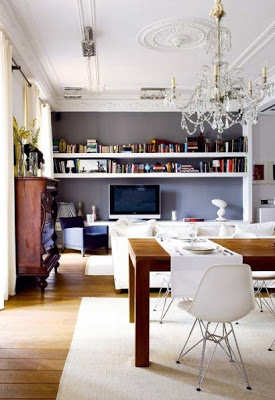
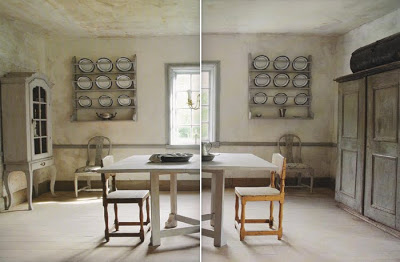
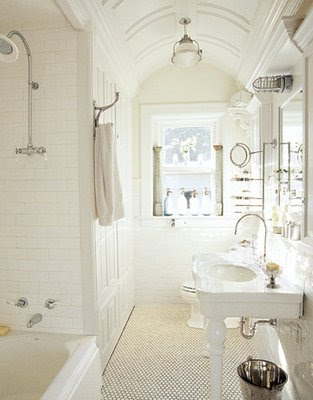
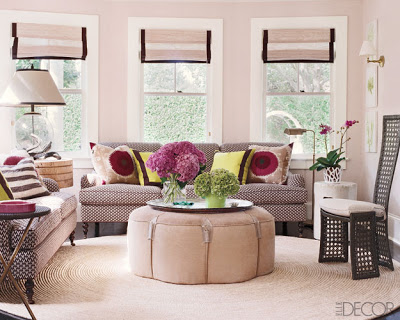 I like ottomans as tables
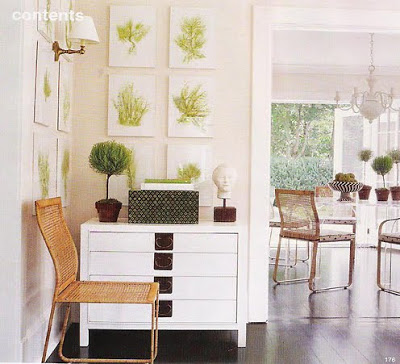 I like all the white with the plant prints
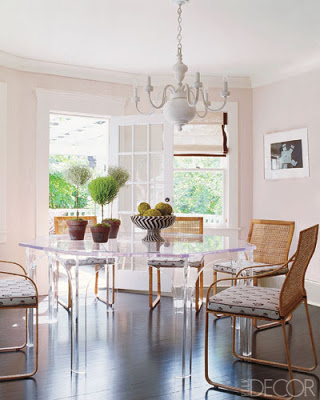 A clear piece of furniture, like this table, is a great option for a small room because it doesn’t take up so much “visual” space.
 The checked floor is actually painted wood!
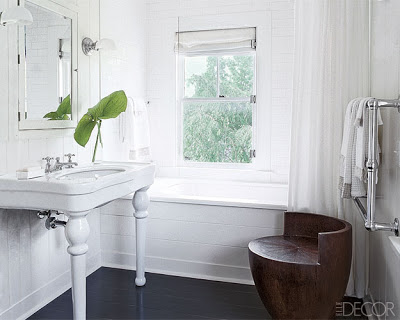
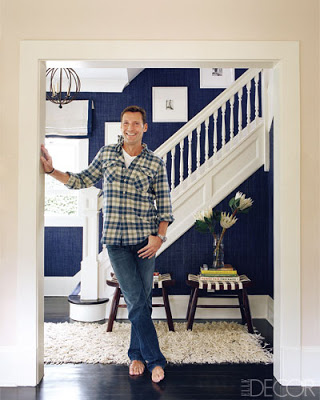 I really like the wall treatment going on at the staircase, which is Phillip Jeffries raffia, the two stools are nice too…
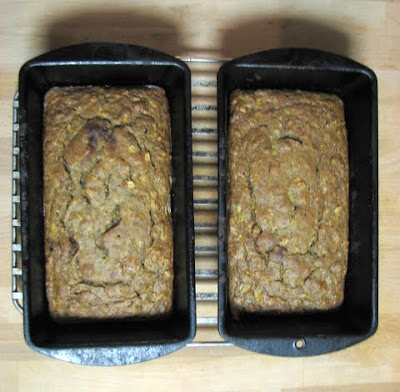
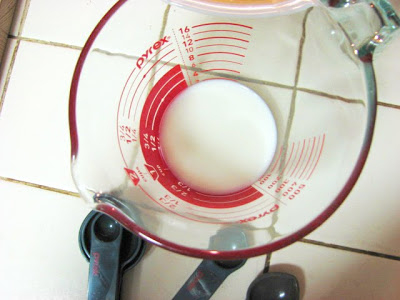 Here’s a view of the easier to read measuring graphics from above
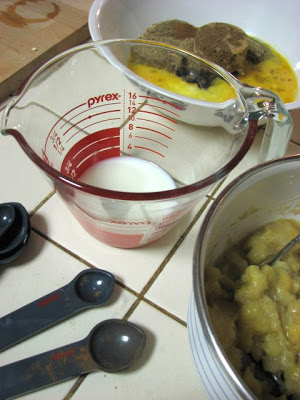
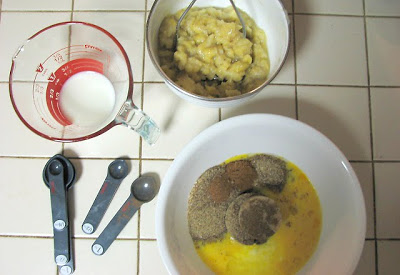 The spoons on the left bottom corner are from Pyrex too – my dad thought they were “cool,” because they are magnetic so they all stay together in the drawer.
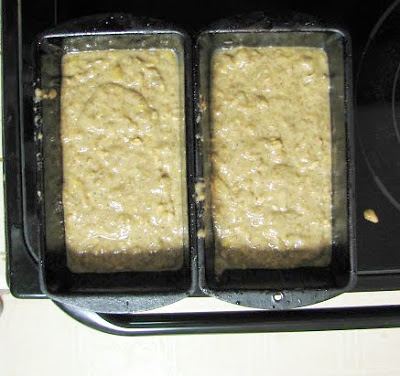 I didn’t end up with as much batter as I thought – I should have just put it all in one pan.
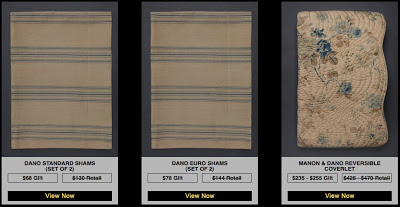

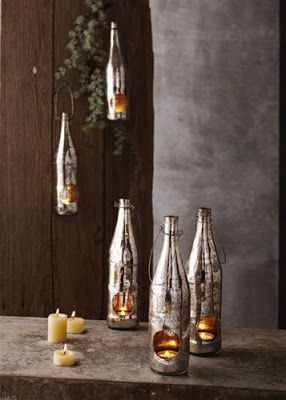
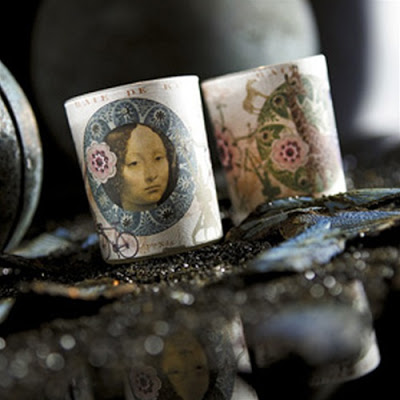 Love these tealights
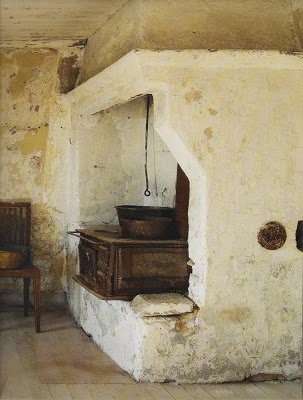
 A very utilitarian kitchen
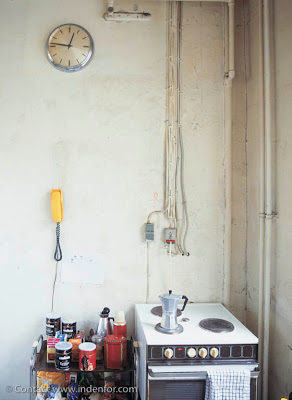
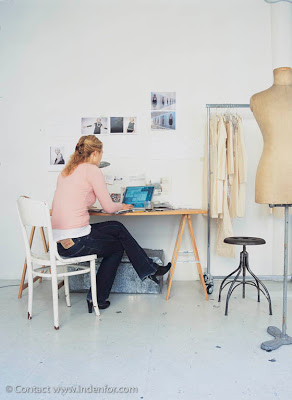 workspace
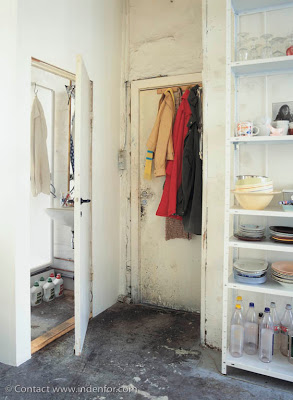
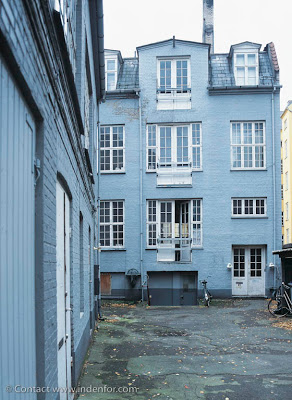 the back of the building
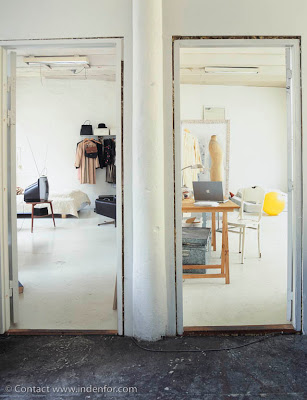

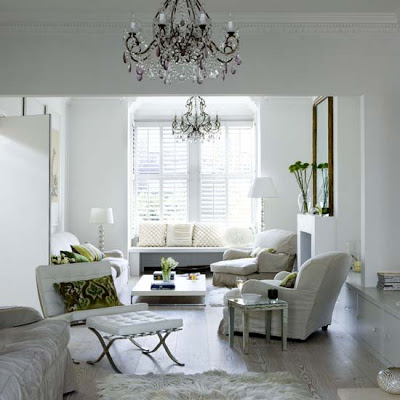
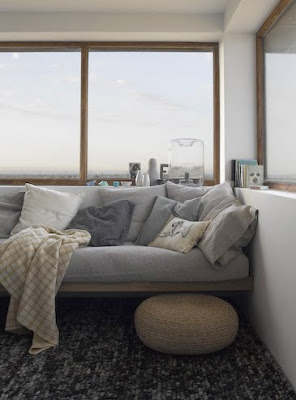
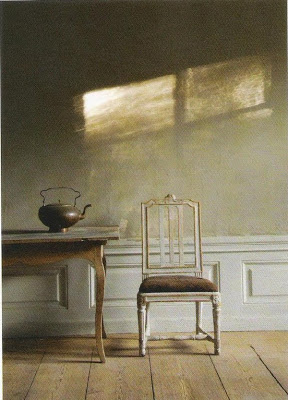
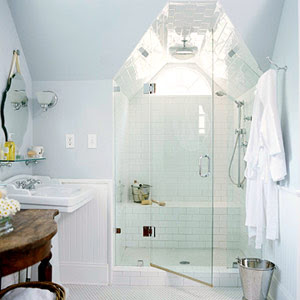
 A pretty spot.
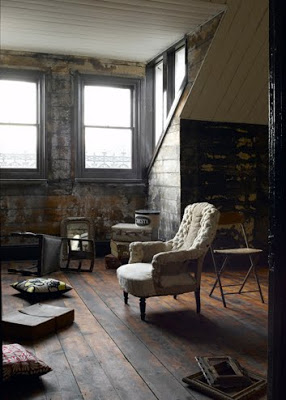
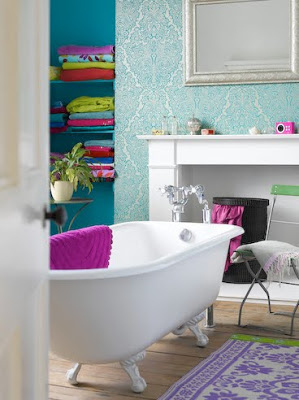
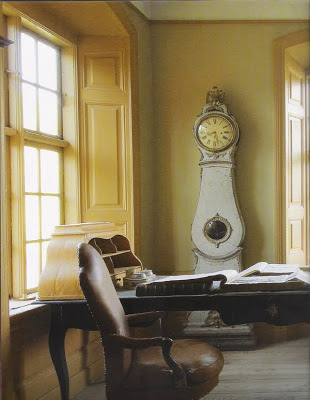
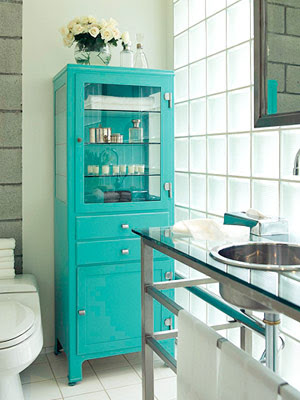
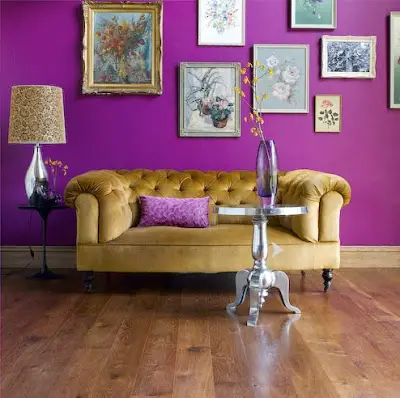 I love the color on the walls, but I don’t know if I’d ever have the guts to use it on a wall…maybe I’d test it out in a bathroom or hall…have you used a color this bold?
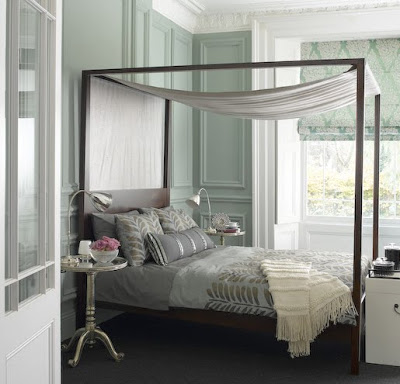 …soooo pretty
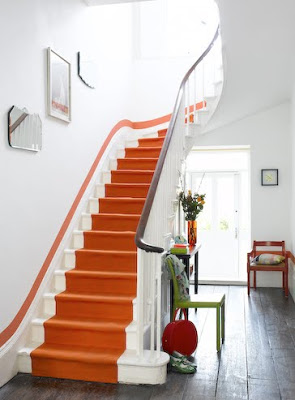
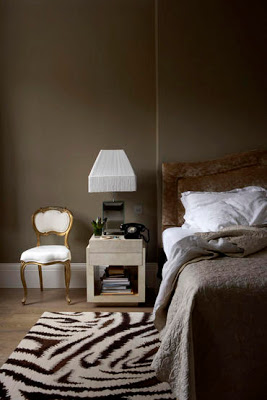
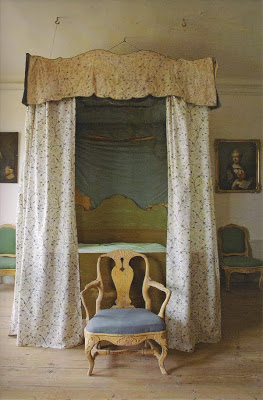
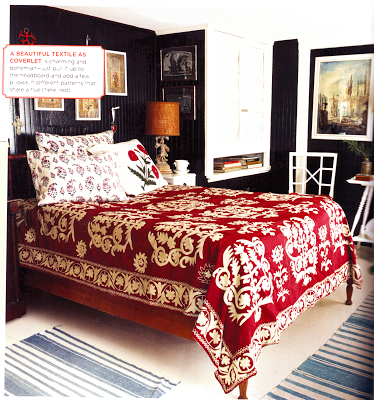 The autumn leaf red coverlet keeps the furniture from being absorbed in to the dark walls
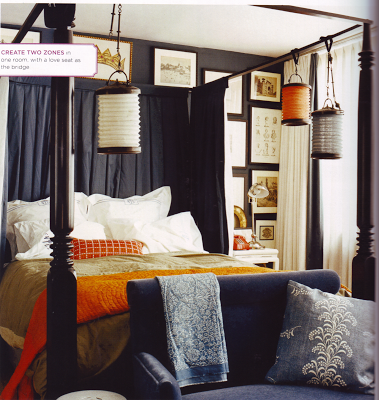
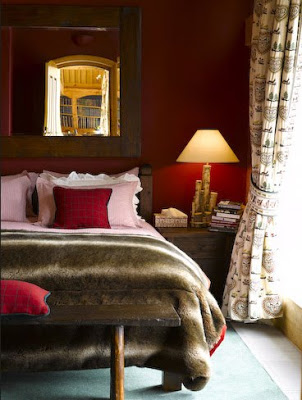 The dark wine walls and texture from the hopefully faux fur blanket say “warmth”
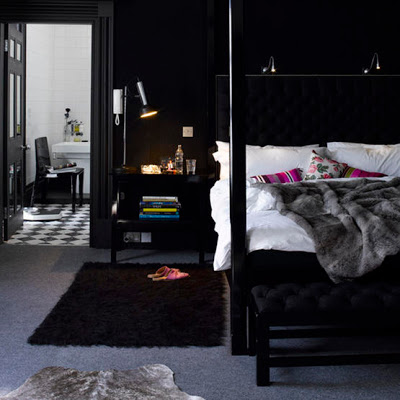 This mostly black bedroom is kept fresh with white linens and purple accent pillows
 One day I
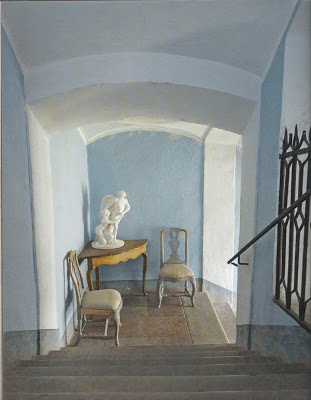


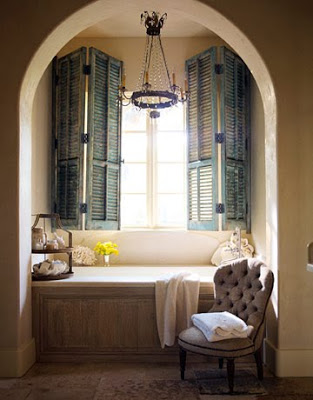
 I really like “regular” furniture in the bathroom – like the sideboard you see on the left.

