Yuck. The garage. Not a very fun one to organize is it? Unfortunately it’s one of those chores that must be done, and being that it’s a long weekend you might have more time to get it done. Being that the American Home Buyer expects a garage in the single family home, it is easy to find a lot of organizing resources. I found this amazing plan to tackle your garage in BHG, and added my own ideas to it. Here is BHG’s plan for organizing your storage in the garage.
Create Task Kits. Create kits for various outdoors projects by filling 5- and 10-gallon plastic buckets with all the tools, products, and accessories you need to complete specific tasks such as car-washing, weeding, bicycle repair, and more.
Addition from me: My husband swears by this tactic and uses one of those 5-gallon bucket organizers that you can put over the bucket
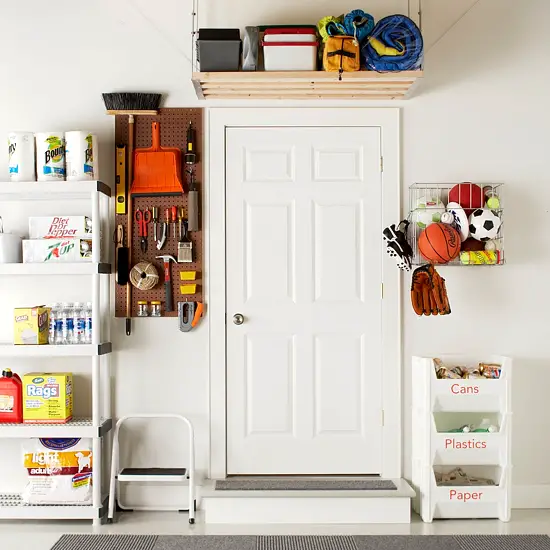
Stash Sporting Gear. Fill tall kitchen trash cans with large and odd-shaped sporting gear. Drill holes in the bottom of bins if drainage is important. Stabilize containers by securing to a wall with short bungee cords.
Addition from me: Yes! get everything off the floor that you can. It makes it easier to clean the floors and stops the hazard of your garage door hitting something thus saving you from garage door opener repair. Instead of trash cans, also consider laundry baskets so you don’t have to dig down too deep to find smaller items that might have sunk to the bottom.
Organize the Trunk. Clean out your vehicle’s trunk. Toss every item that is expired or damaged. Place all trunk gear in a canvas bin or box. Make sure the container doesn’t slip by adding rubber or hook-and-loop tape to the bottom.
Addition from me: Make sure you have an emergency roadside kit in your trunk!
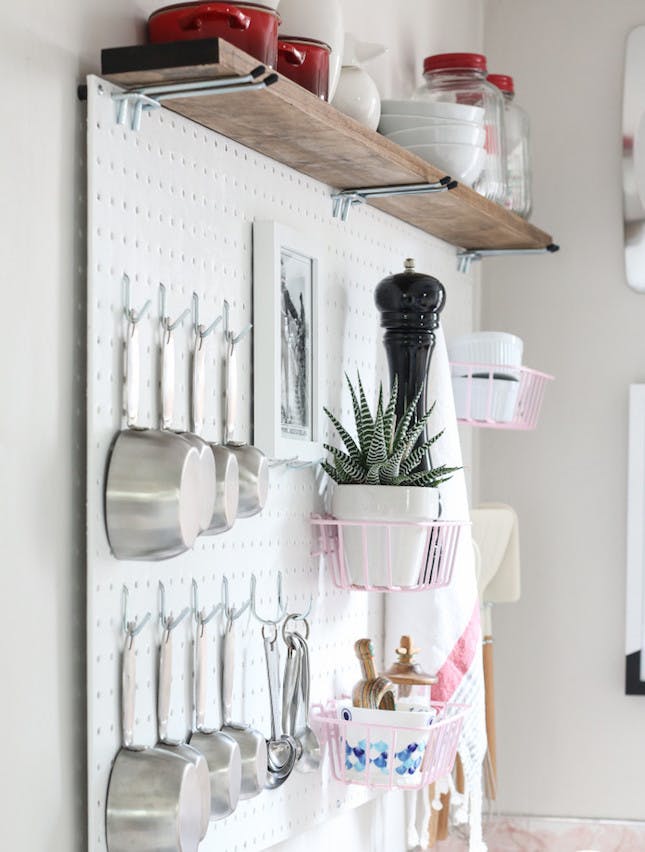
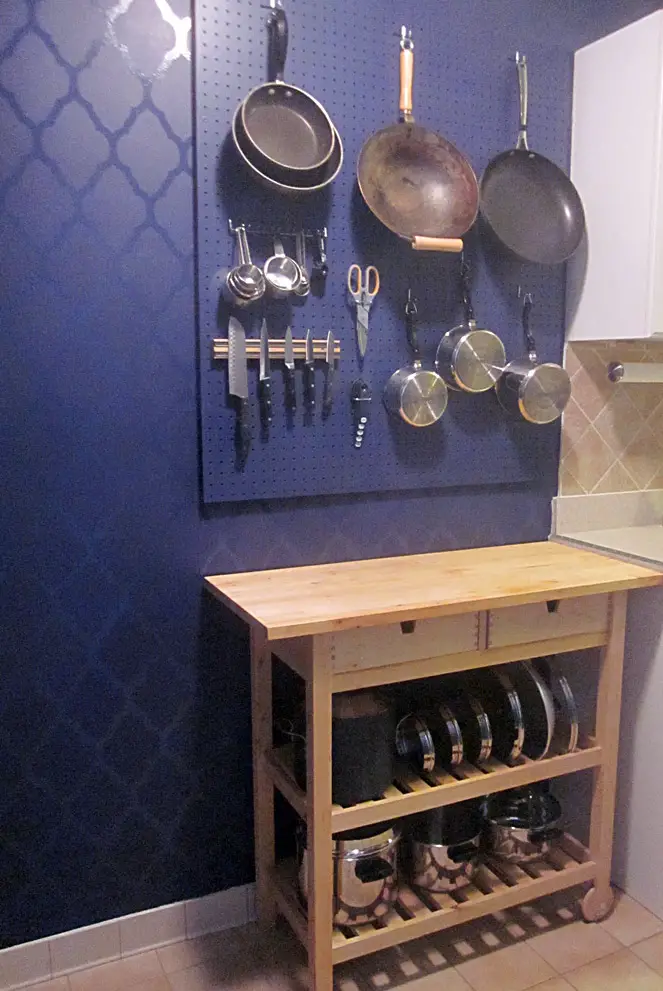
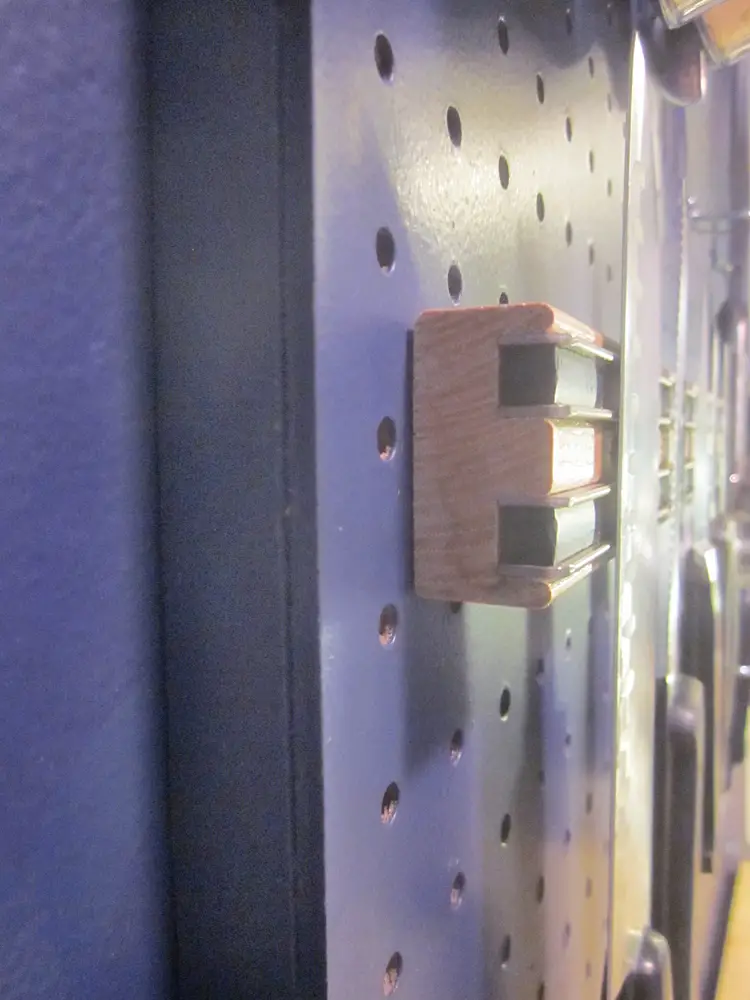
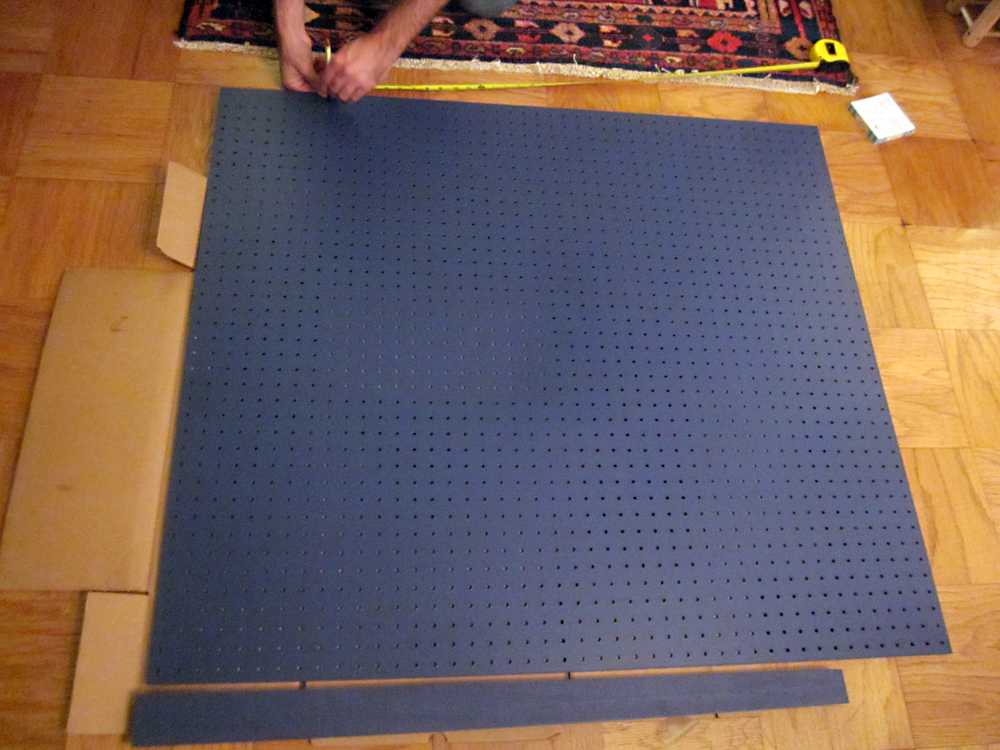
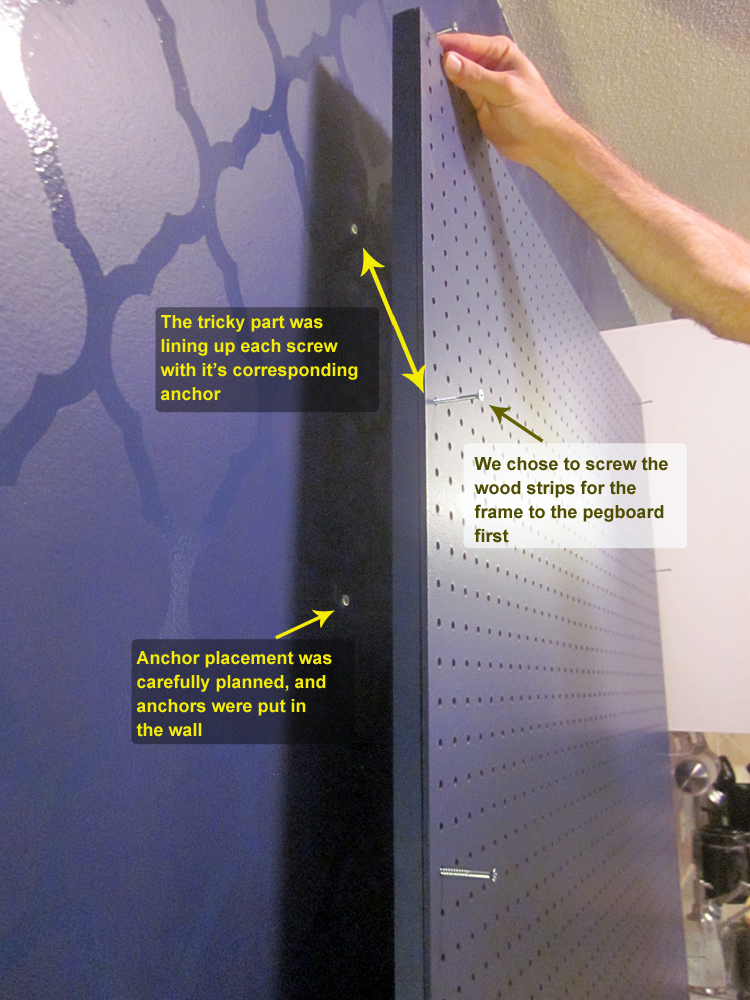
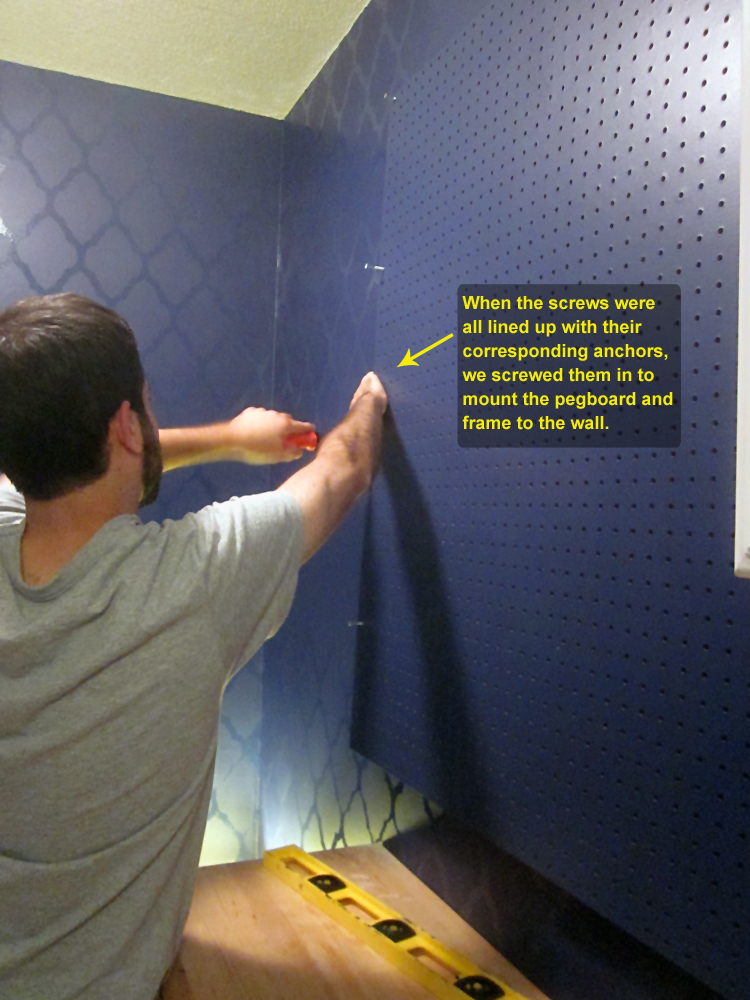
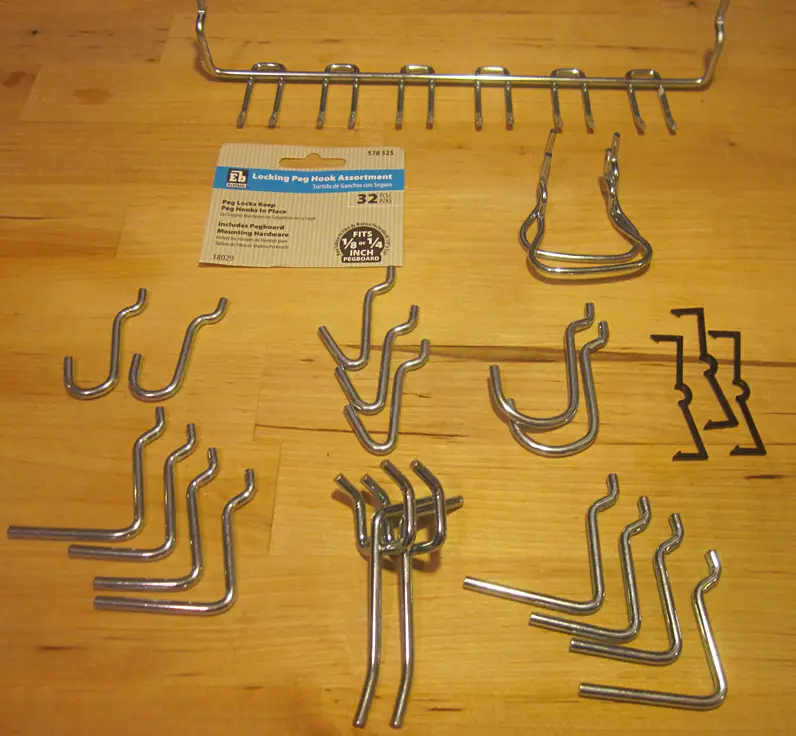
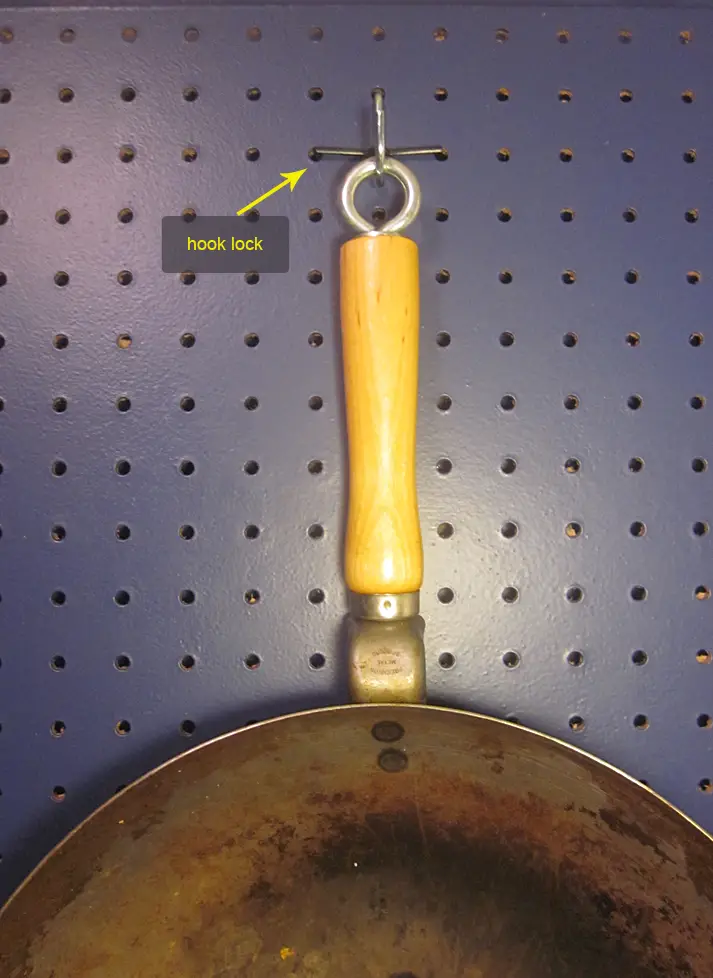
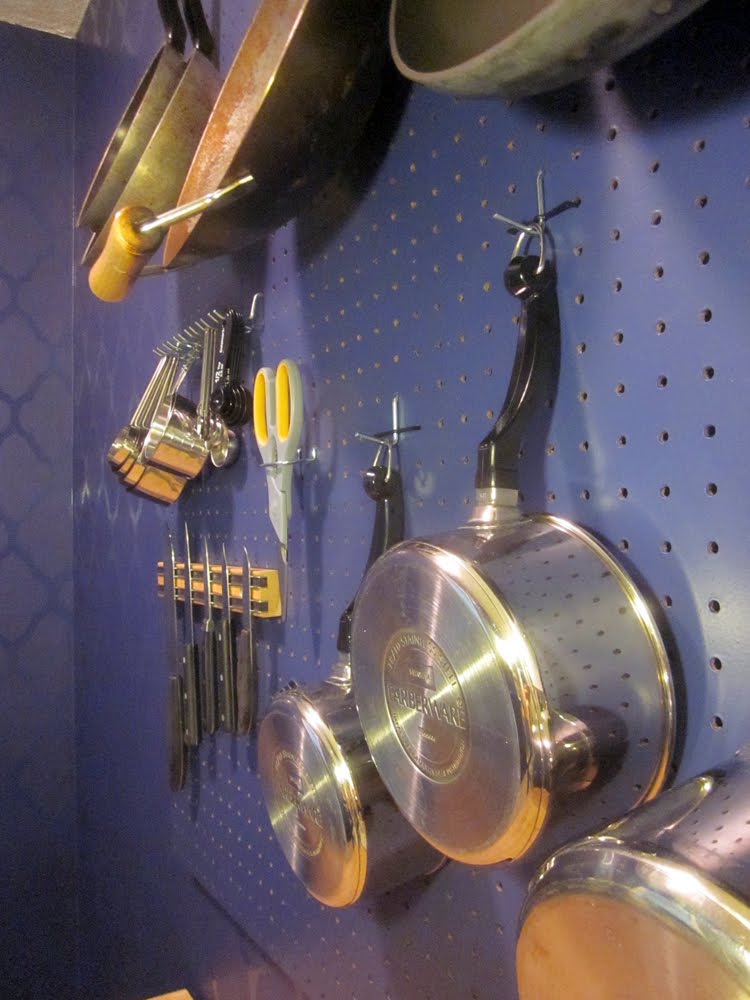
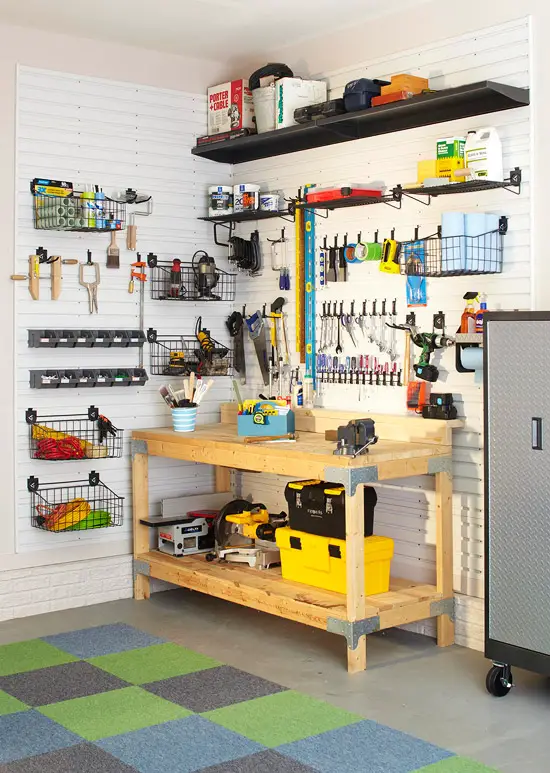
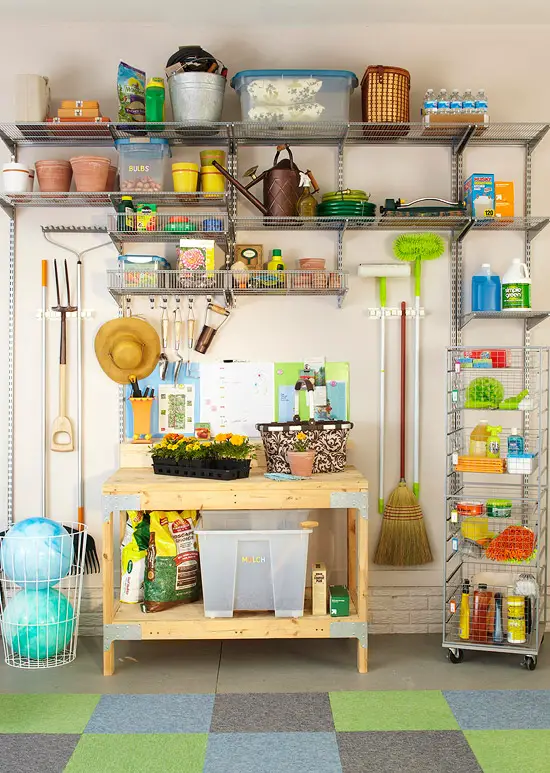
Tidy Up the Tools. Hang hand tools on a wall near your workbench from hooks on pegboard, magnetic board, or a wall-mount strip system. Label each tool’s spot. Put extra tools in a tool box or clear plastic boxes and store on floor underneath workbench.
Addition from me: Make sure often used tools are easiest to reach, and specialty items can be stored higher up
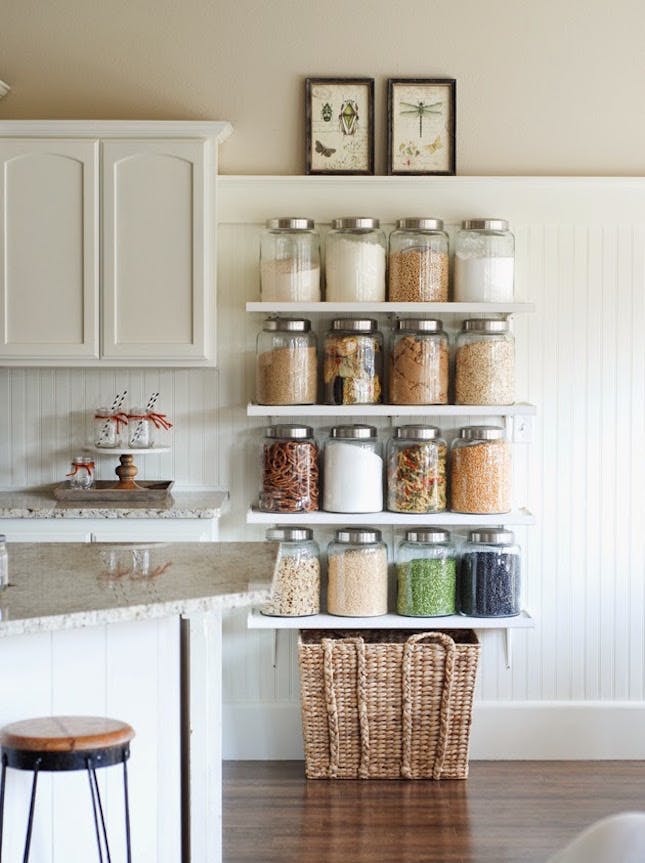
I’ve rounded up a bunch of images that I hope you find inspiring and help you rally the motivation to organize the garage. Once you’re done, you can take a look at garage storage guides to help you get your garage organized as can be.
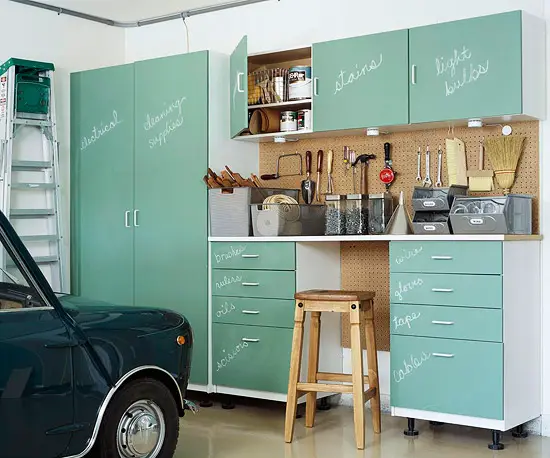
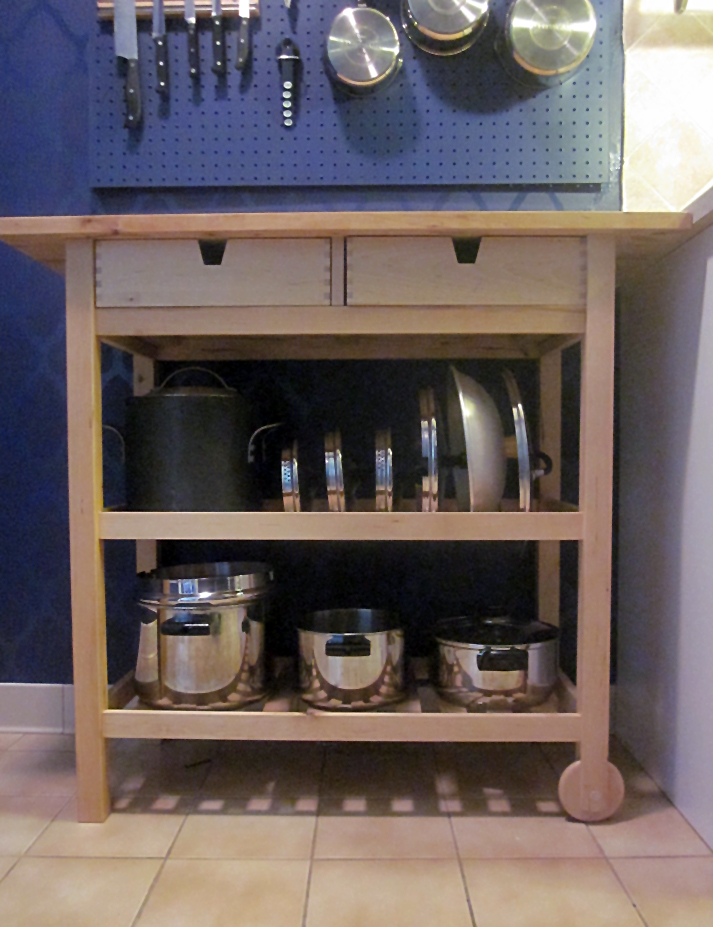
The chalkboard cabinet and drawer fronts is a great idea. You could always paint yours with chalkboard paint.
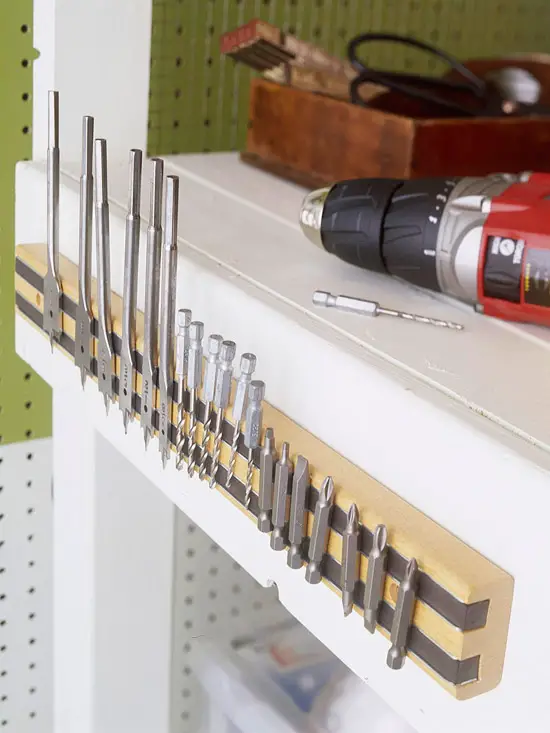
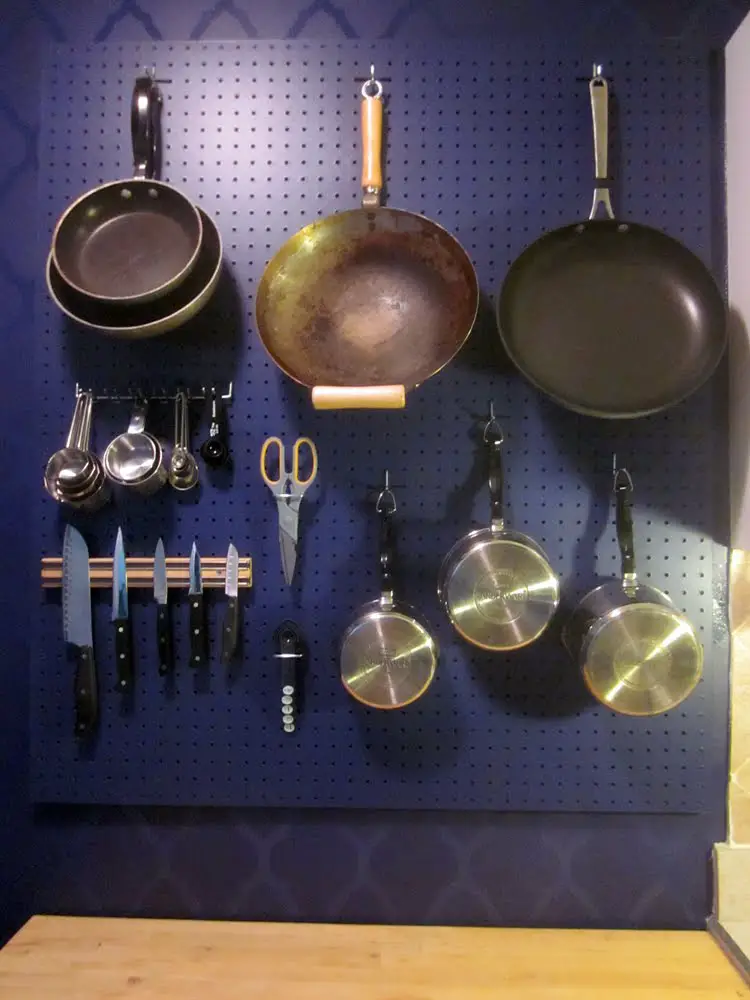
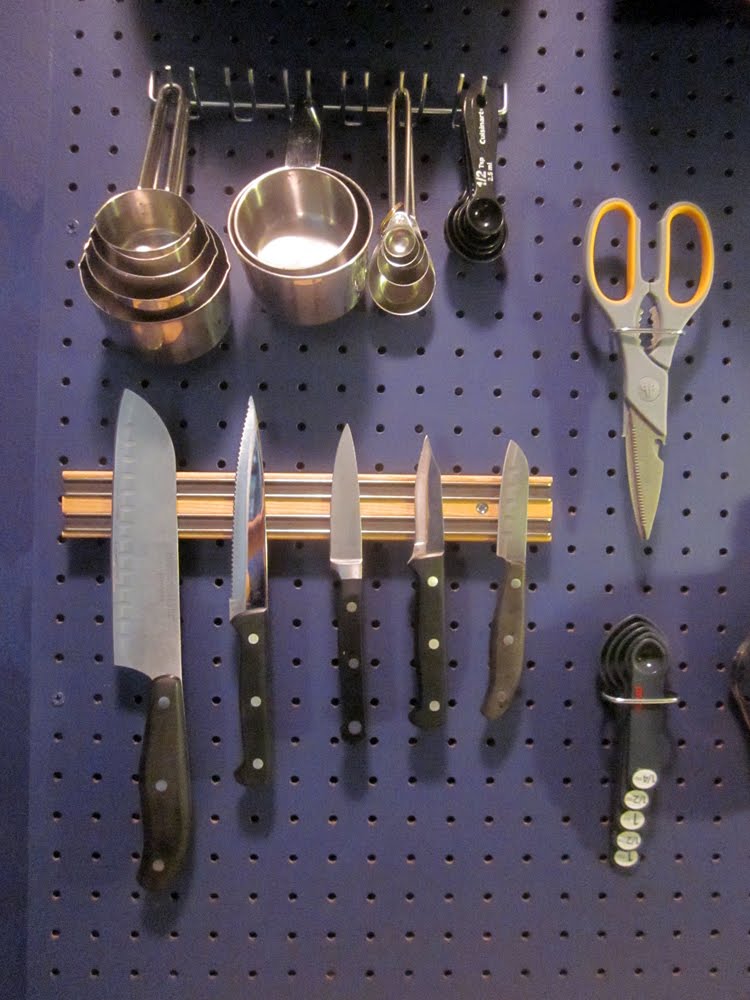
A magnetic kitchen knife strip works great for holding drill bits too
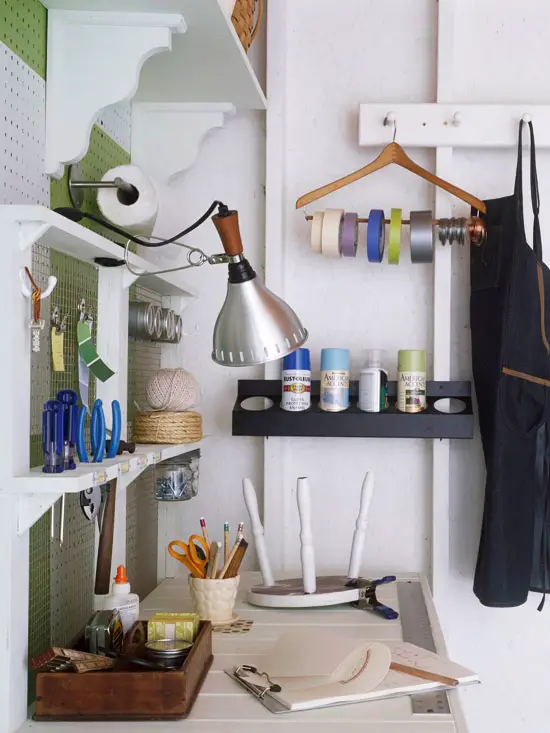
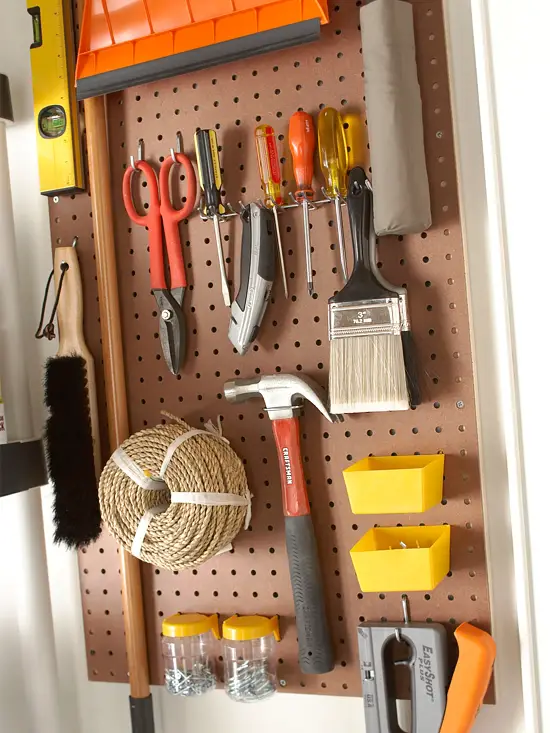
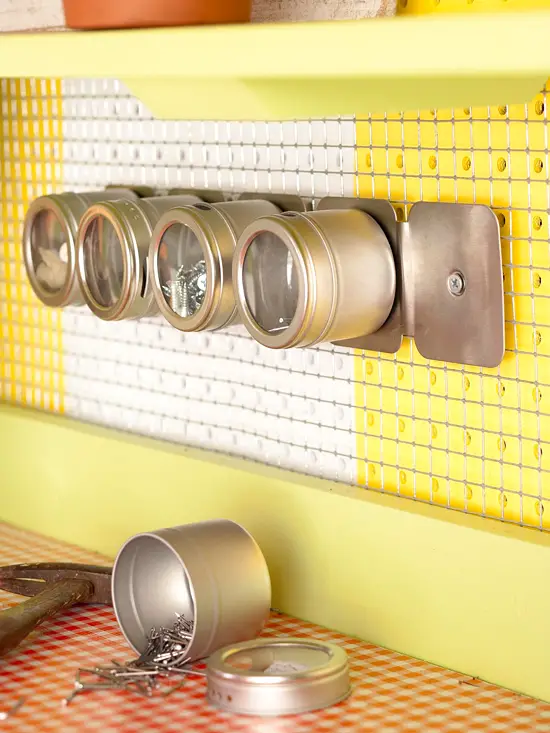
Use magnetic spice containers to hold small hardware in the garage
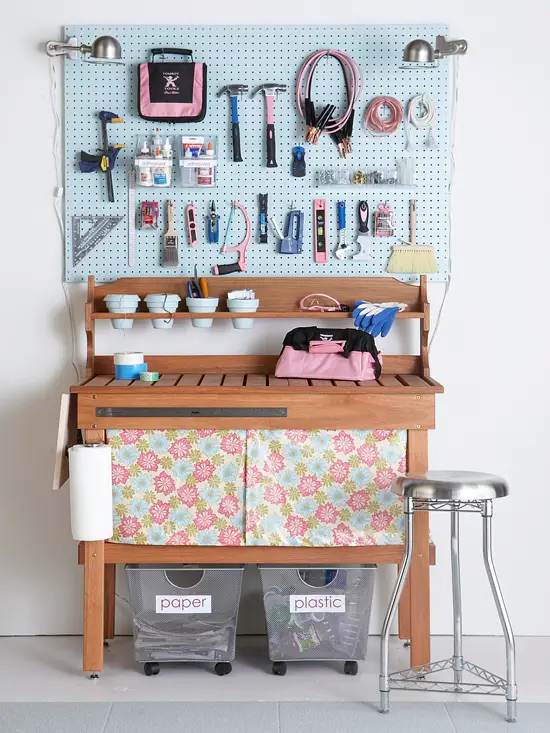
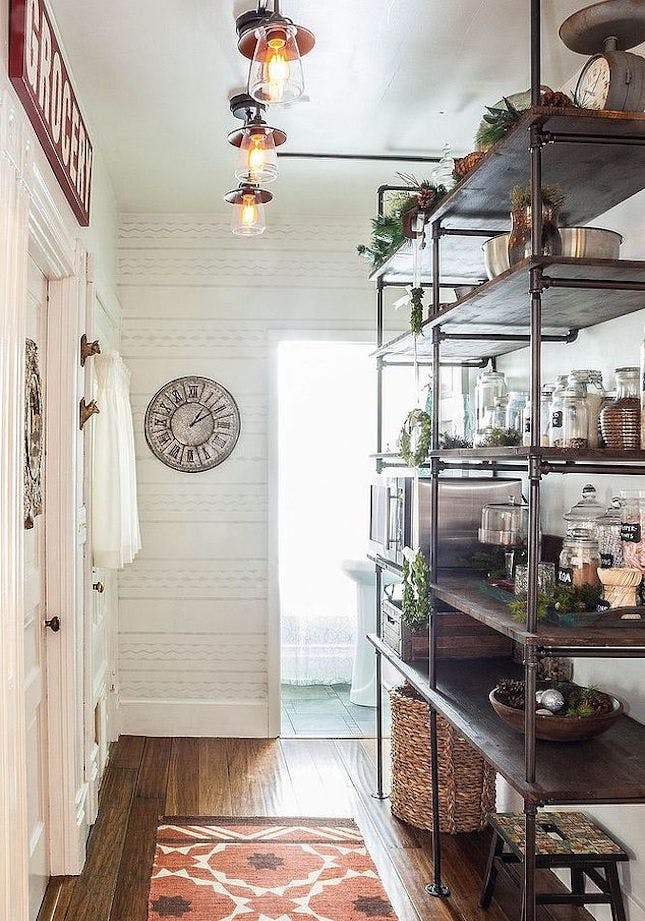
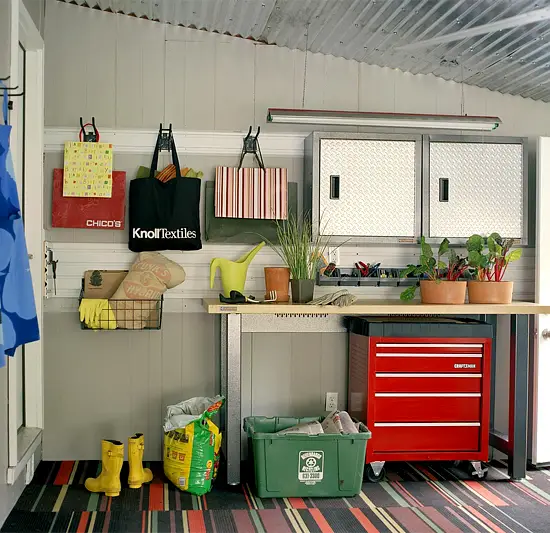
This space has to be the prettiest garage I’ve ever seen
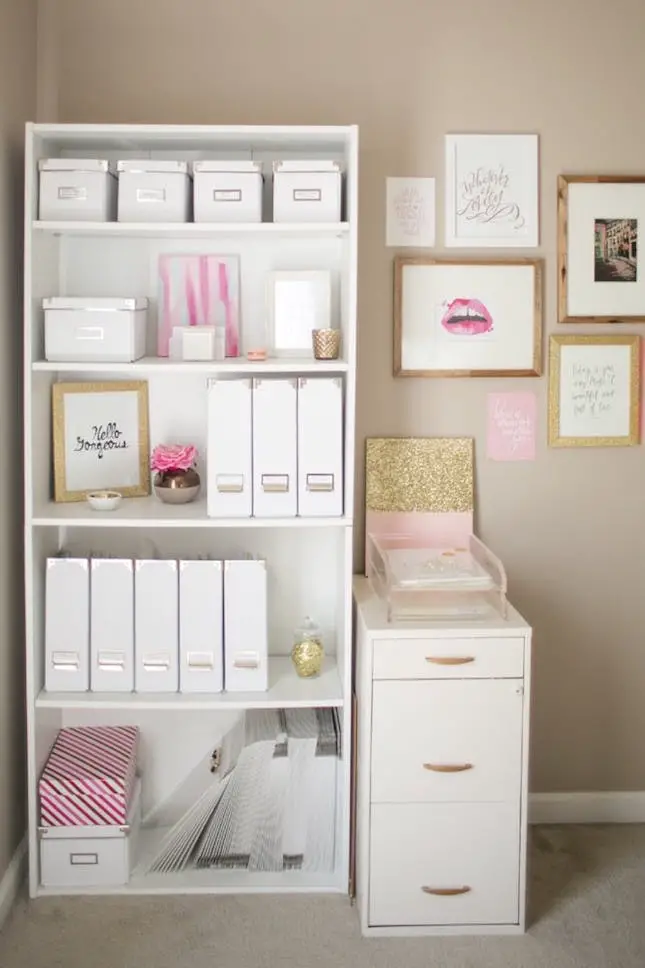
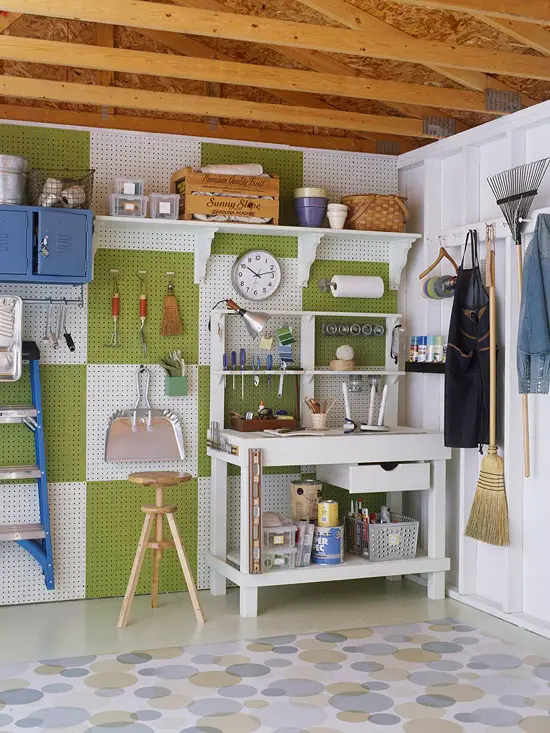
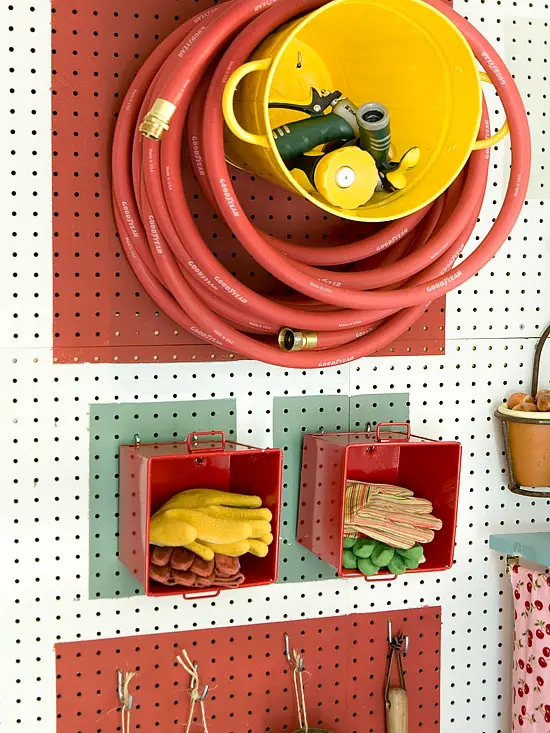
In the garage, bins and hooks and boxes are our friends
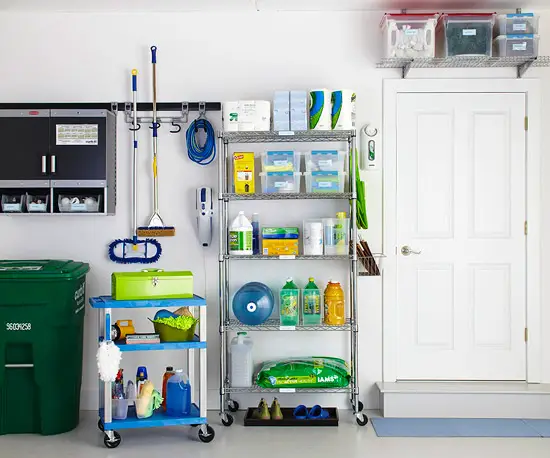
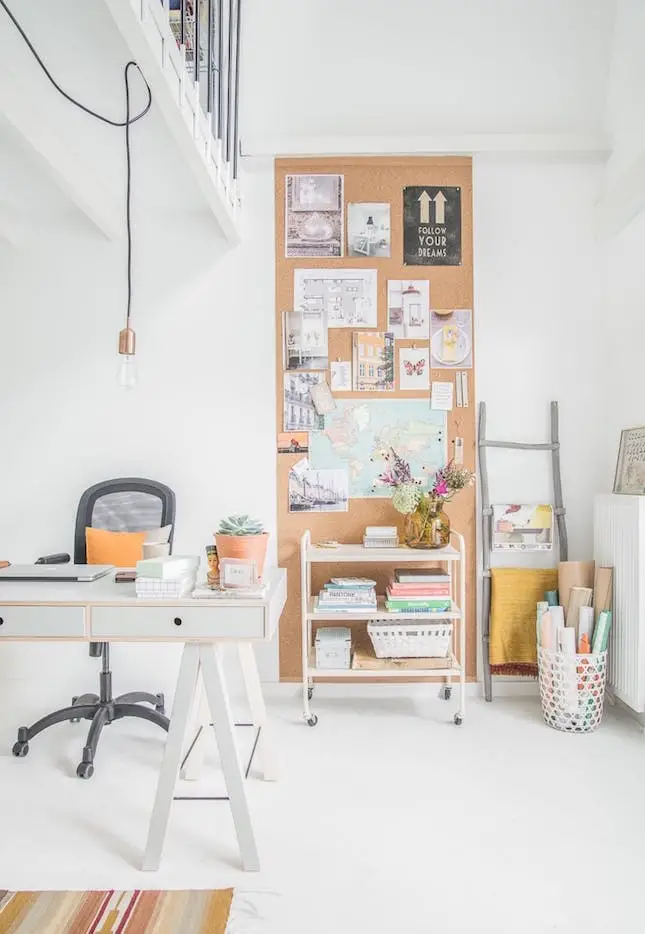
A rolling cart with most used cleaning supplies and tools is a great idea!
images above via BHG
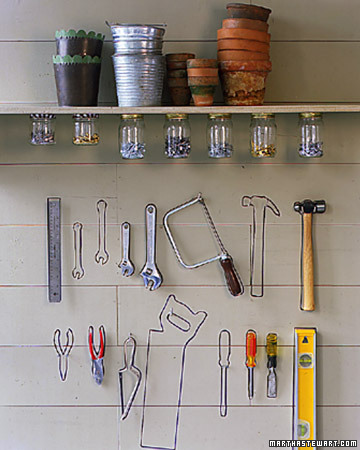
Take a cue from Julia Child’s kitchen and do the same for your tools!
via Martha Stewart
To summarize, we almost all have a garage. Just check out Mississauga Real Estate to confirm. That being said, organizing it doesn’t have to be a miserable chore. The peace of mind and ease it will bring to your life makes it all worth it! Thanks to American Home Buyer, ssbhg.ca, and Canadian Doors for consulting!